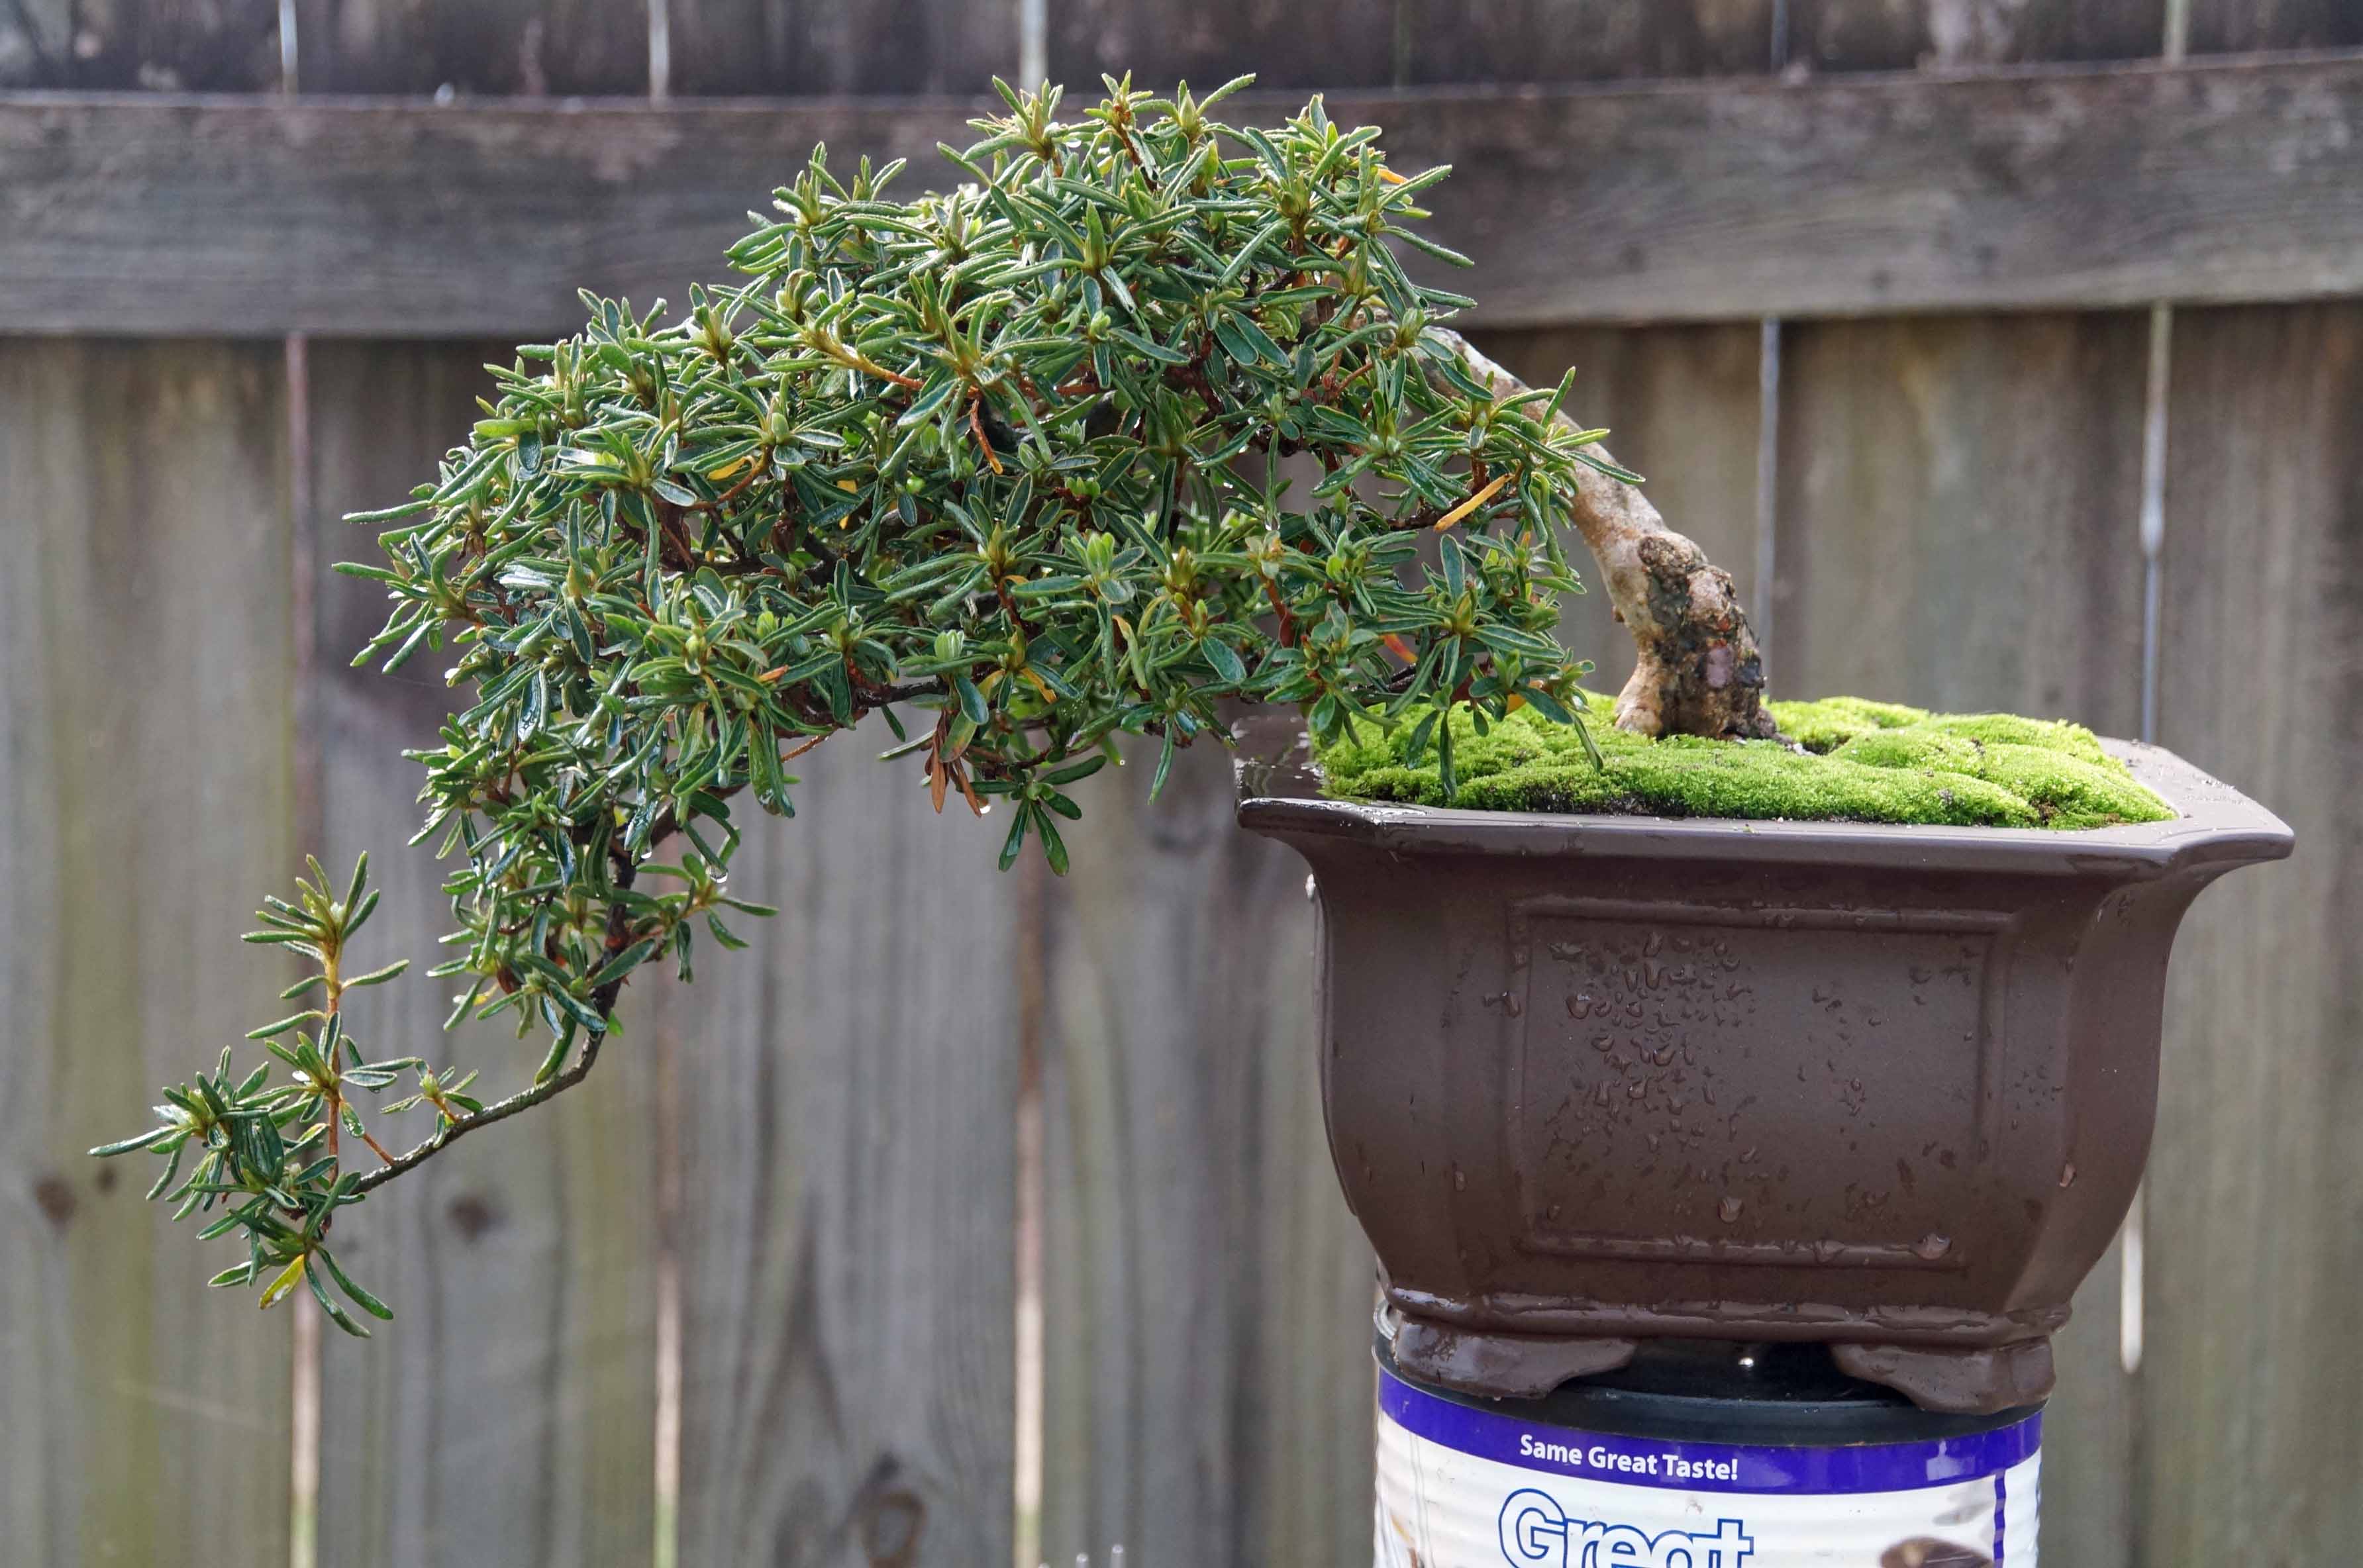


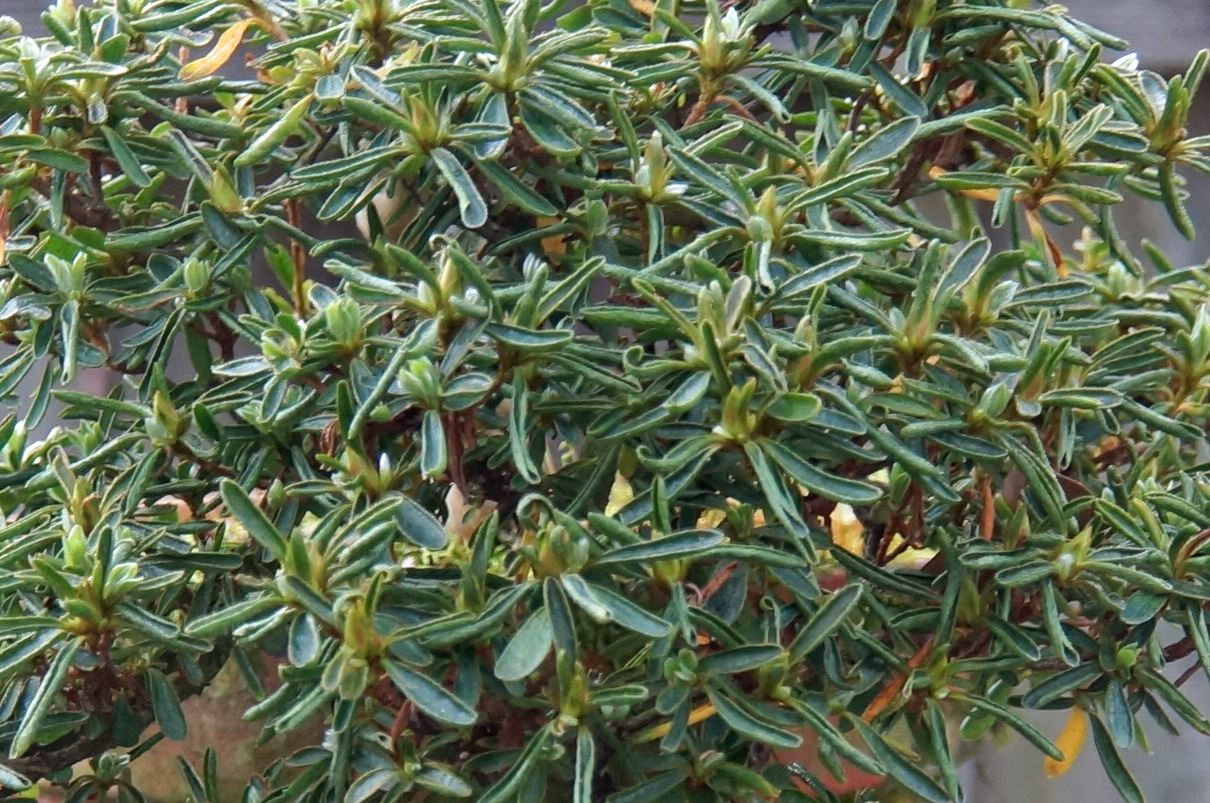
This is one of my favorite varieties of satsuki azalea, it has a curled leaf that looks pretty cool and the growth habit is perfect for bonsai, nice and tight. The flowers are a very light pink and have kind of a pearlescent sheen to them. The name tsuki no shimo means “frost of the moon” and when you look at the flowers, it kinda looks like frost. Cool, huh? You may have seen this tree in this blog post, it is not quite a glamorous as it once was, but it is on the road to growing a new apex.
I finally found a pot that I like for it and decided to give it go. The question is sometimes asked, “When is the best time to repot azaleas?”. Ask this on any internet forum and you will get a generic answer, “After it Flowers.” While this may be true for some areas, in Japan, after the Satsukis bloom, they get a rainy season that lasts a couple of months; cool damp weather, perfect for azaleas to recover in after repotting. Once you get past that, the answer to the question isn’t so simple.
It all boils down to climate and location. Satsukis usually bloom in late May, sometimes earlier, in my area. It is usually getting pretty hot here by then and in June, Summer is upon us. If I repotted after flowering, they would get hammered by the heat and would really struggle and could possibly die. It is best to make sure that when you repot, you time it so that you have a month or so of cooler weather before summer kicks in to allow for recovery. In my little corner of the world, that means that it is best to repot them in February or March, before flowering. This gives them plenty of time to recover for the Summer and also gives them a chance to recover before flowering.
This only applies to satsukis. For Kurume and Indicas, repotting can be done after flowering because here, in the Heart of Dixie, they are finished flowering by March. So, an after flower repot is OK.
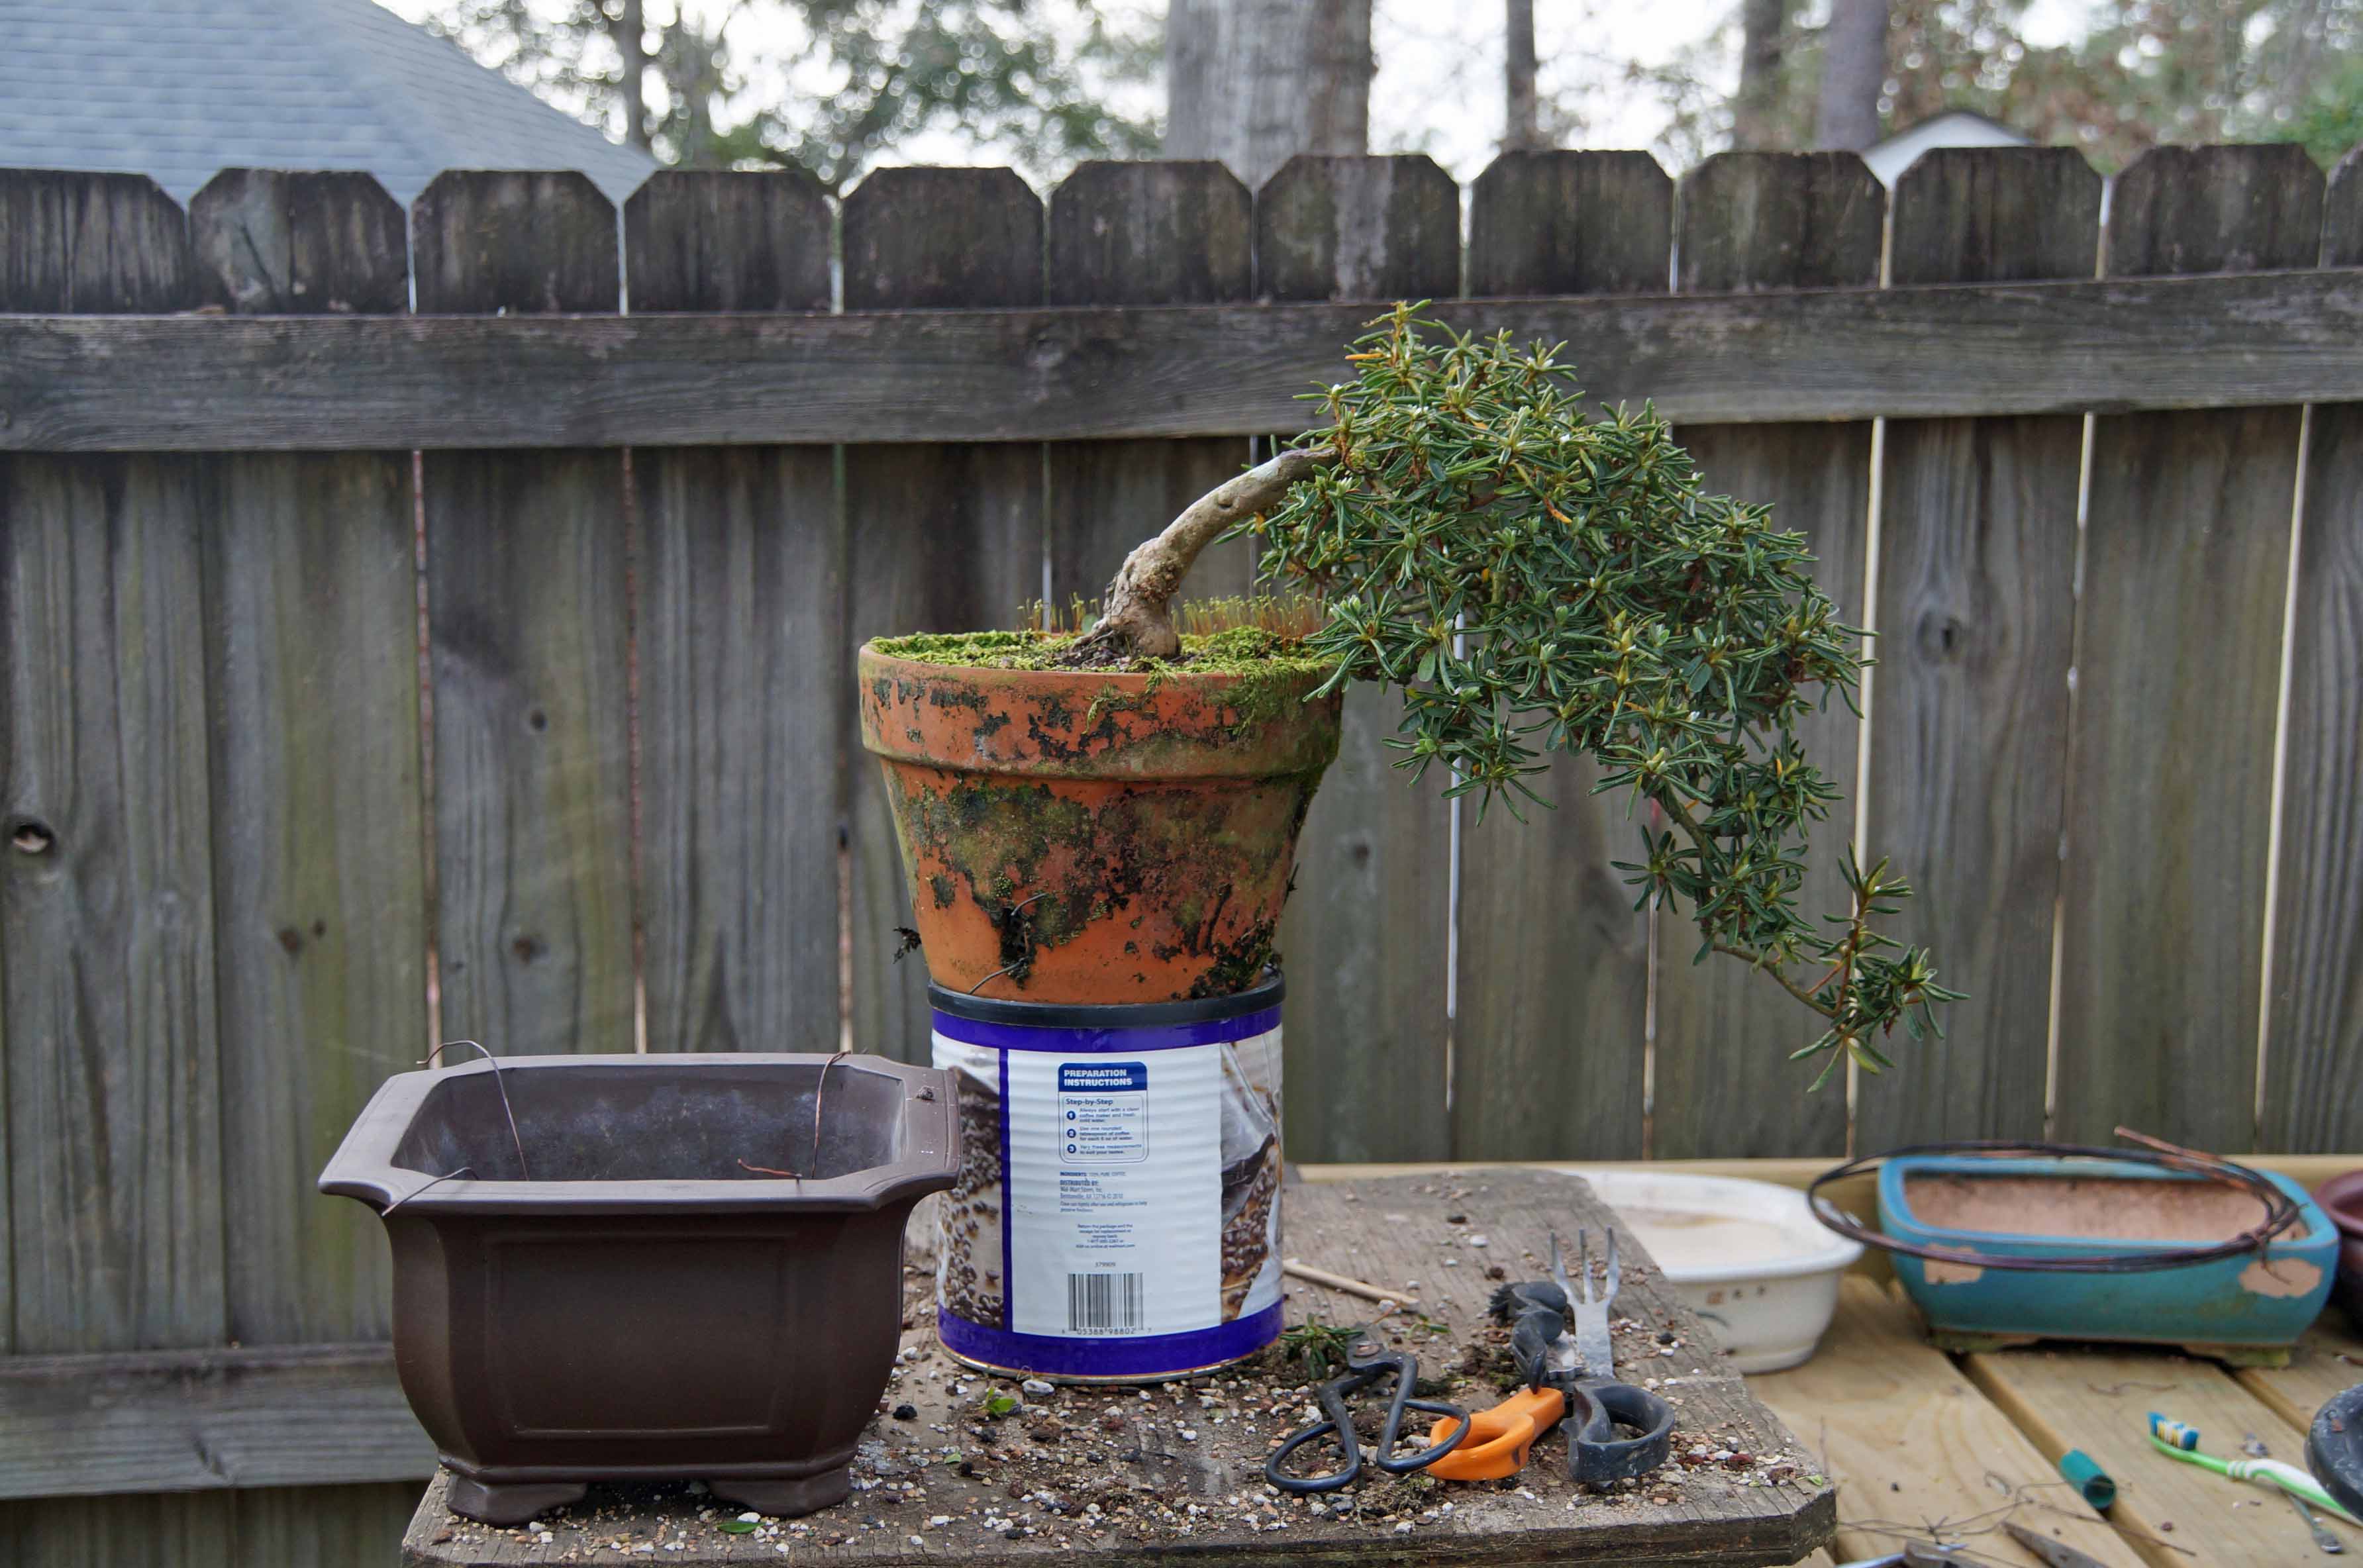
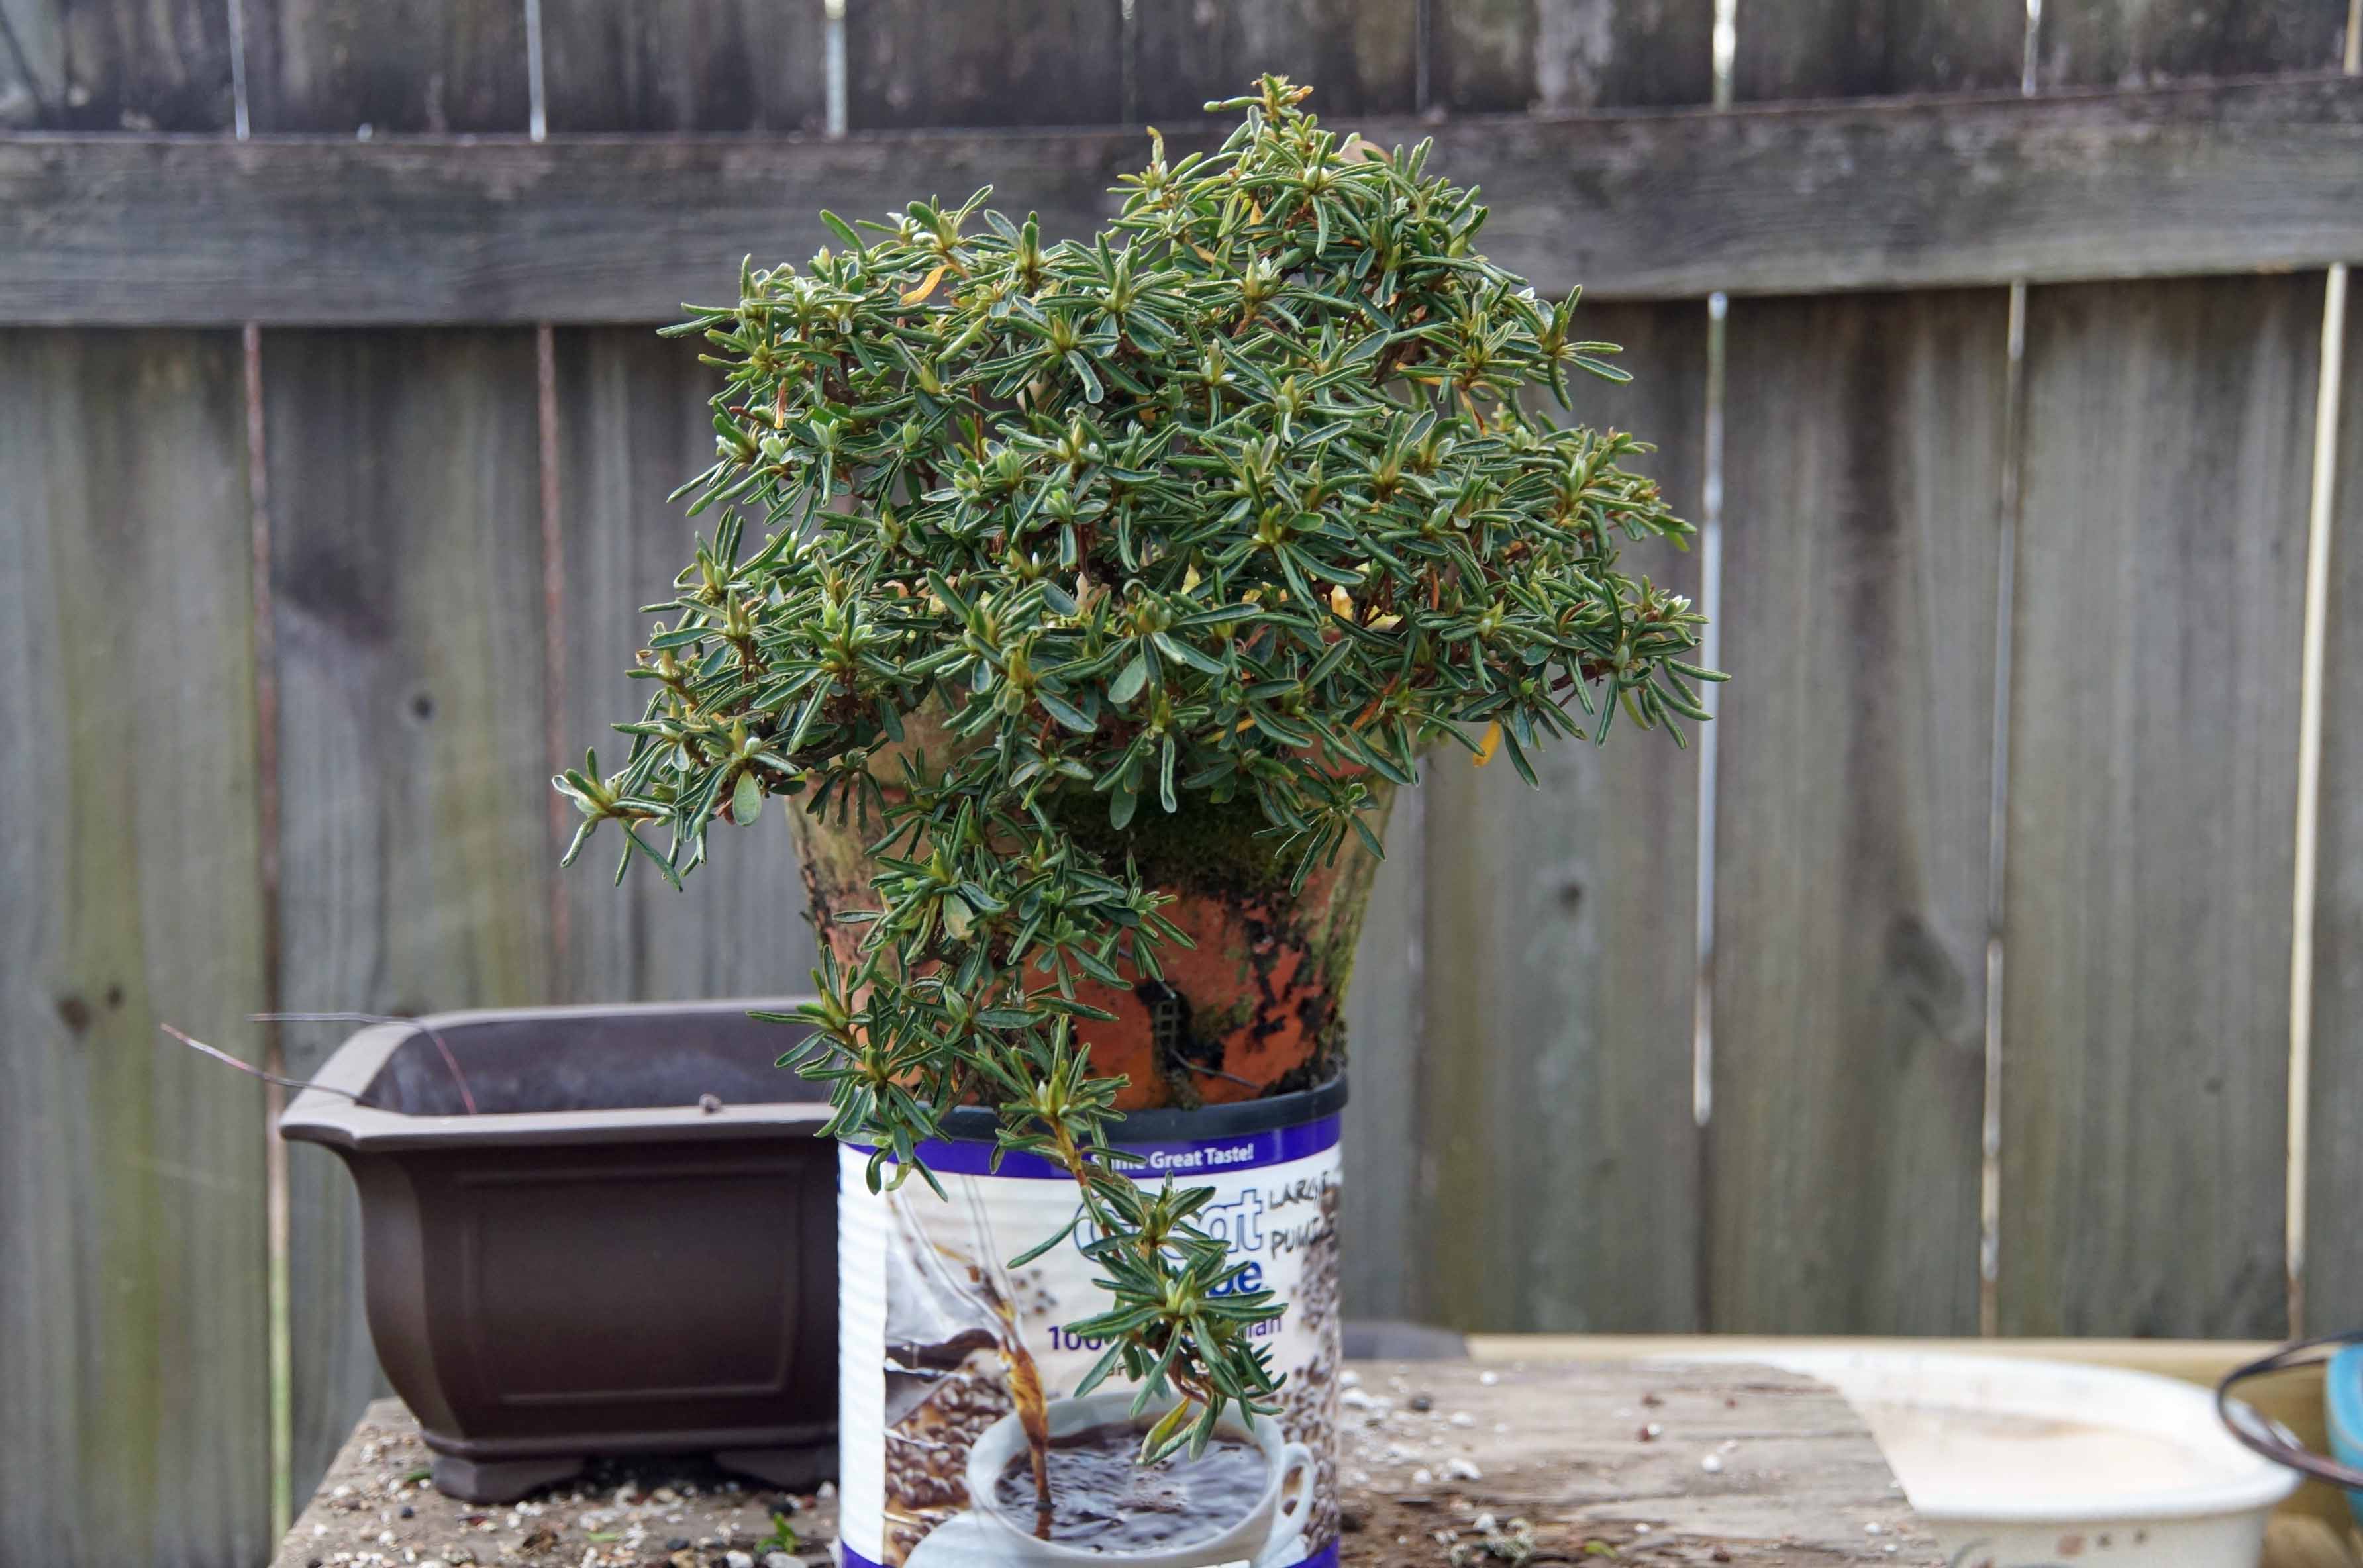
Well enough of that, let’s get down to business and get ‘ole Shimo repotted. Here is our victim, I mean subject, and its new pot. Some people like to use a more colorful pot for azaleas, but I tend to gravitate more toward the traditional brown clay, non-glazed pots. I found this one on the 99 cent Bonsai auction page on Face Book.
I finally found a pot that I like for it and decided to give it go. The question is sometimes asked, “When is the best time to repot azaleas?”. Ask this on any internet forum and you will get a generic answer, “After it Flowers.” While this may be true for some areas, in Japan, after the Satsukis bloom, they get a rainy season that lasts a couple of months; cool damp weather, perfect for azaleas to recover in after repotting. Once you get past that, the answer to the question isn’t so simple.
It all boils down to climate and location. Satsukis usually bloom in late May, sometimes earlier, in my area. It is usually getting pretty hot here by then and in June, Summer is upon us. If I repotted after flowering, they would get hammered by the heat and would really struggle and could possibly die. It is best to make sure that when you repot, you time it so that you have a month or so of cooler weather before summer kicks in to allow for recovery. In my little corner of the world, that means that it is best to repot them in February or March, before flowering. This gives them plenty of time to recover for the Summer and also gives them a chance to recover before flowering.
This only applies to satsukis. For Kurume and Indicas, repotting can be done after flowering because here, in the Heart of Dixie, they are finished flowering by March. So, an after flower repot is OK.
Well enough of that, let’s get down to business and get ‘ole Shimo repotted. Here is our victim, I mean subject, and its new pot. Some people like to use a more colorful pot for azaleas, but I tend to gravitate more toward the traditional brown clay, non-glazed pots. I found this one on the 99 cent Bonsai auction page on Face Book.
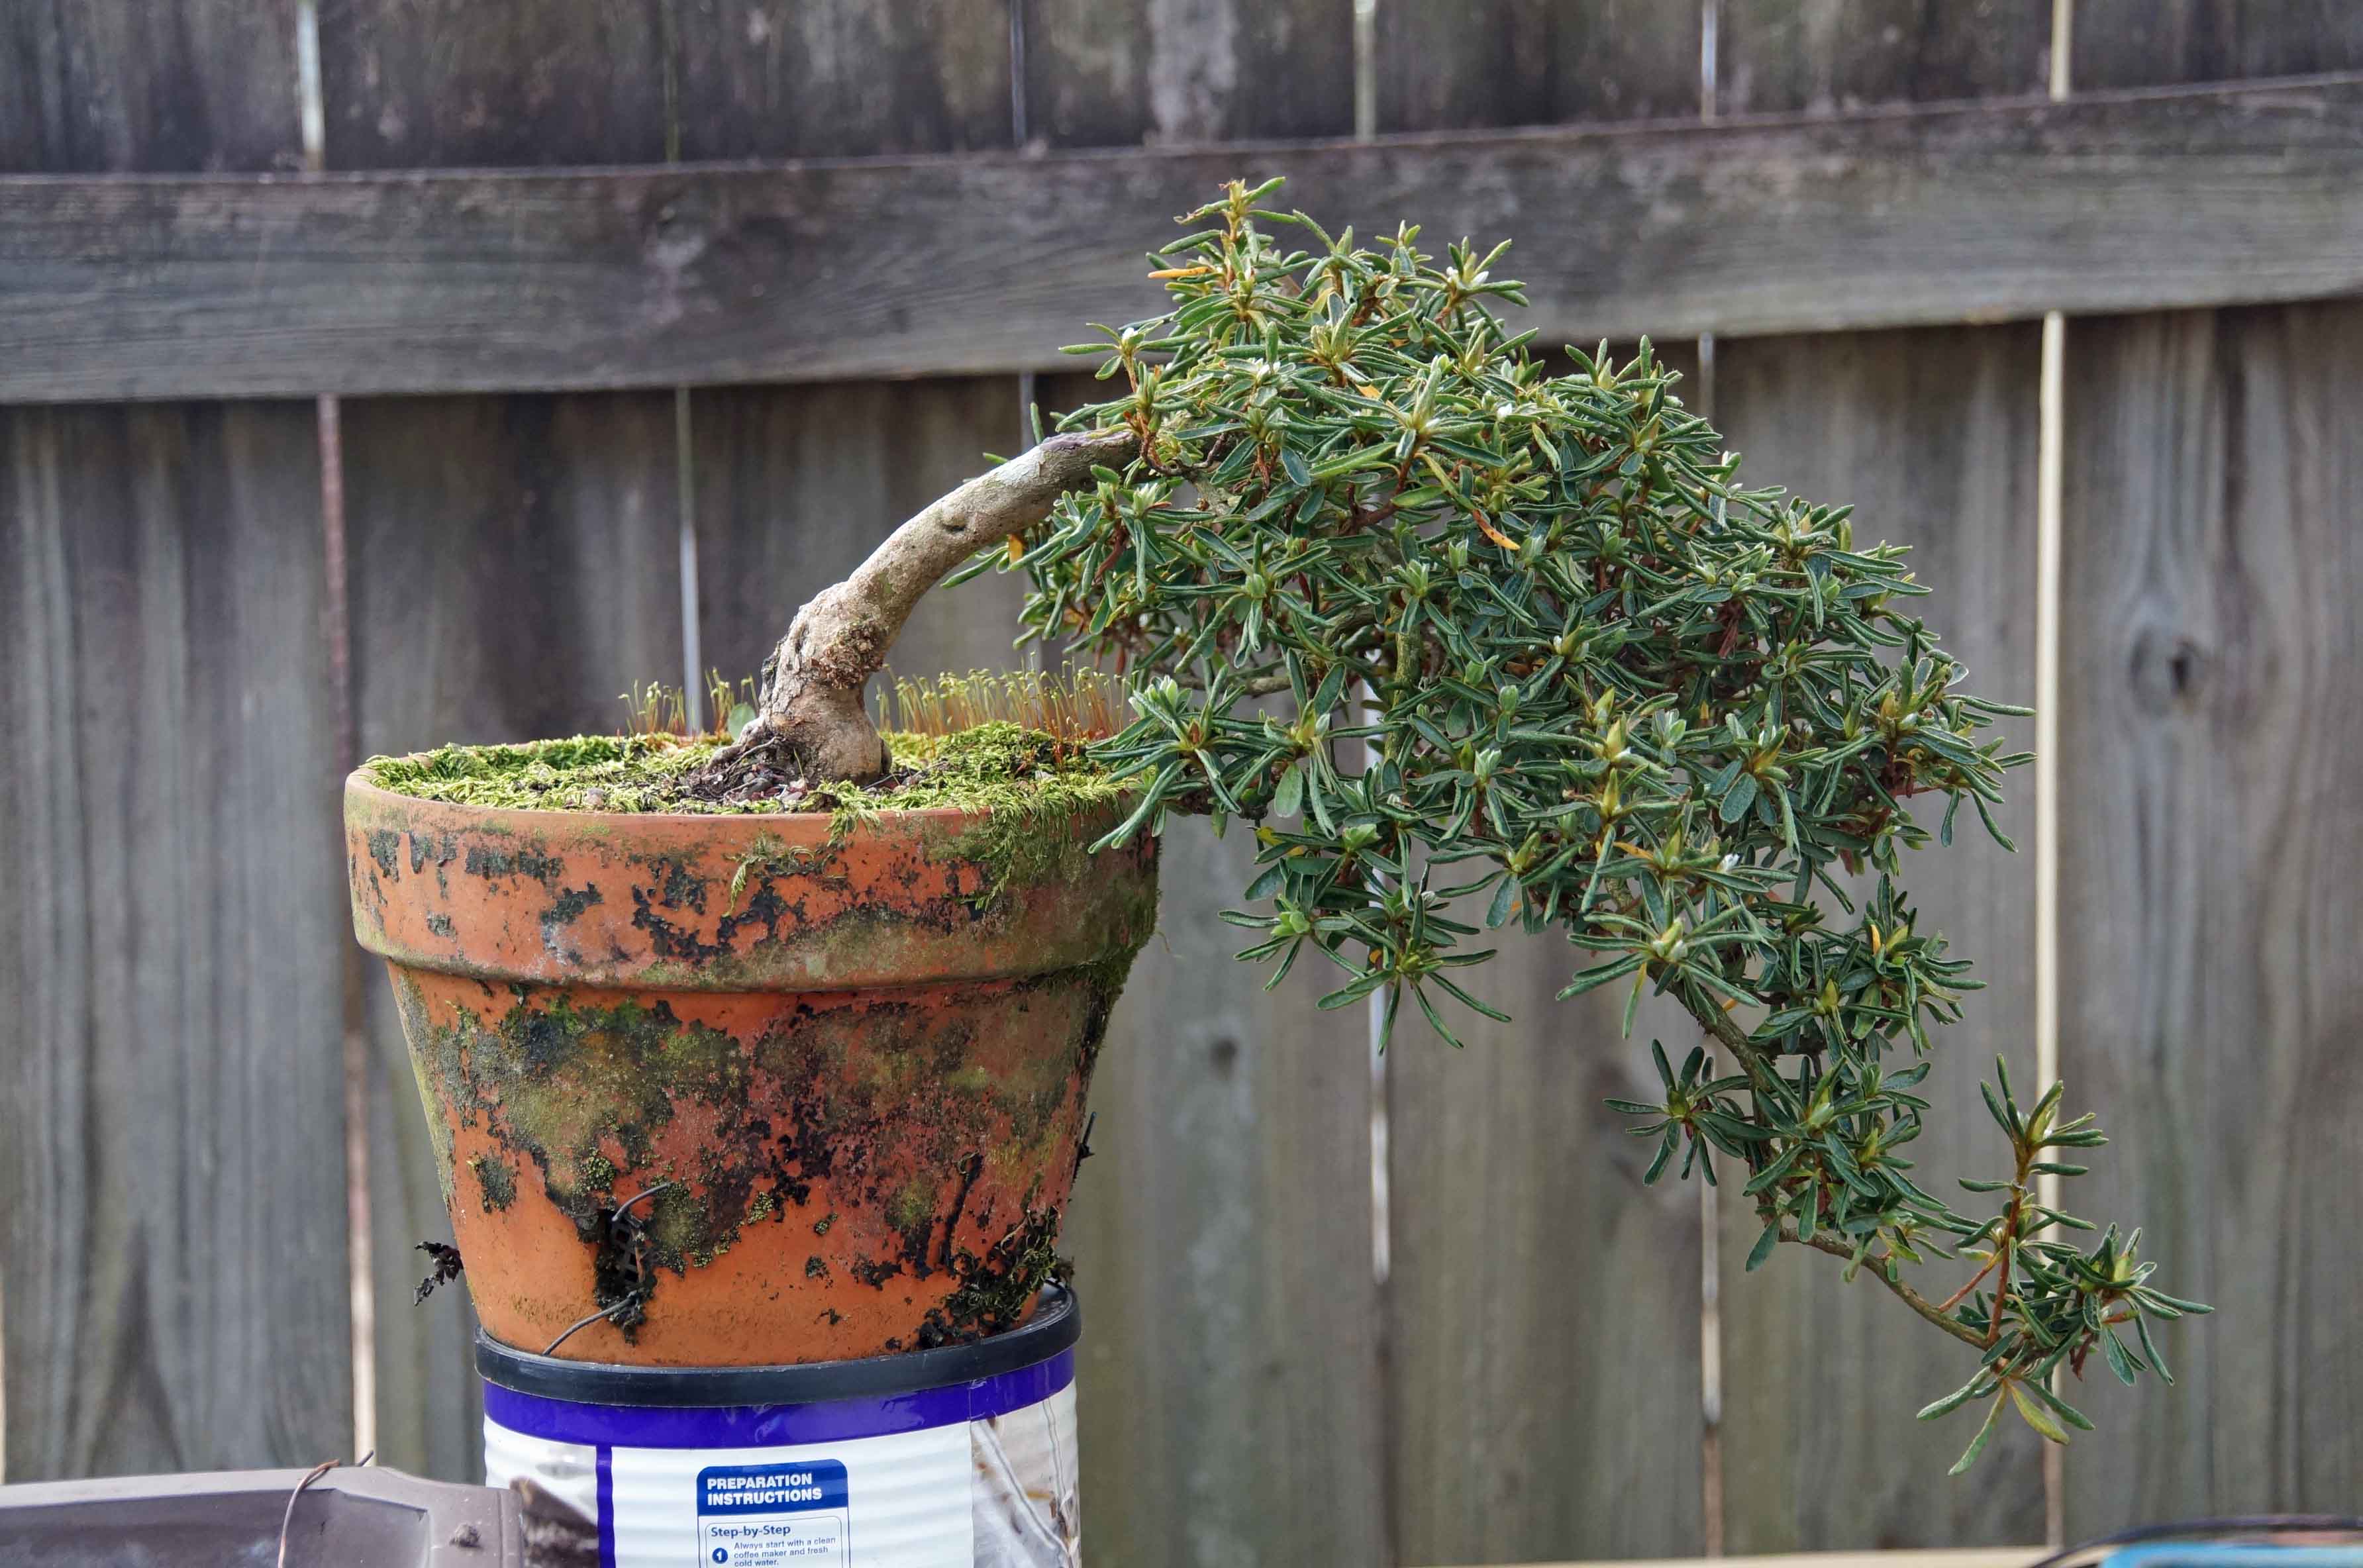
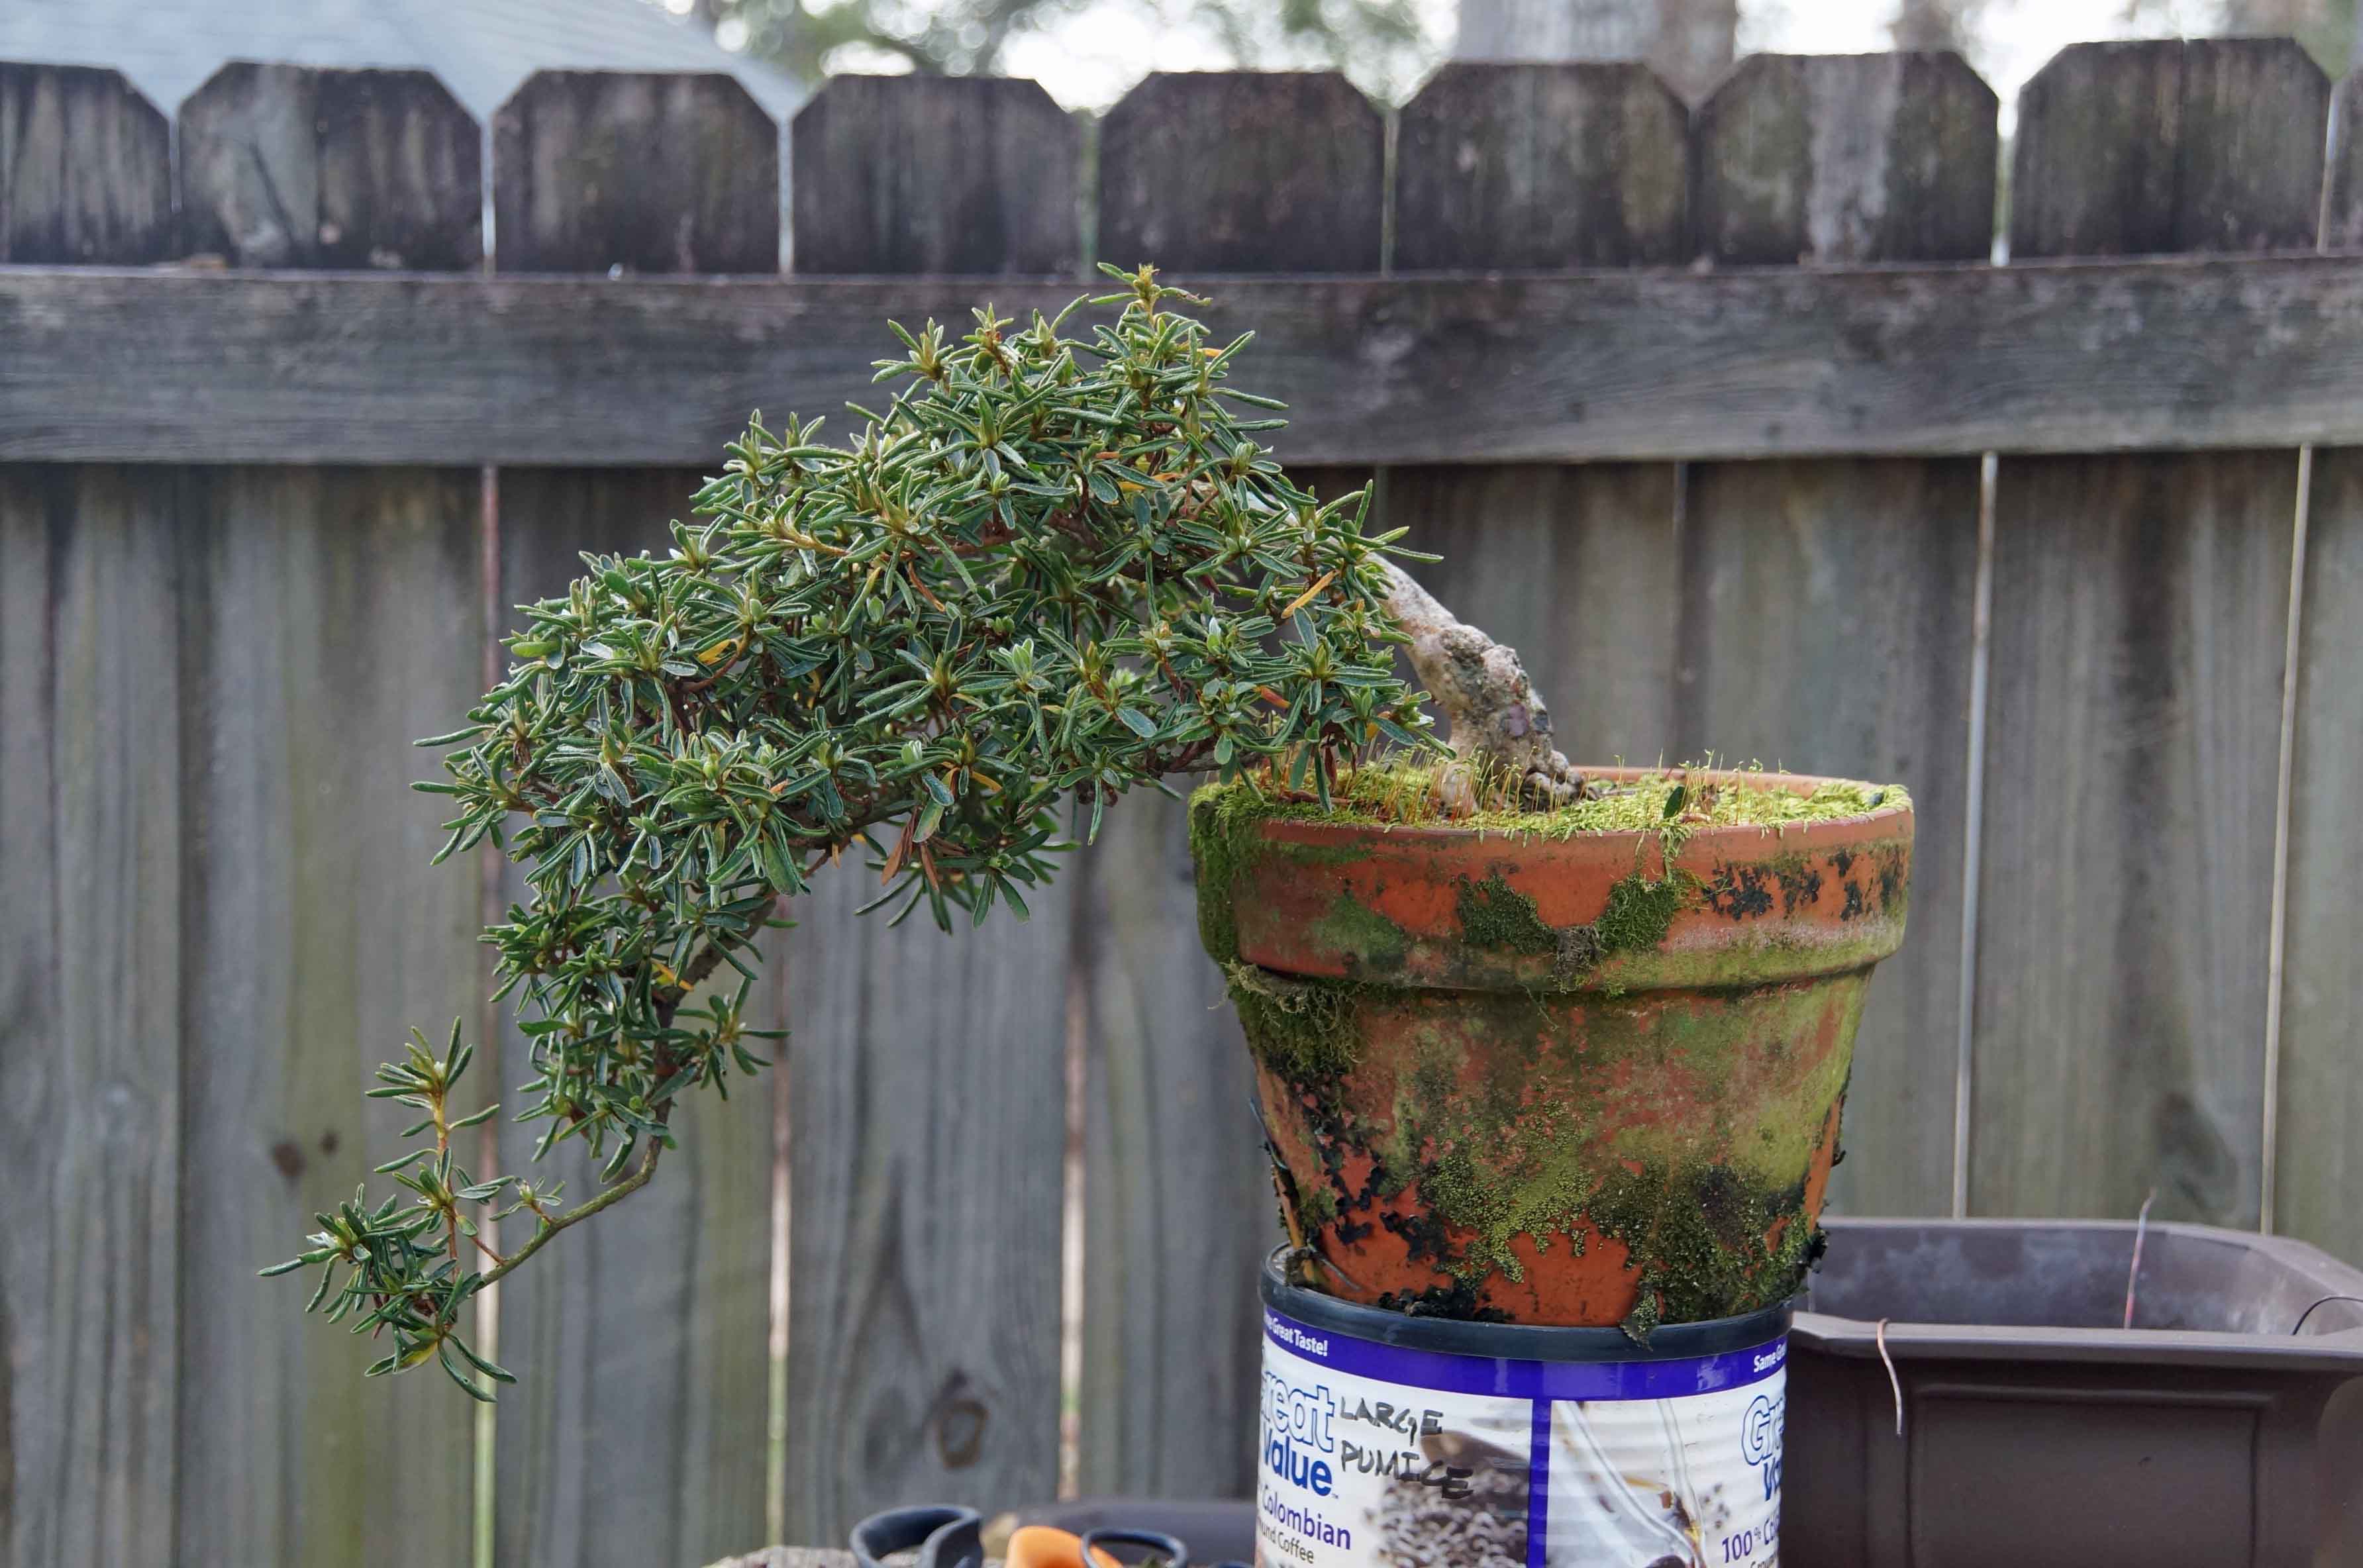
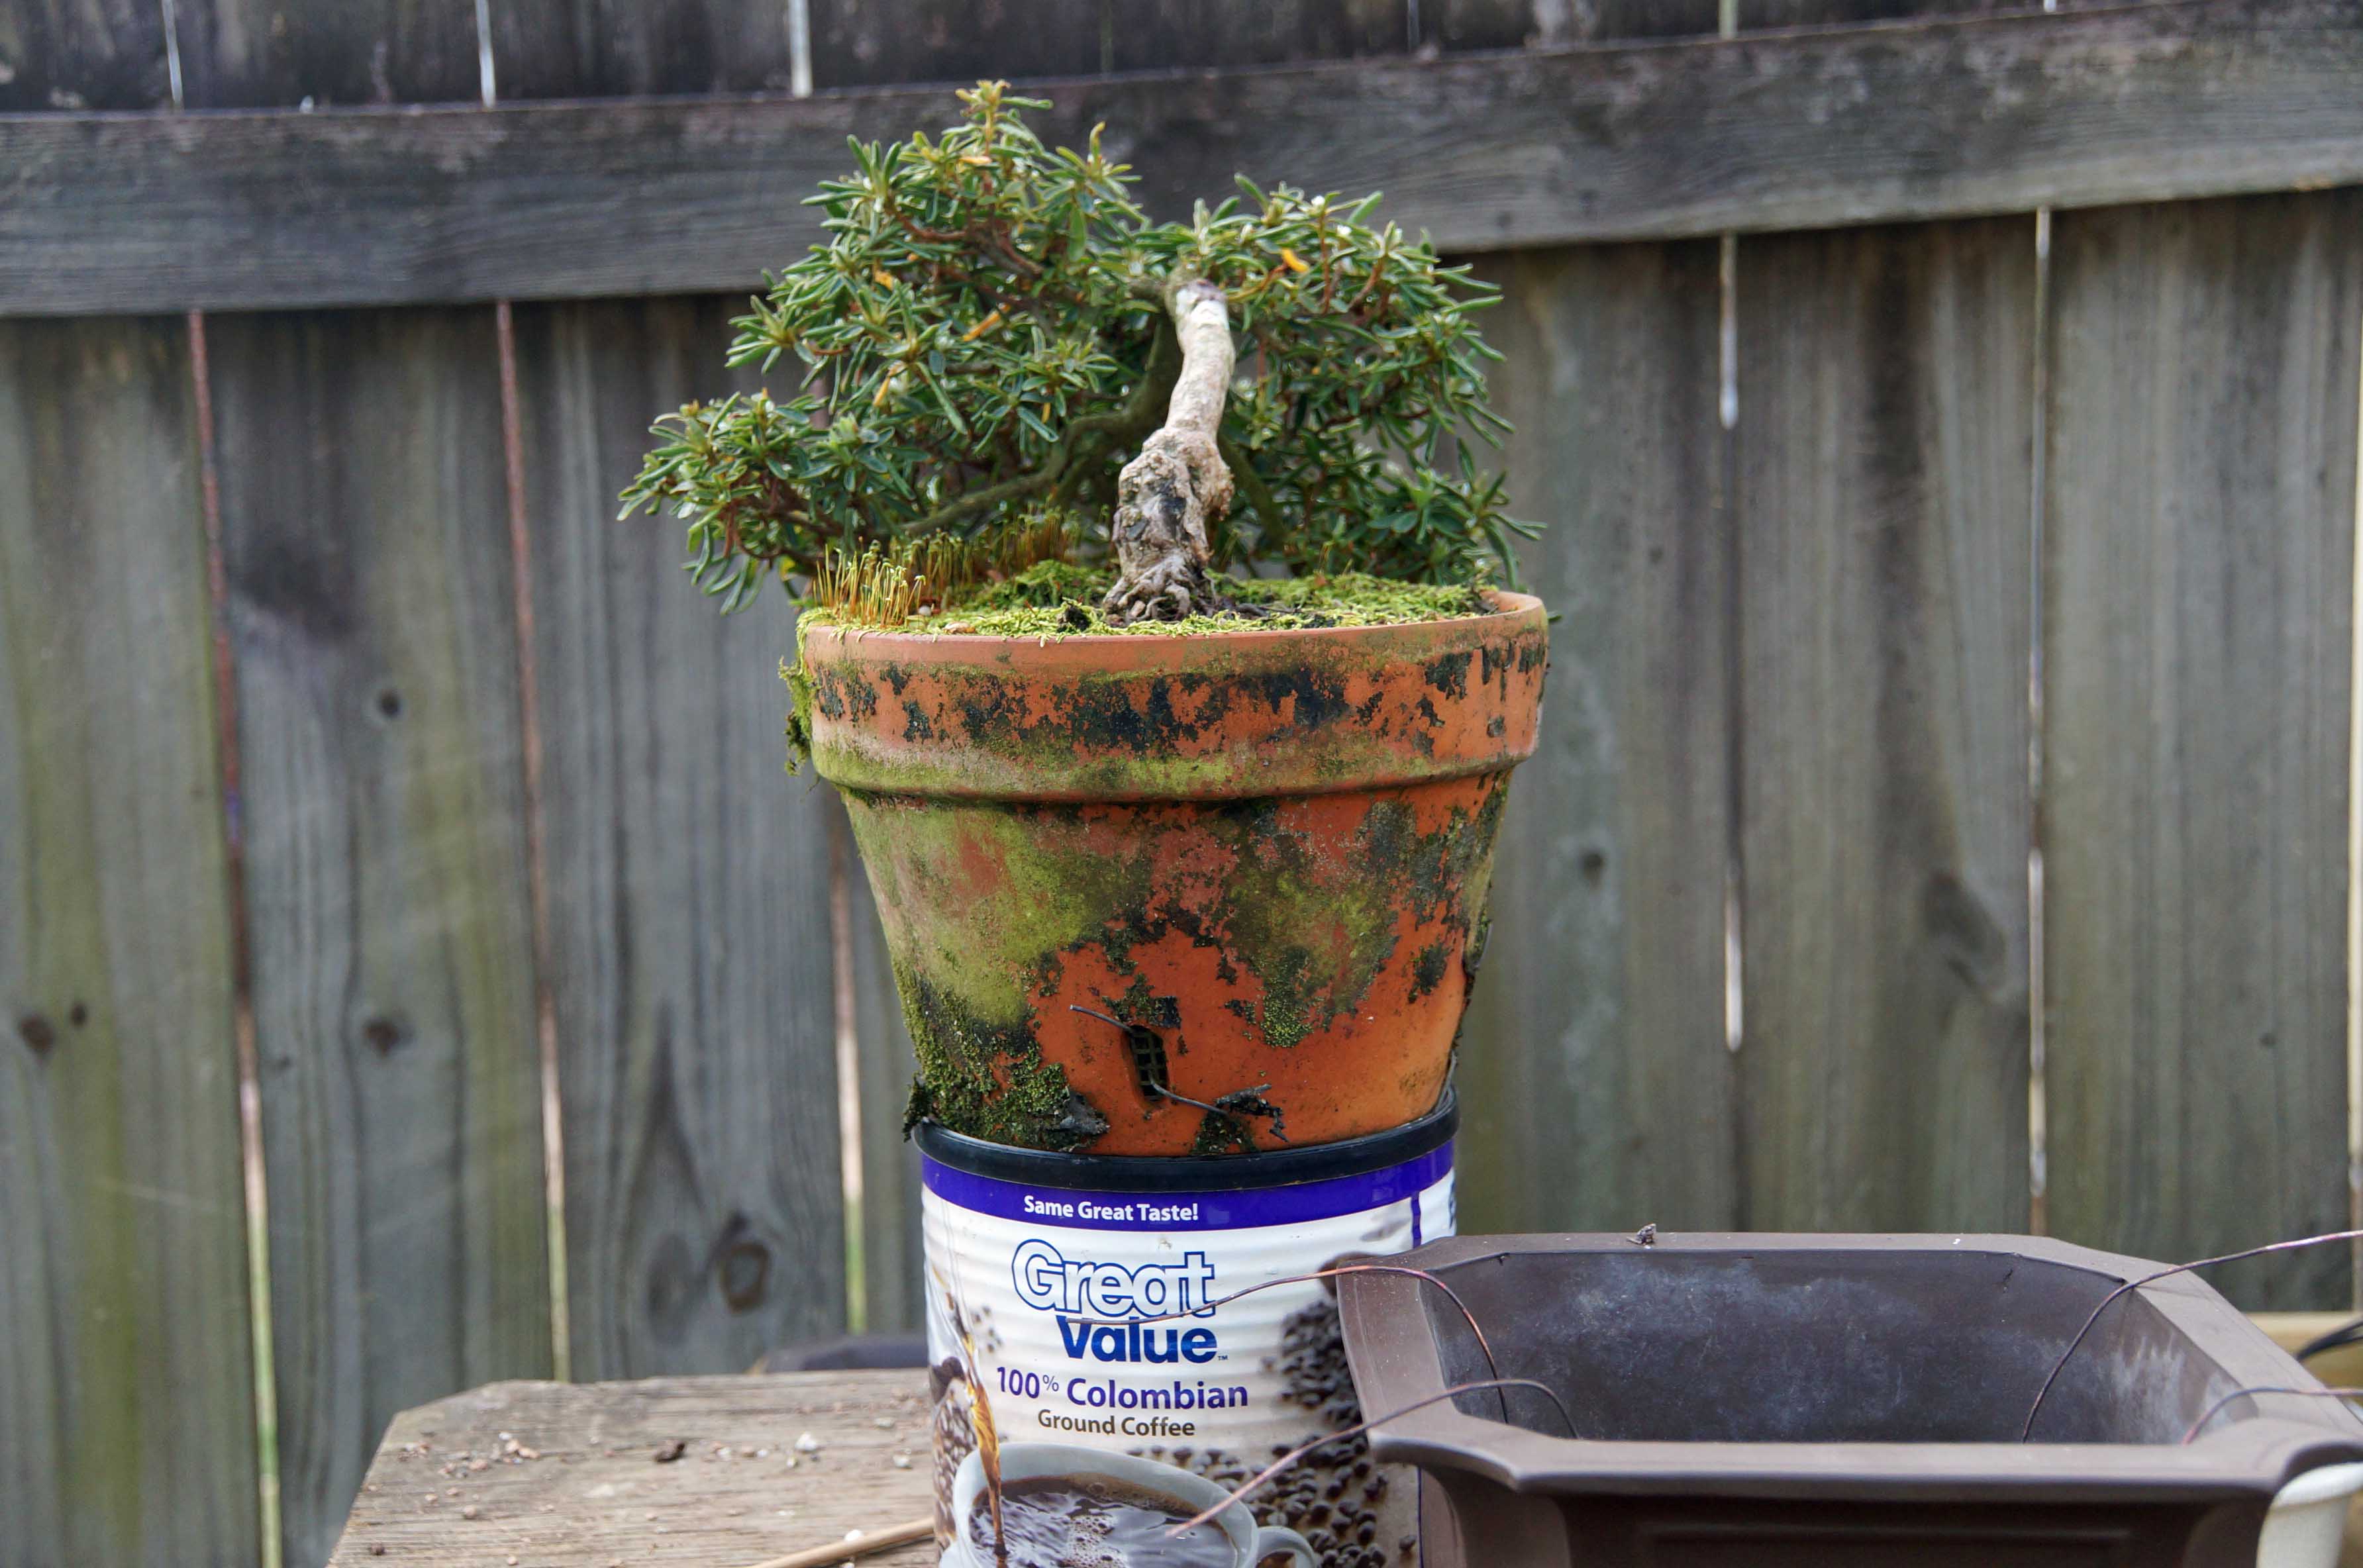
A look at all four sides, I really struggle looking at it now, it had such a beautiful shape when the apex was attached…..Damn Squirrels!
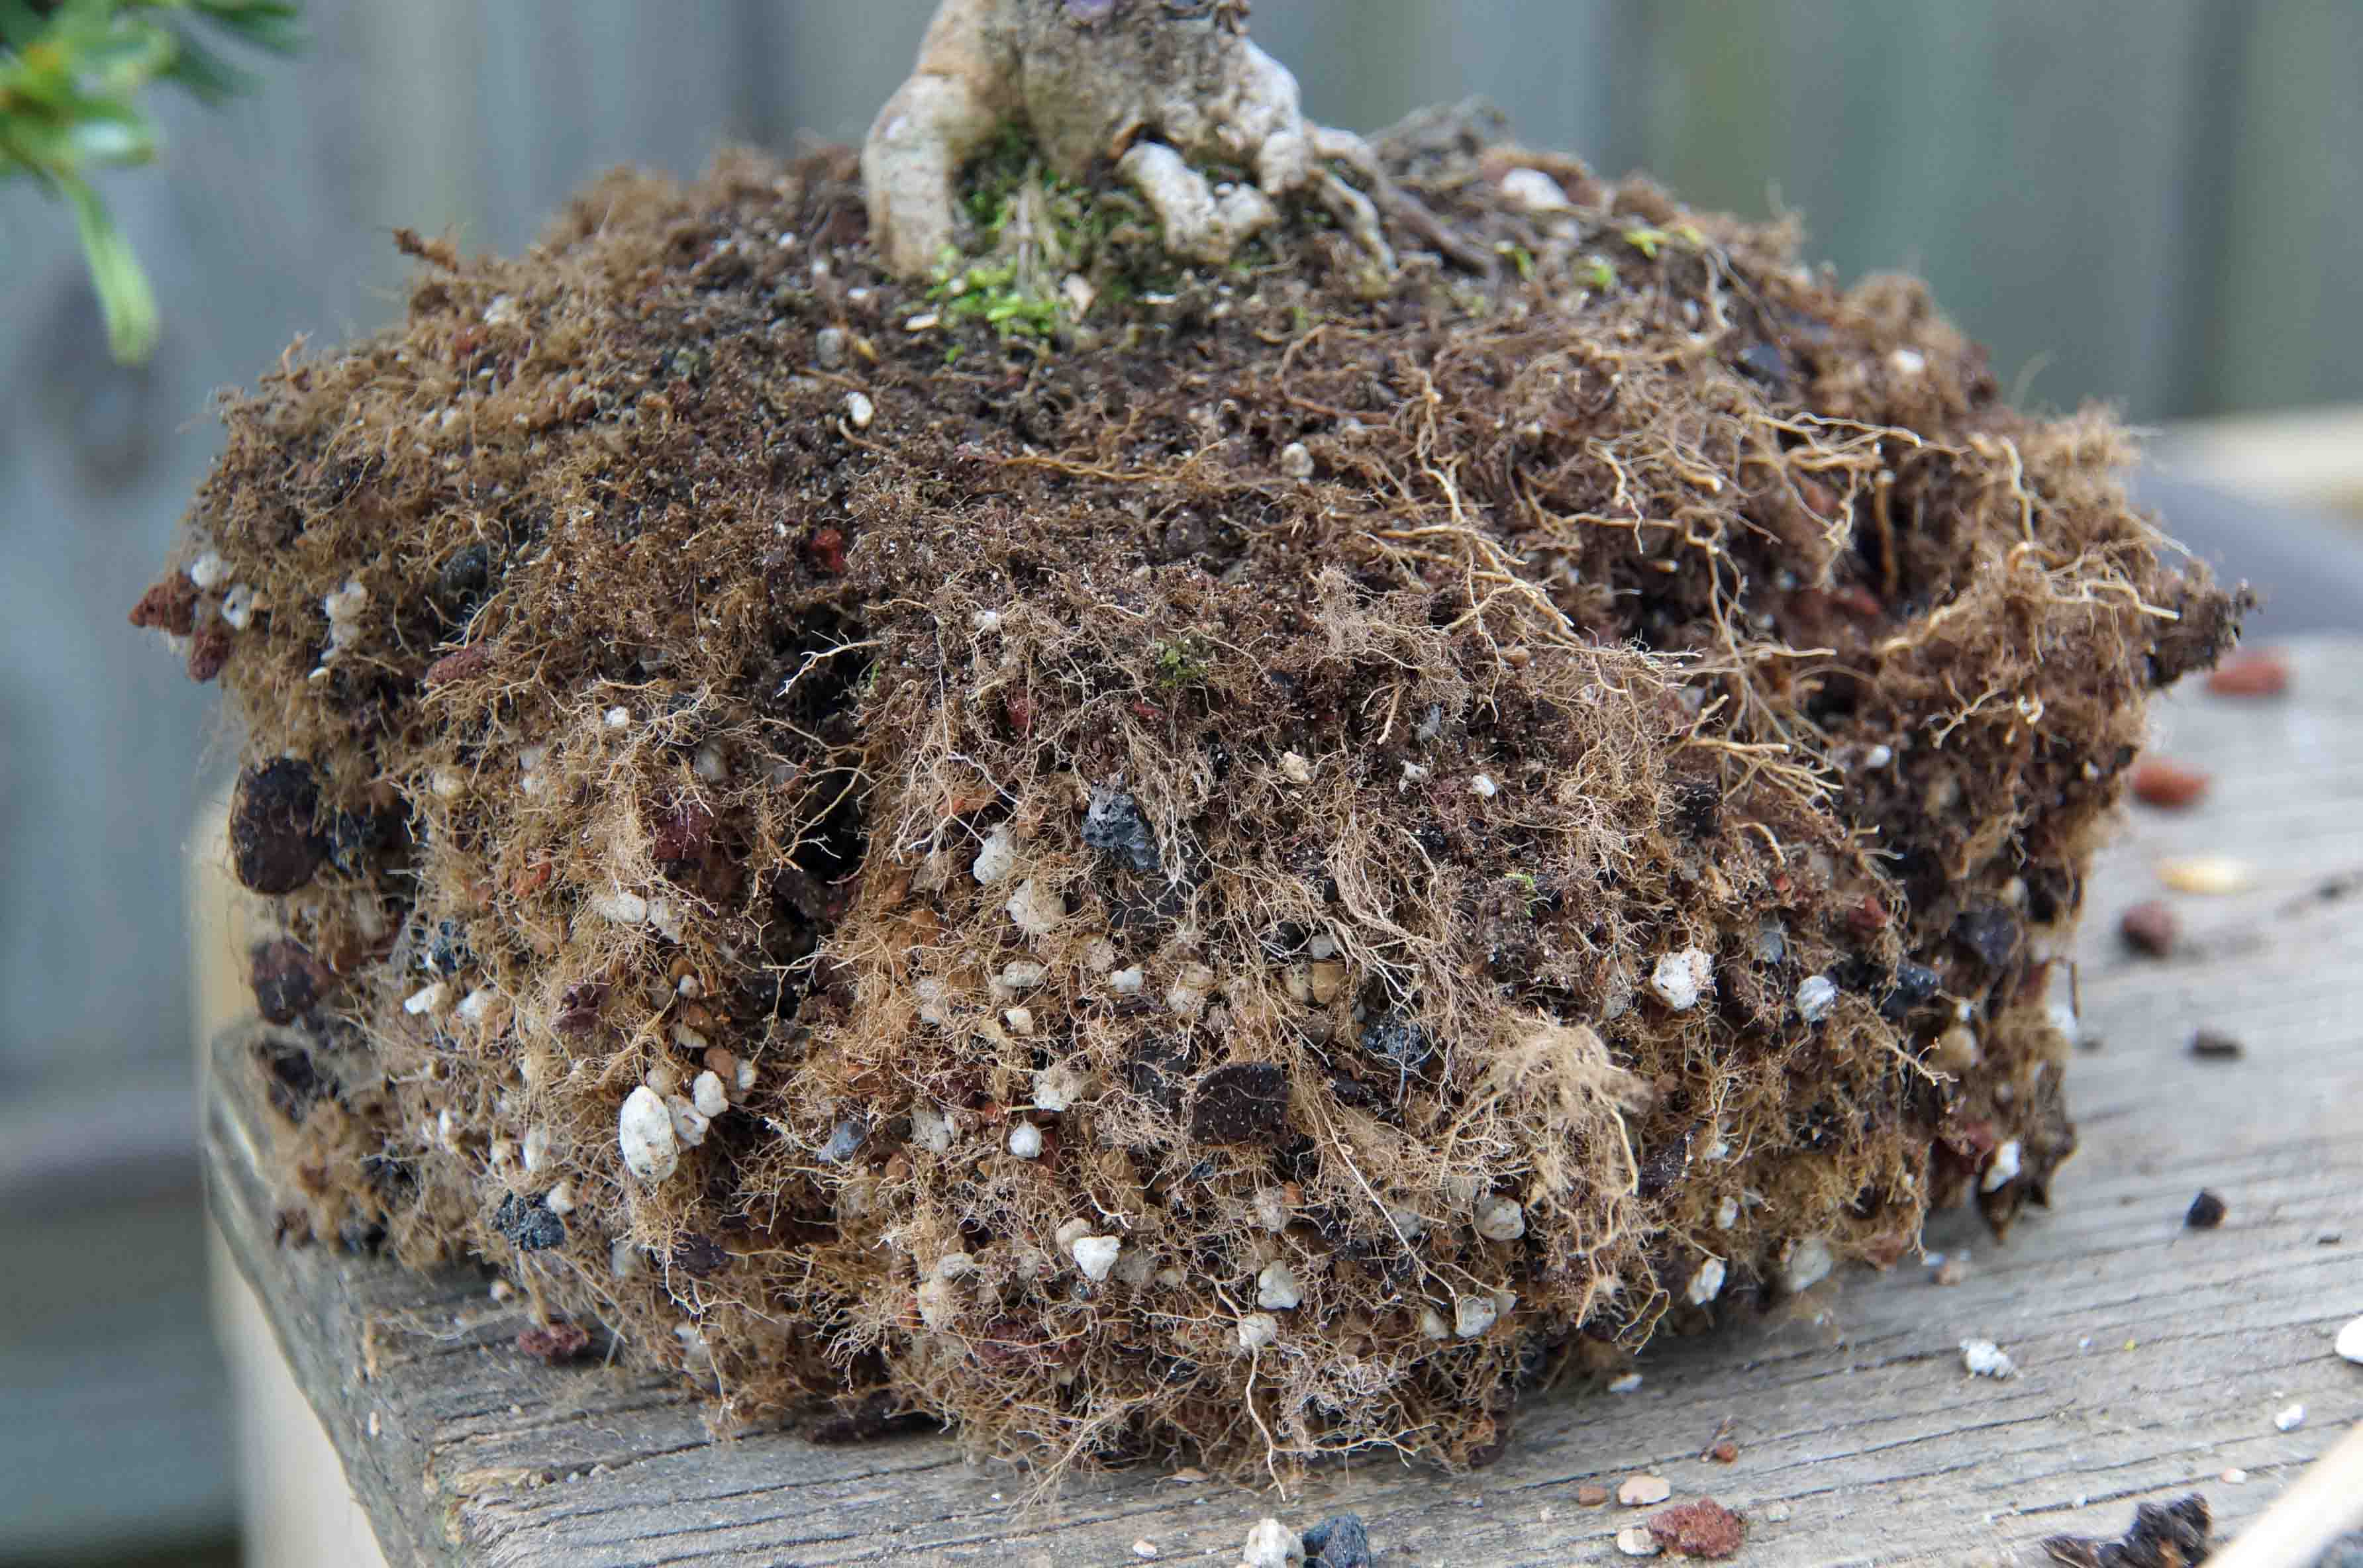
A look under the hood to see what kinda work needs to be done. This is fairly typical for what you will see in a root bound azalea. A compacted mass of fine roots in the shape of the container it was in.
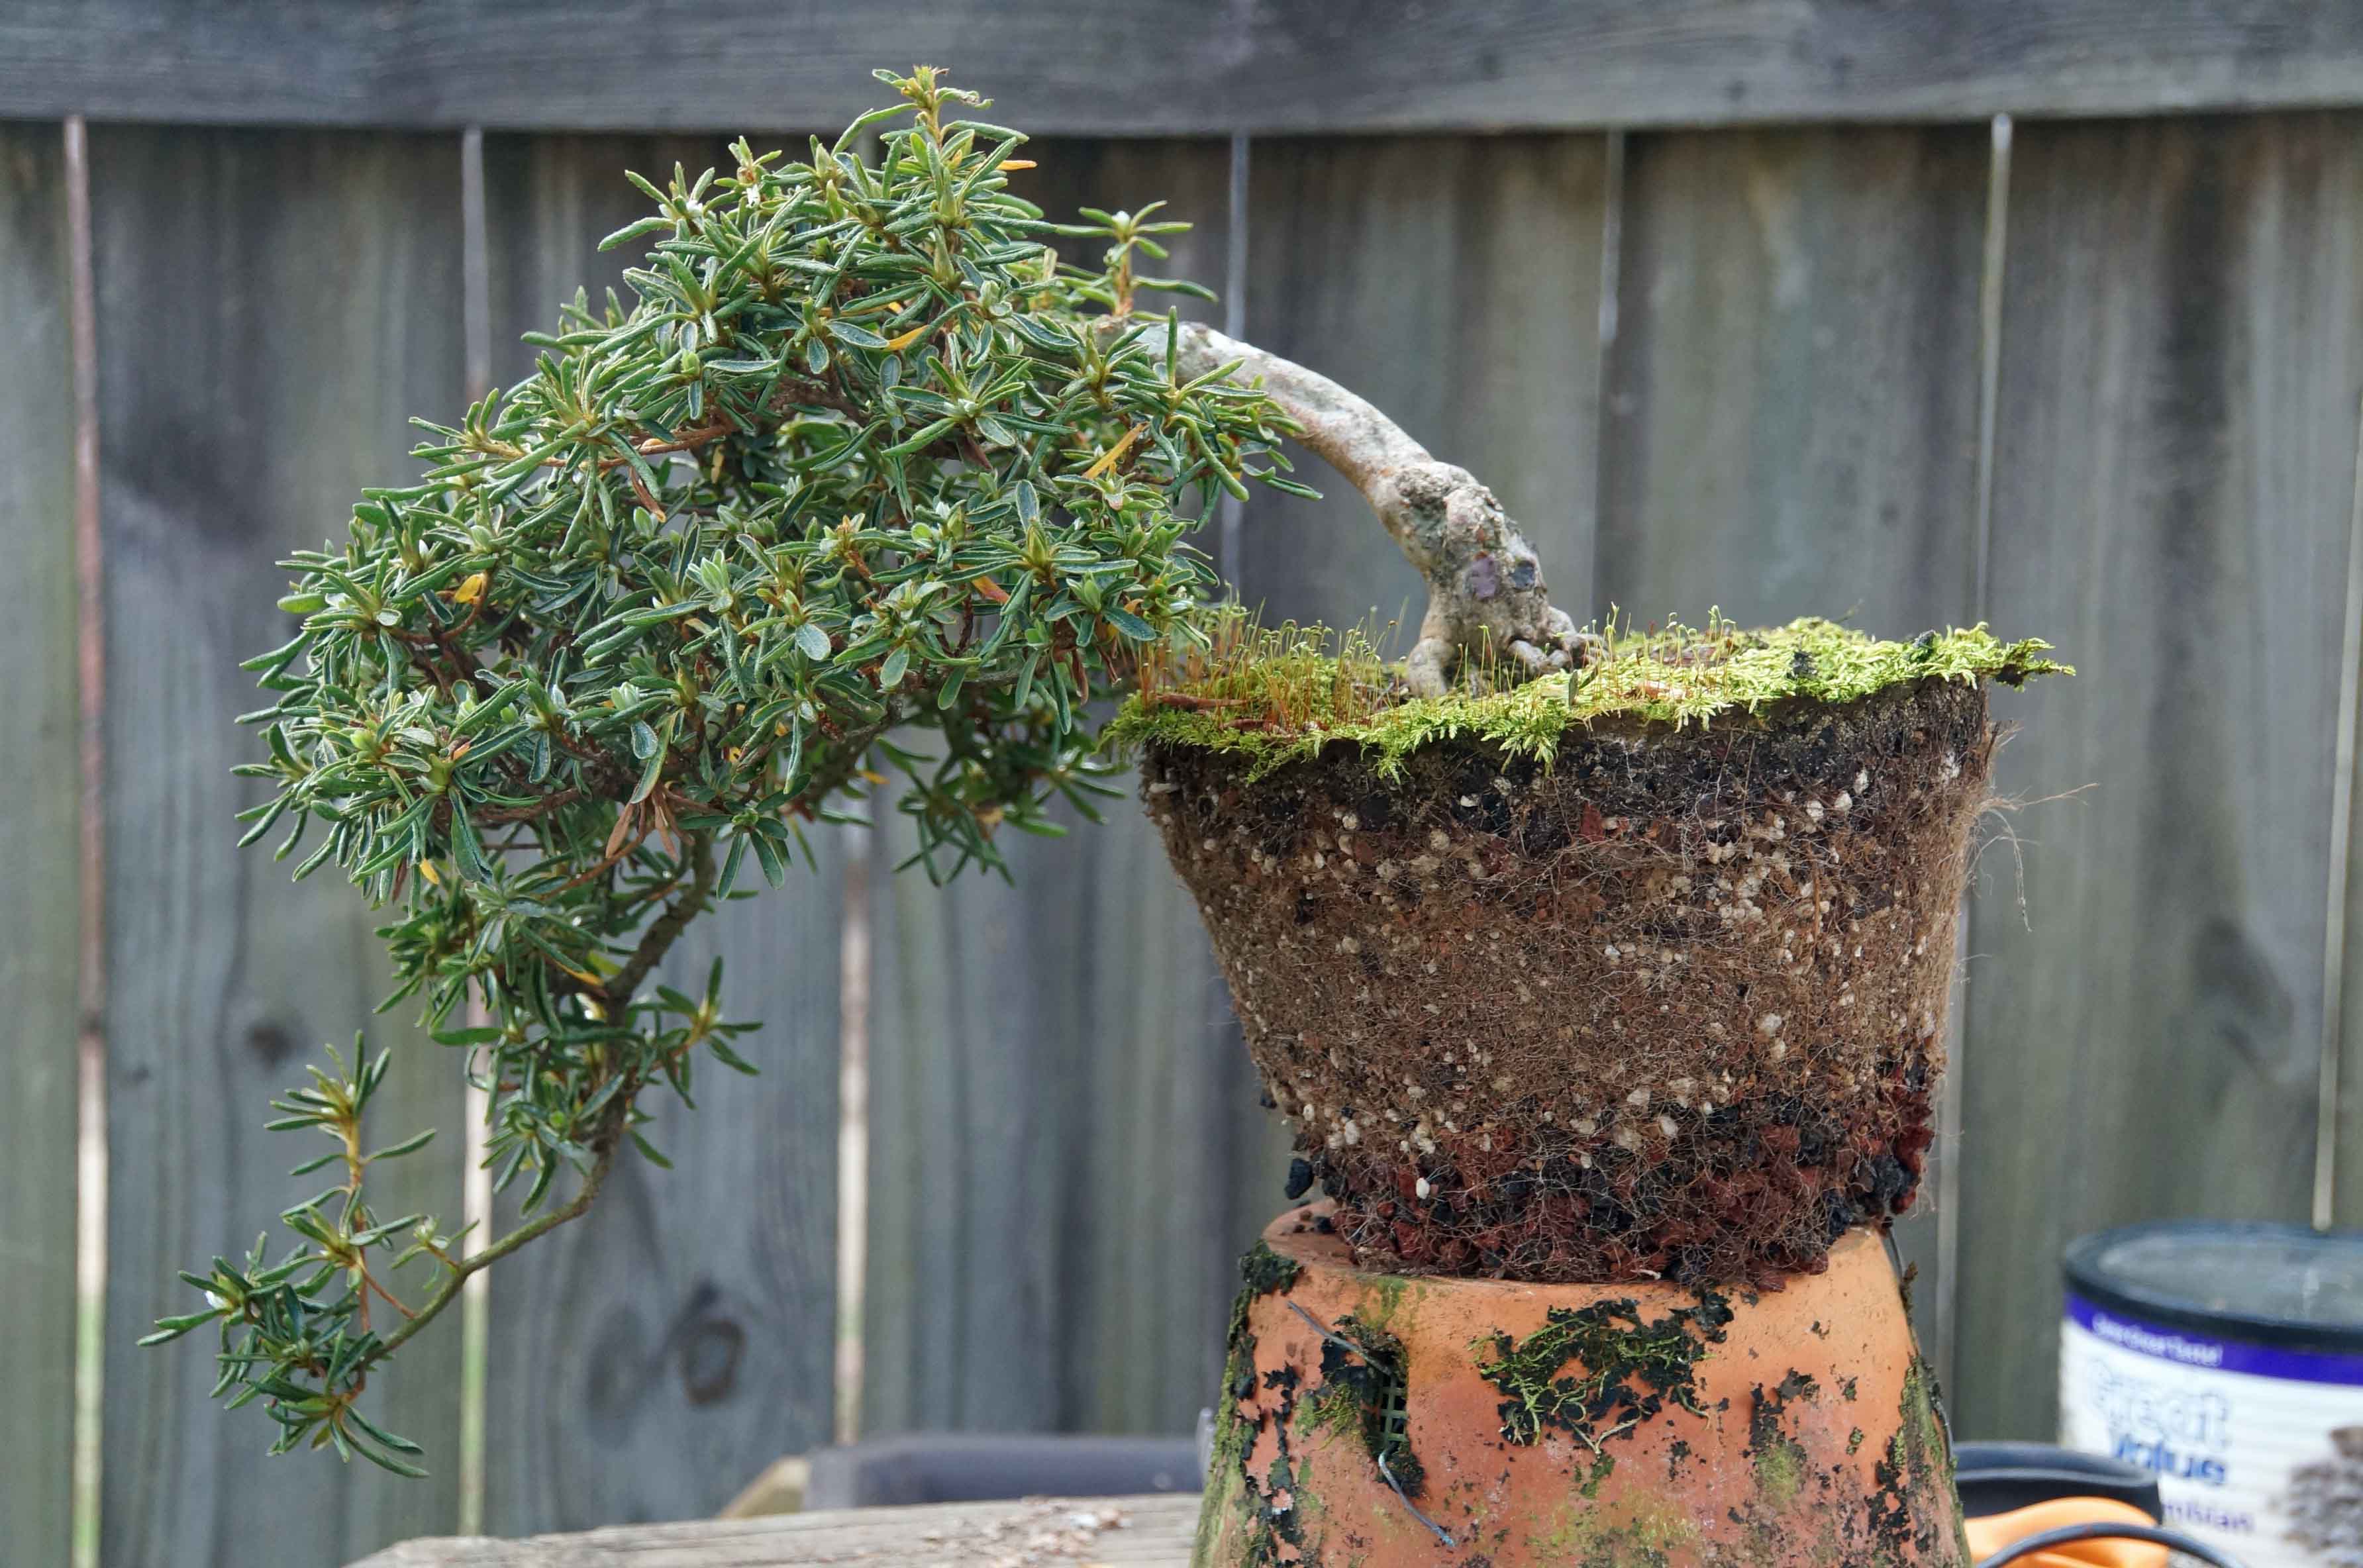
I like to start by combing the outside of the root ball out. As you can see, there are a lot of healthy roots. If you ask on the interwebs about what is the best soil for azaleas, you will most likely get kanuma as your answer, followed by akadama, or sometimes a mixture of both. These two items are from Japan and are a little spendy here in the States. The good news is, you don’t need it! That’s right, you don’t need kanuma, akadama, or magic pigeon poo from Japan to grow great bonsai. Besides, the stuff breaks down into a terrible muck in less than a year in my climate. The reason why the Japanese use it is because it is cheap and readily available to them, they don’t want to pay the up-charge on imported substrate from the U.S. You can grow excellent trees in materials that are easily available here at home. This azalea was growing in 40% lava (scoria), 40% pumice, and 20% fir bark, I think the health of the roots speaks for itself. This year, I can no longer easily get pumice, so, I am substituting Optisorb, a diatomaceous earth product, for it in the mix. It looks promising.
Oh, kinda got off track there a bit, here are the roots:
Oh, kinda got off track there a bit, here are the roots:

I kinda let myself down, and I guess anyone else who might be interested in the article, I got caught up in the work and forgot to take as many pictures as I would have liked. But I think I can work with it and the reader might have to use their imagination, just a little bit.
Next the roots were trimmed, about an inch and a half all the way around was removed and also about a third of the mass was trimmed off the bottom. The new pot was slightly larger so I did not have to hammer it too hard.
Next the roots were trimmed, about an inch and a half all the way around was removed and also about a third of the mass was trimmed off the bottom. The new pot was slightly larger so I did not have to hammer it too hard.
I really wish I had taken those pictures, anyway, the tree was place into the pot, wired in, and new soil was added. Chopsticks were used to work the soil into the roots at the edge of the root mass and to eliminate any air pockets. Some moss to help with water retention.