
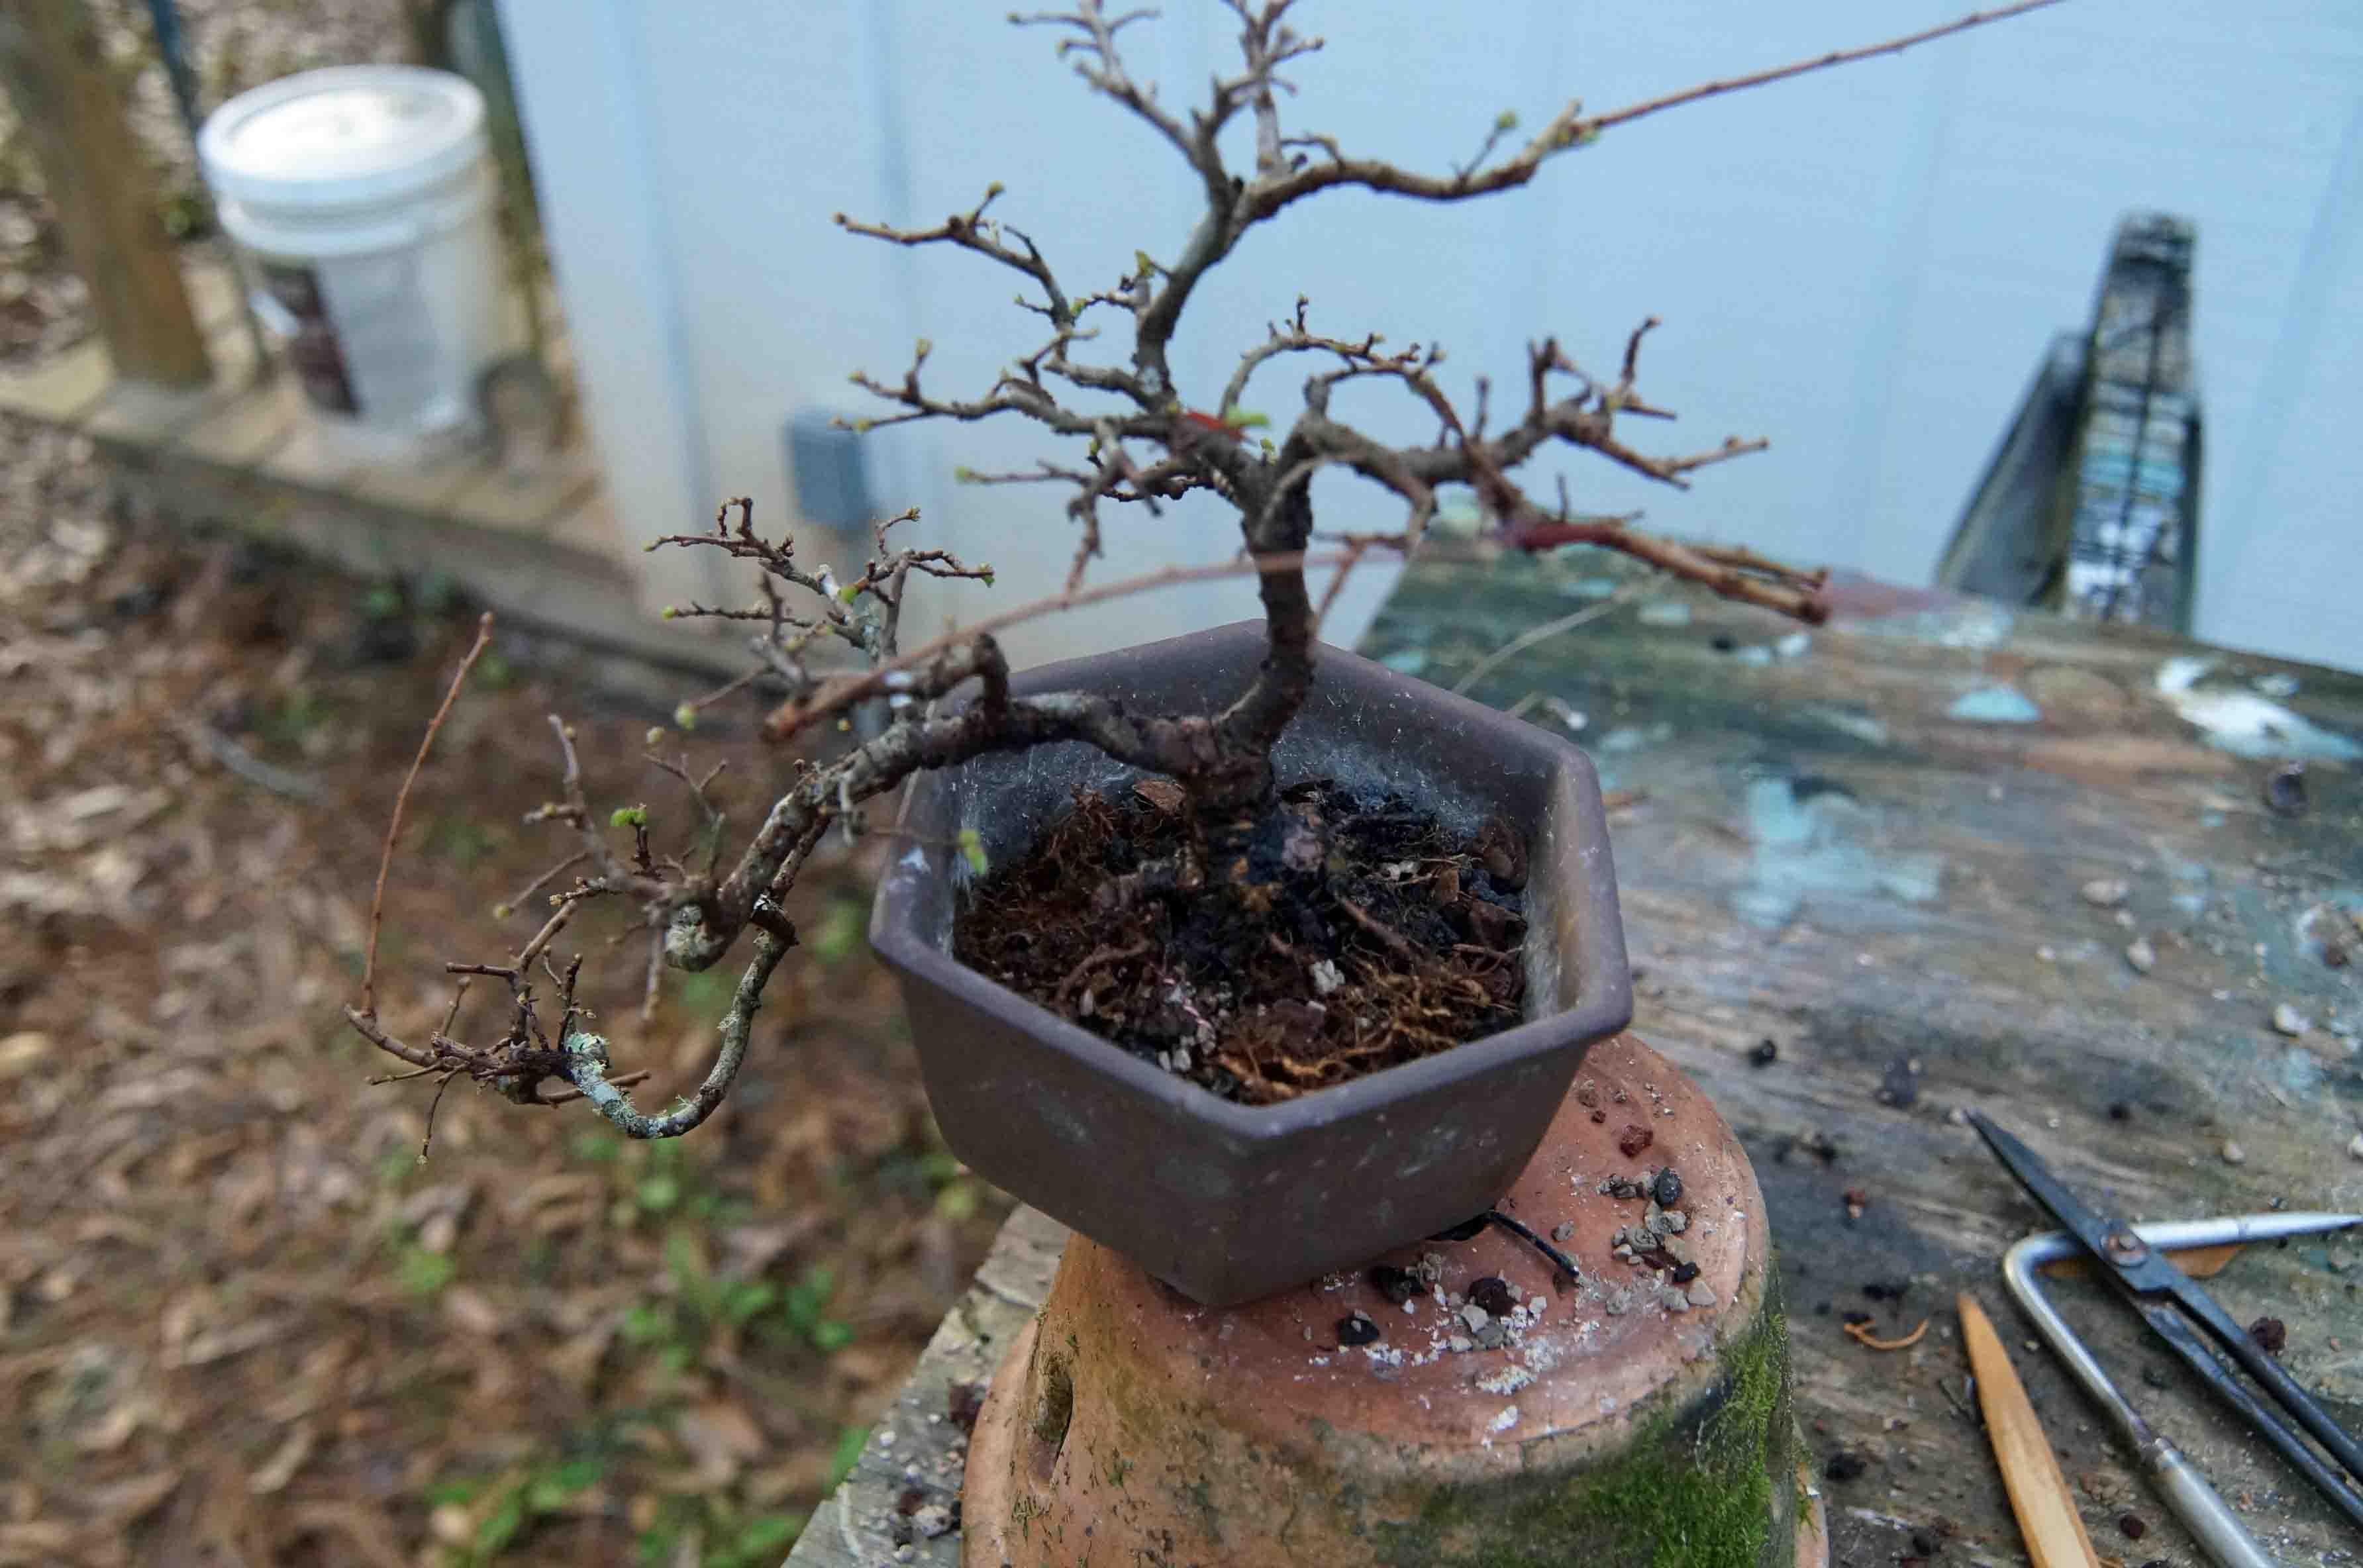
Well, up until tonight (1-30-2019), it has been a pretty balmy winter in the Heart of Dixie and a few of my trees have been waking up kinda early. This small elm was one of them. To be fair, it had a position on the bench where it caught a lot of sunlight and with the dark pot the roots probably saw a little more heat, but January is early, even for me. Since it had started to bud, I decided to give it a repot. I know that it will have to be protected from freezing temps but since it is small, it won't be much trouble.
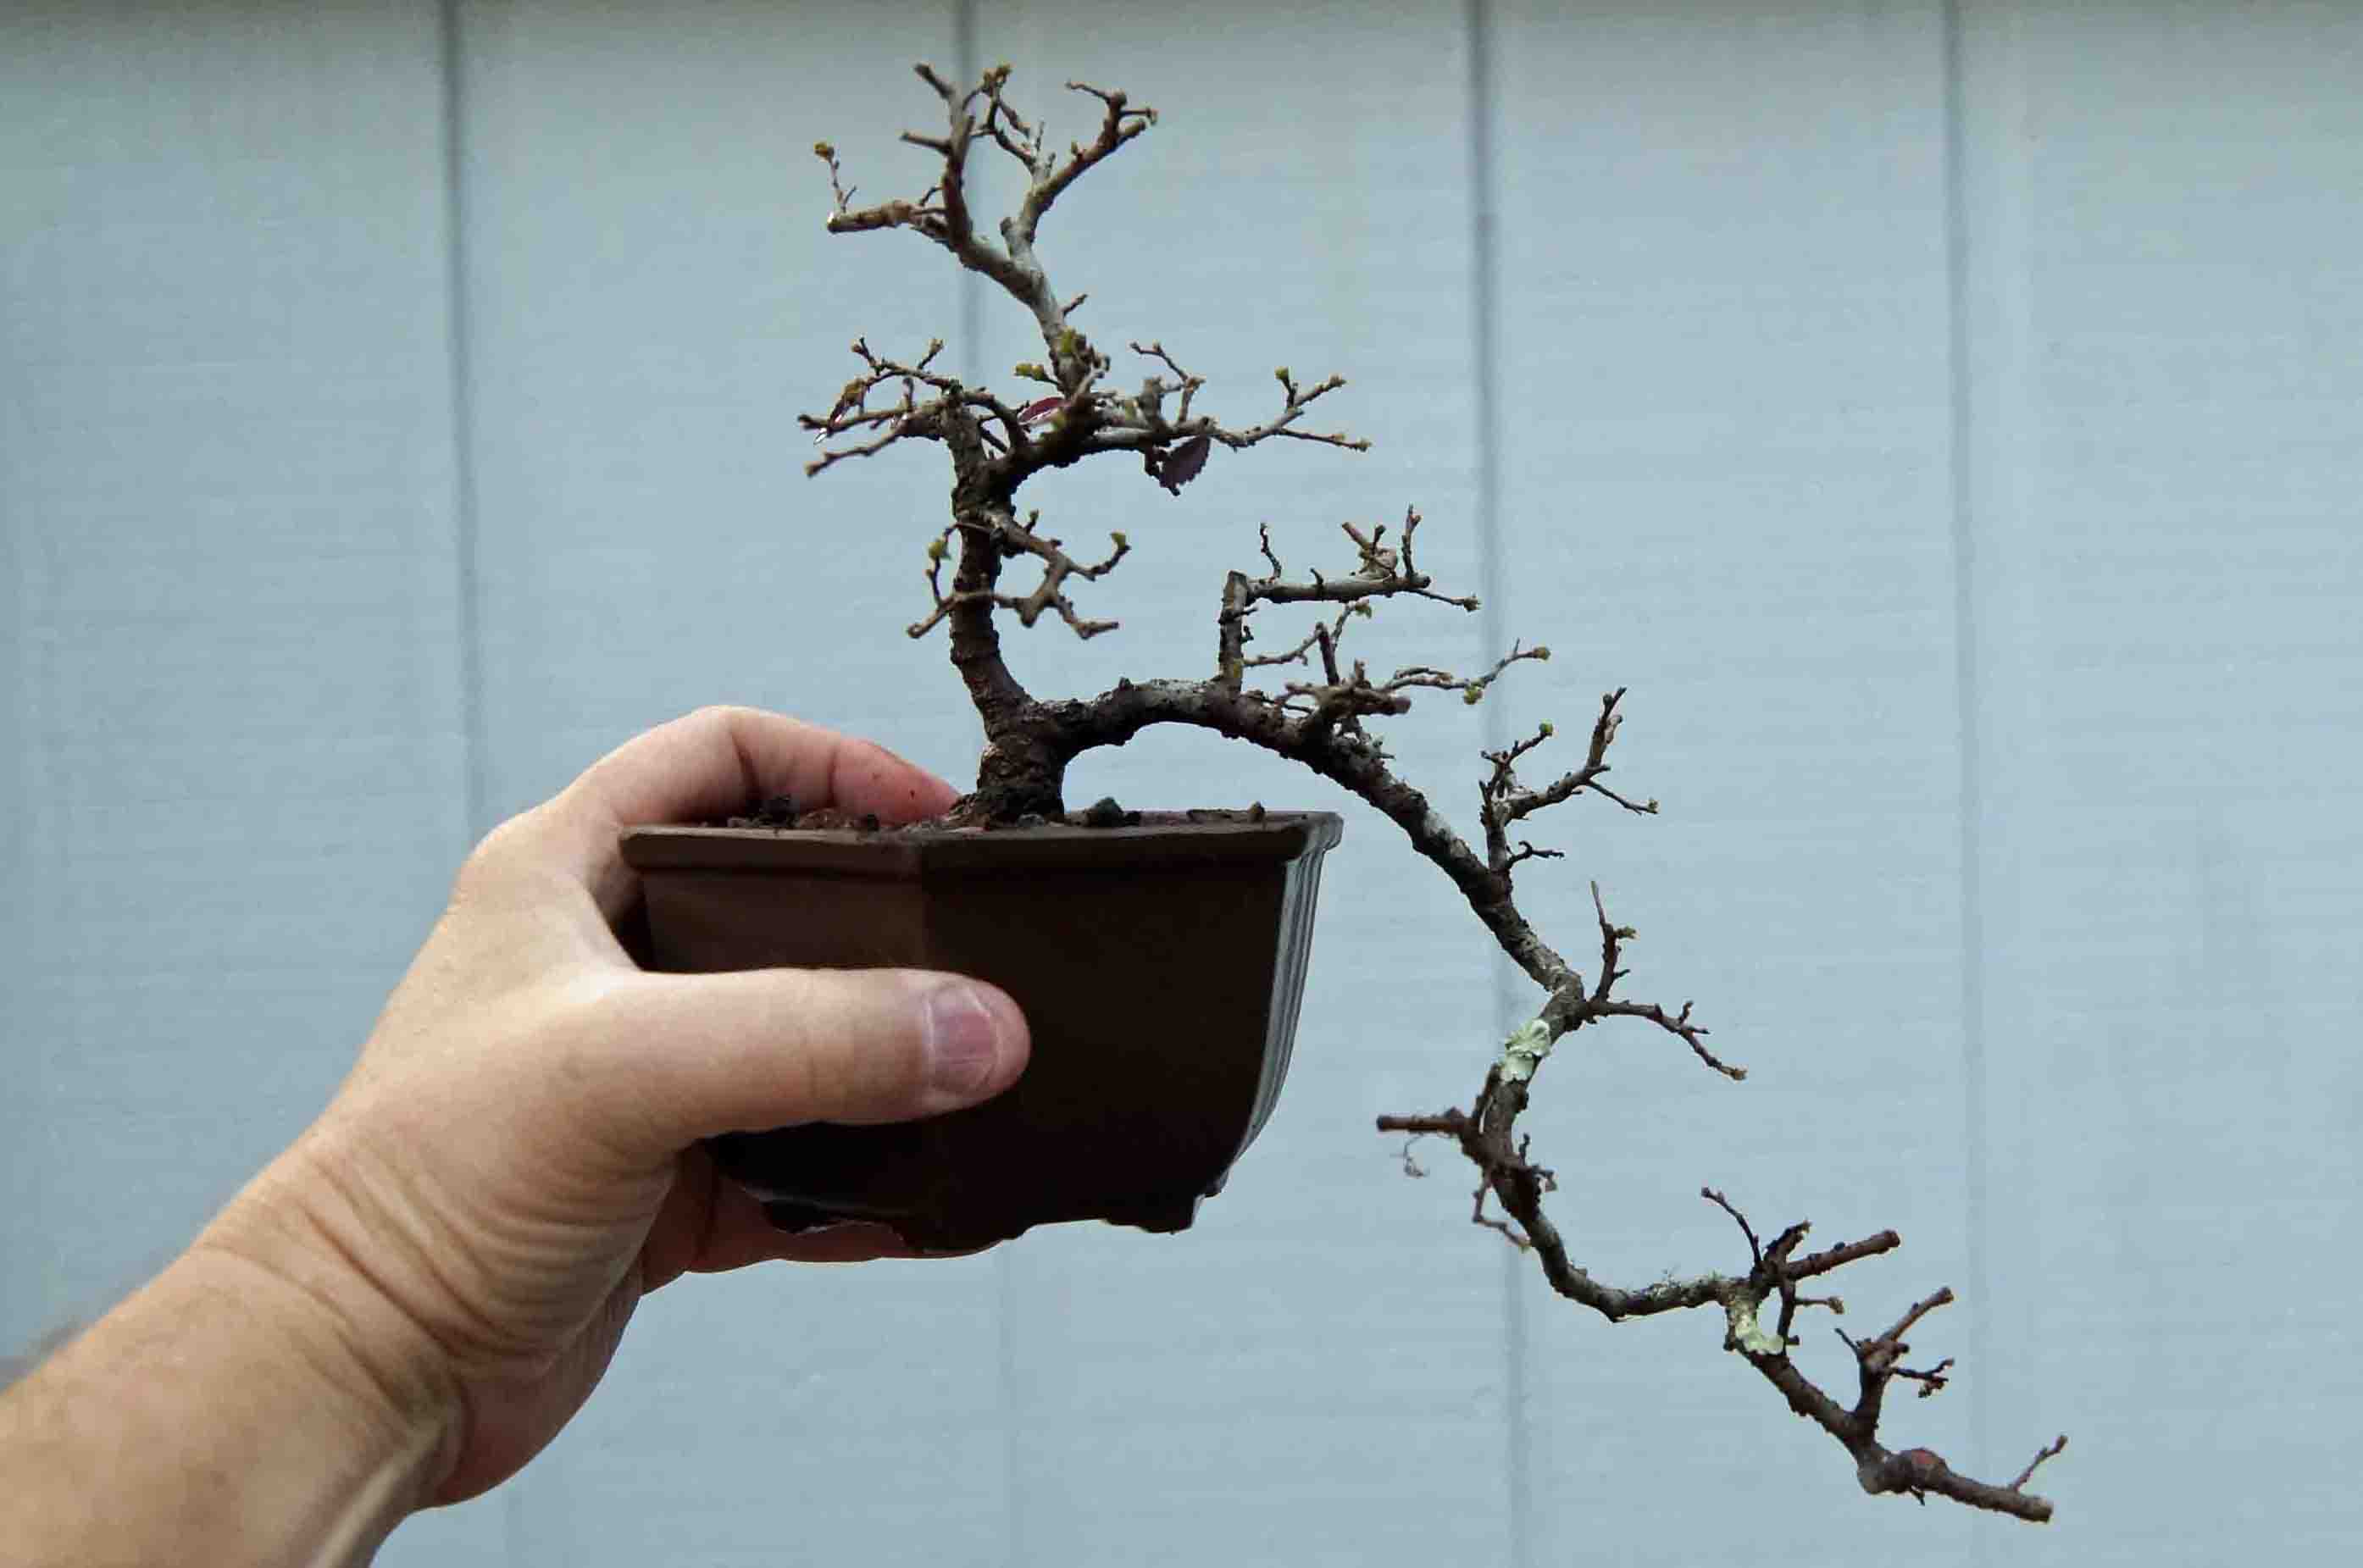
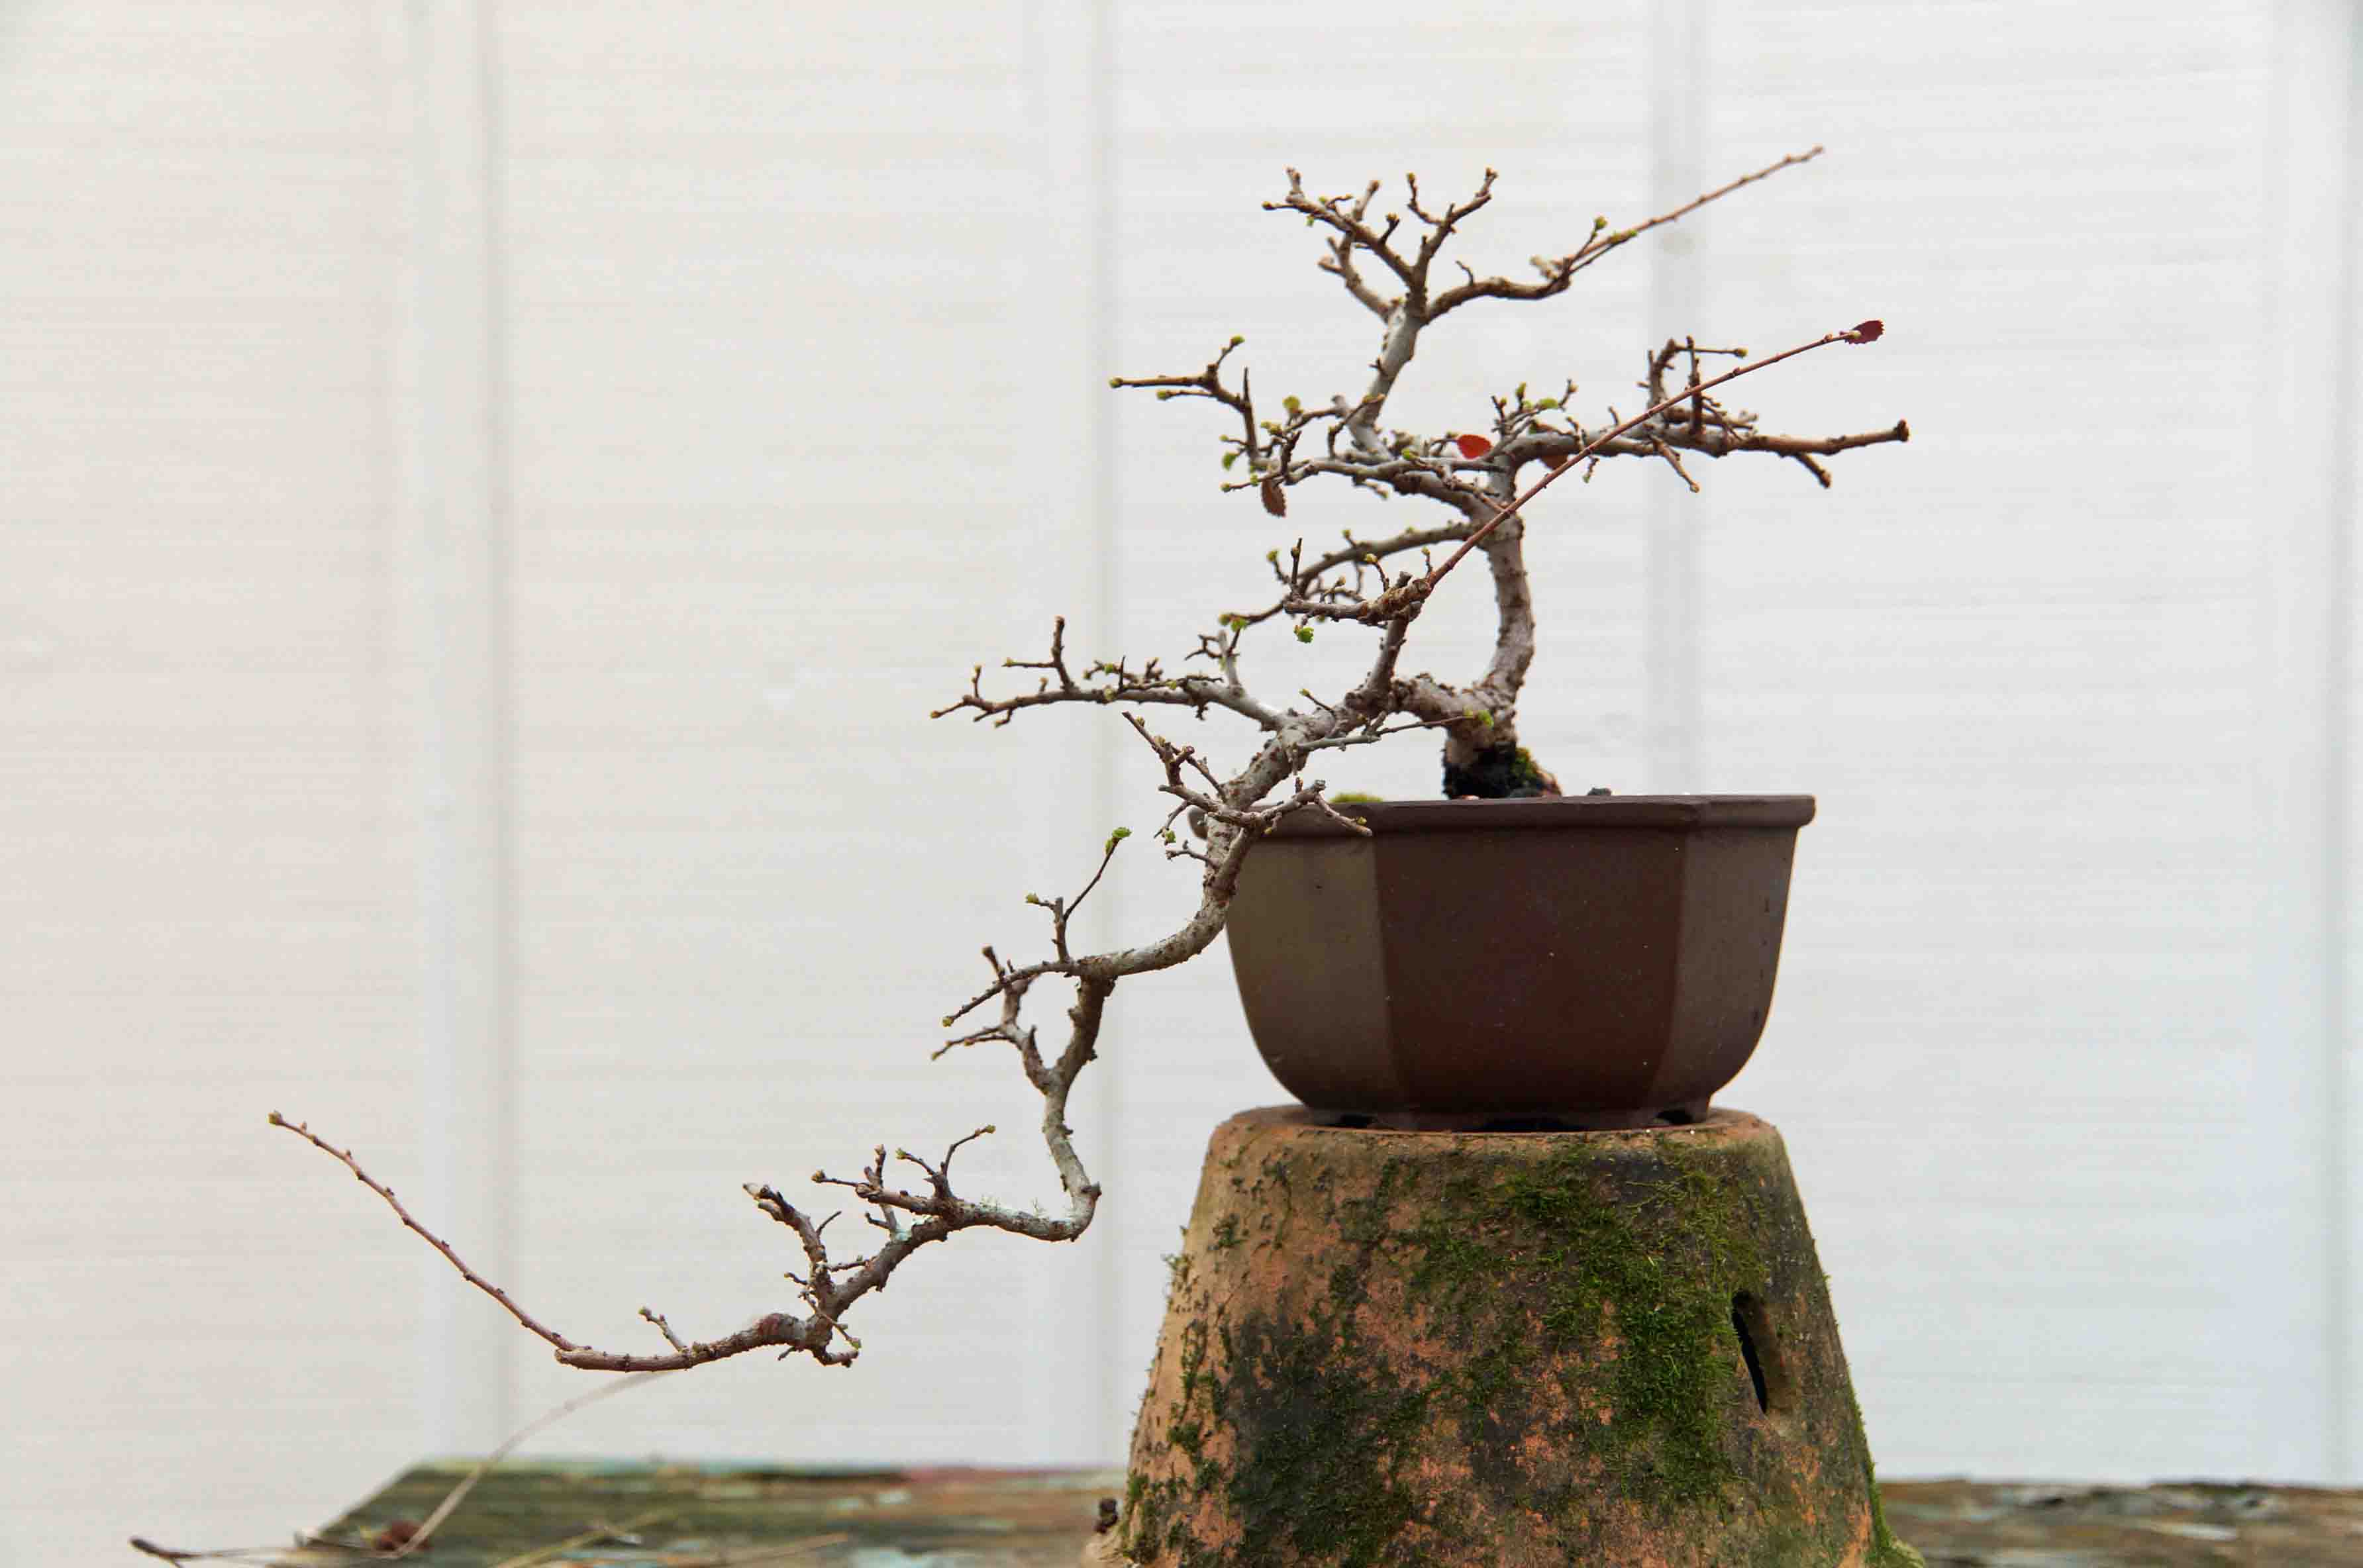
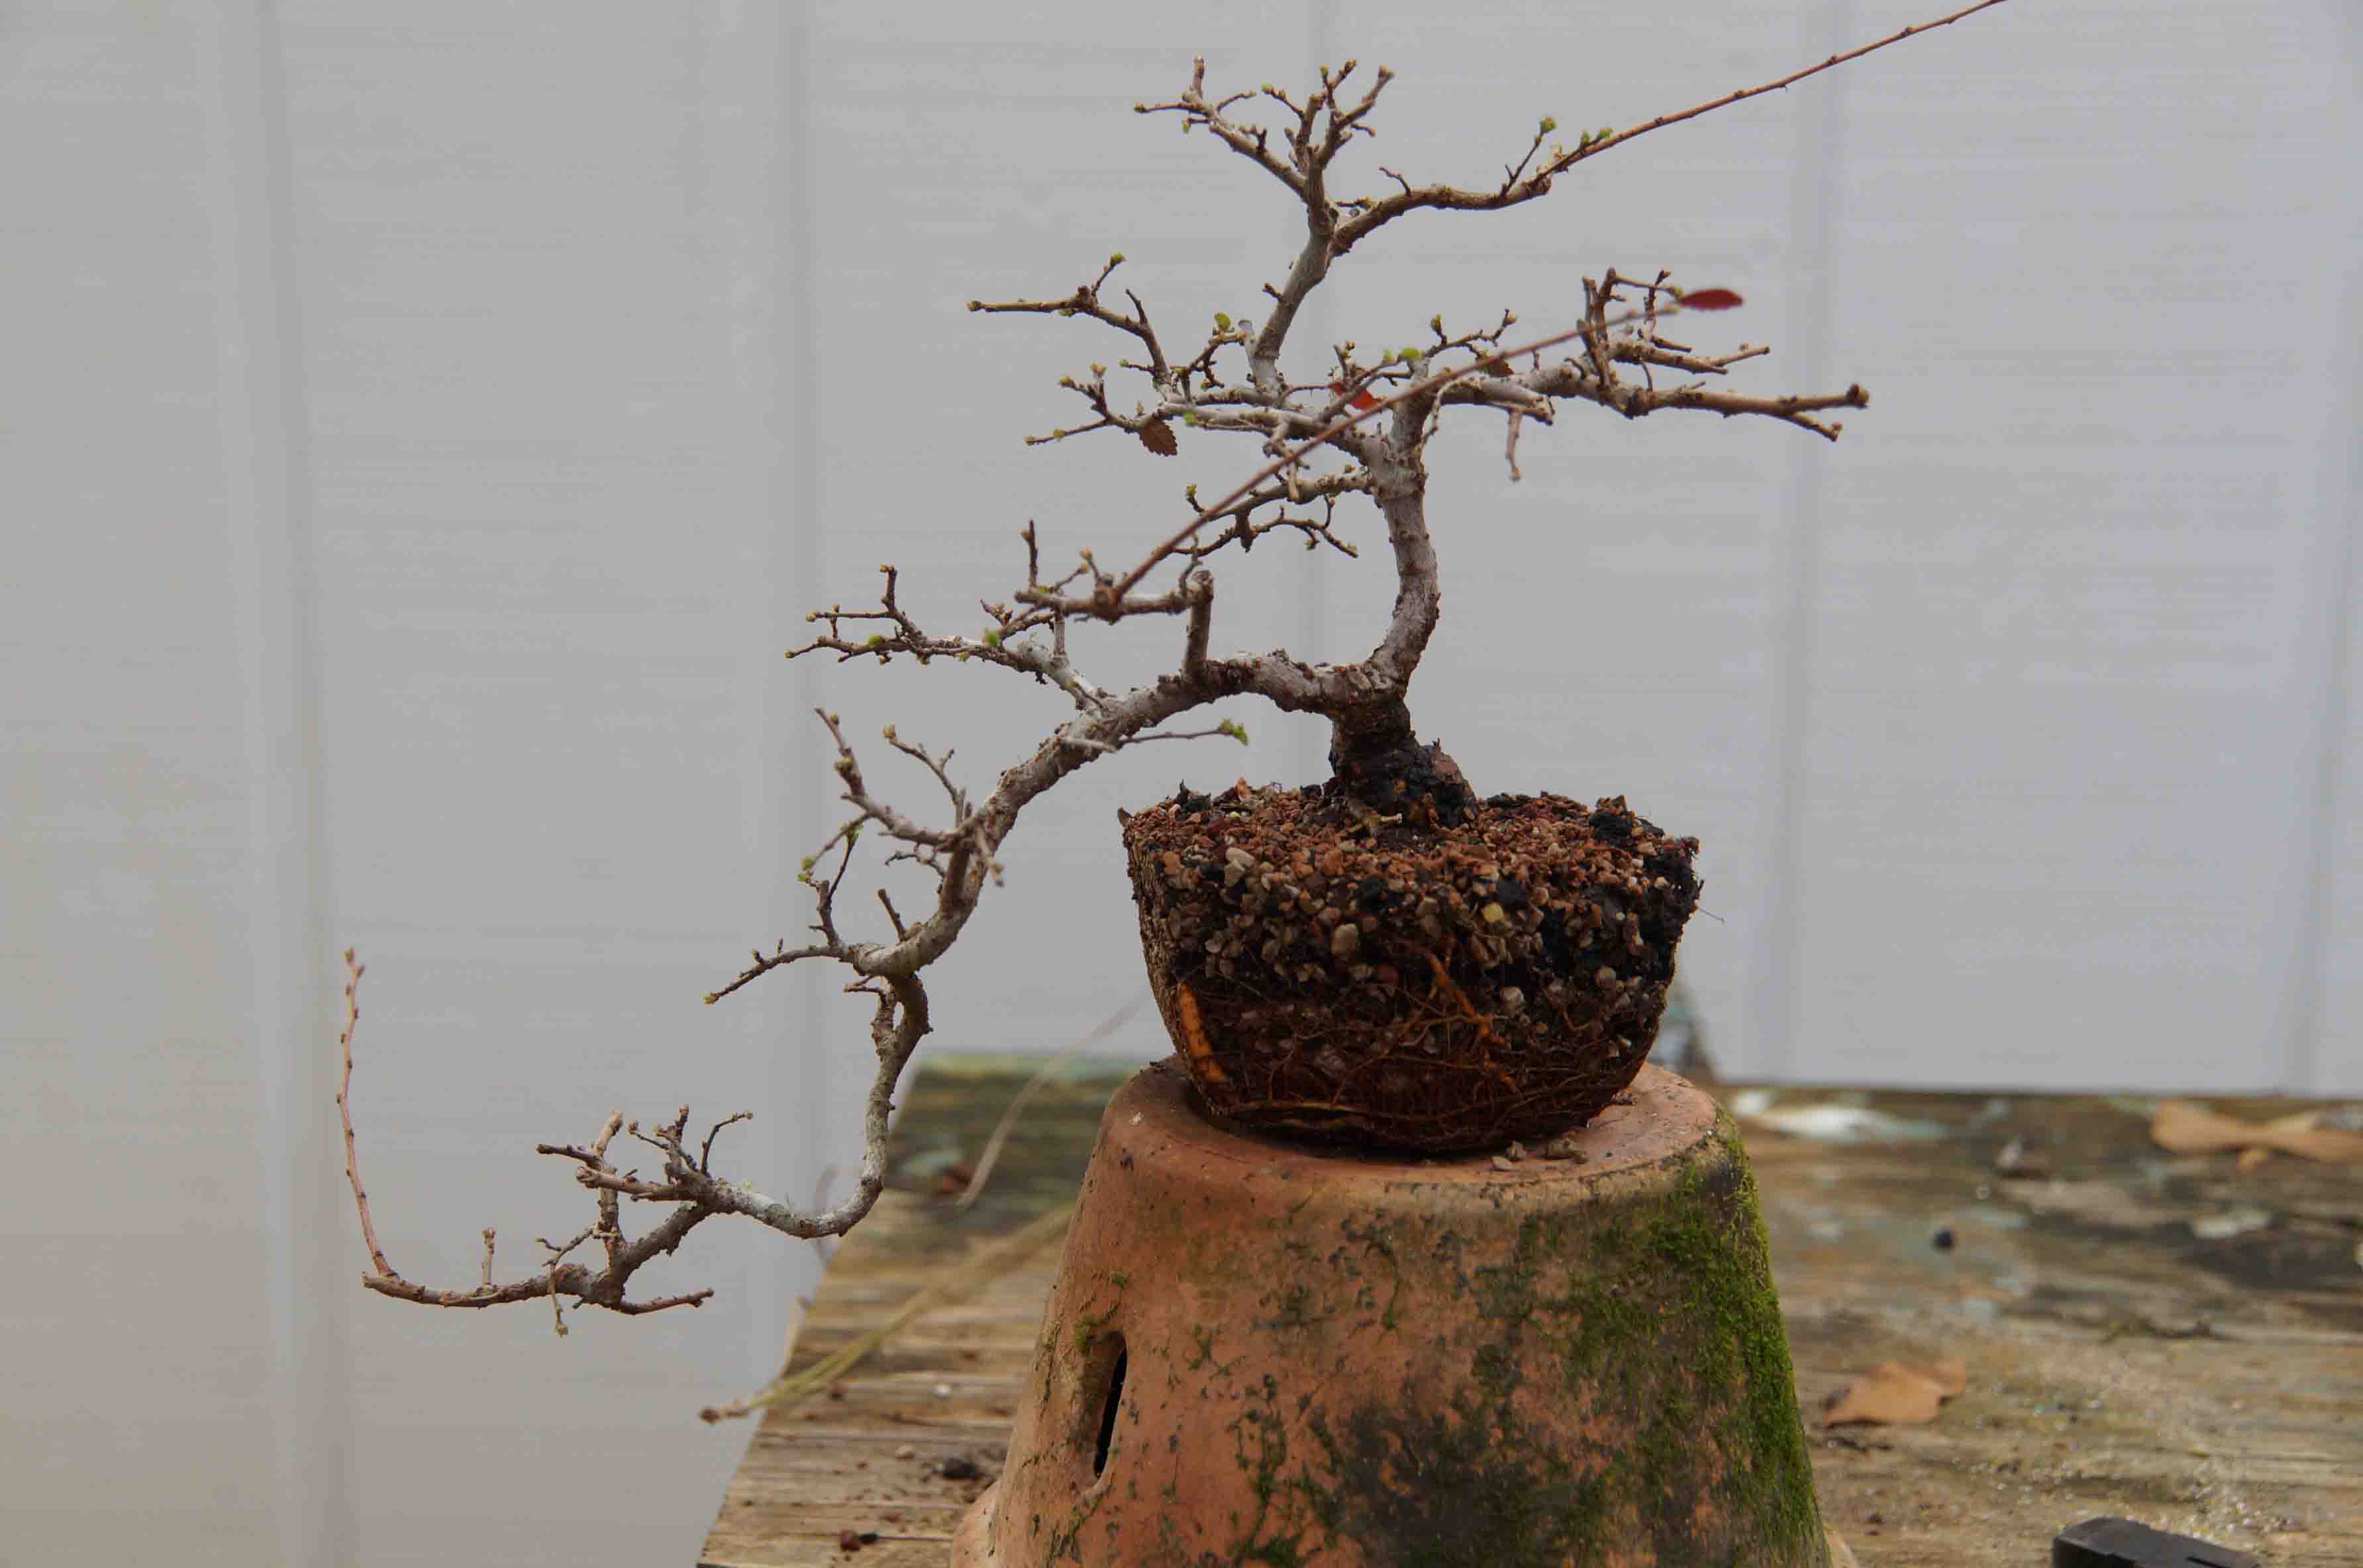
I actually perfomed the repot a few weeks ago, on January 18, and have finally had time to put the article together. Here she is, completely unaware of the horrors to come:
I actually perfomed the repot a few weeks ago, on January 18, and have finally had time to put the article together. Here she is, completely unaware of the horrors to come:
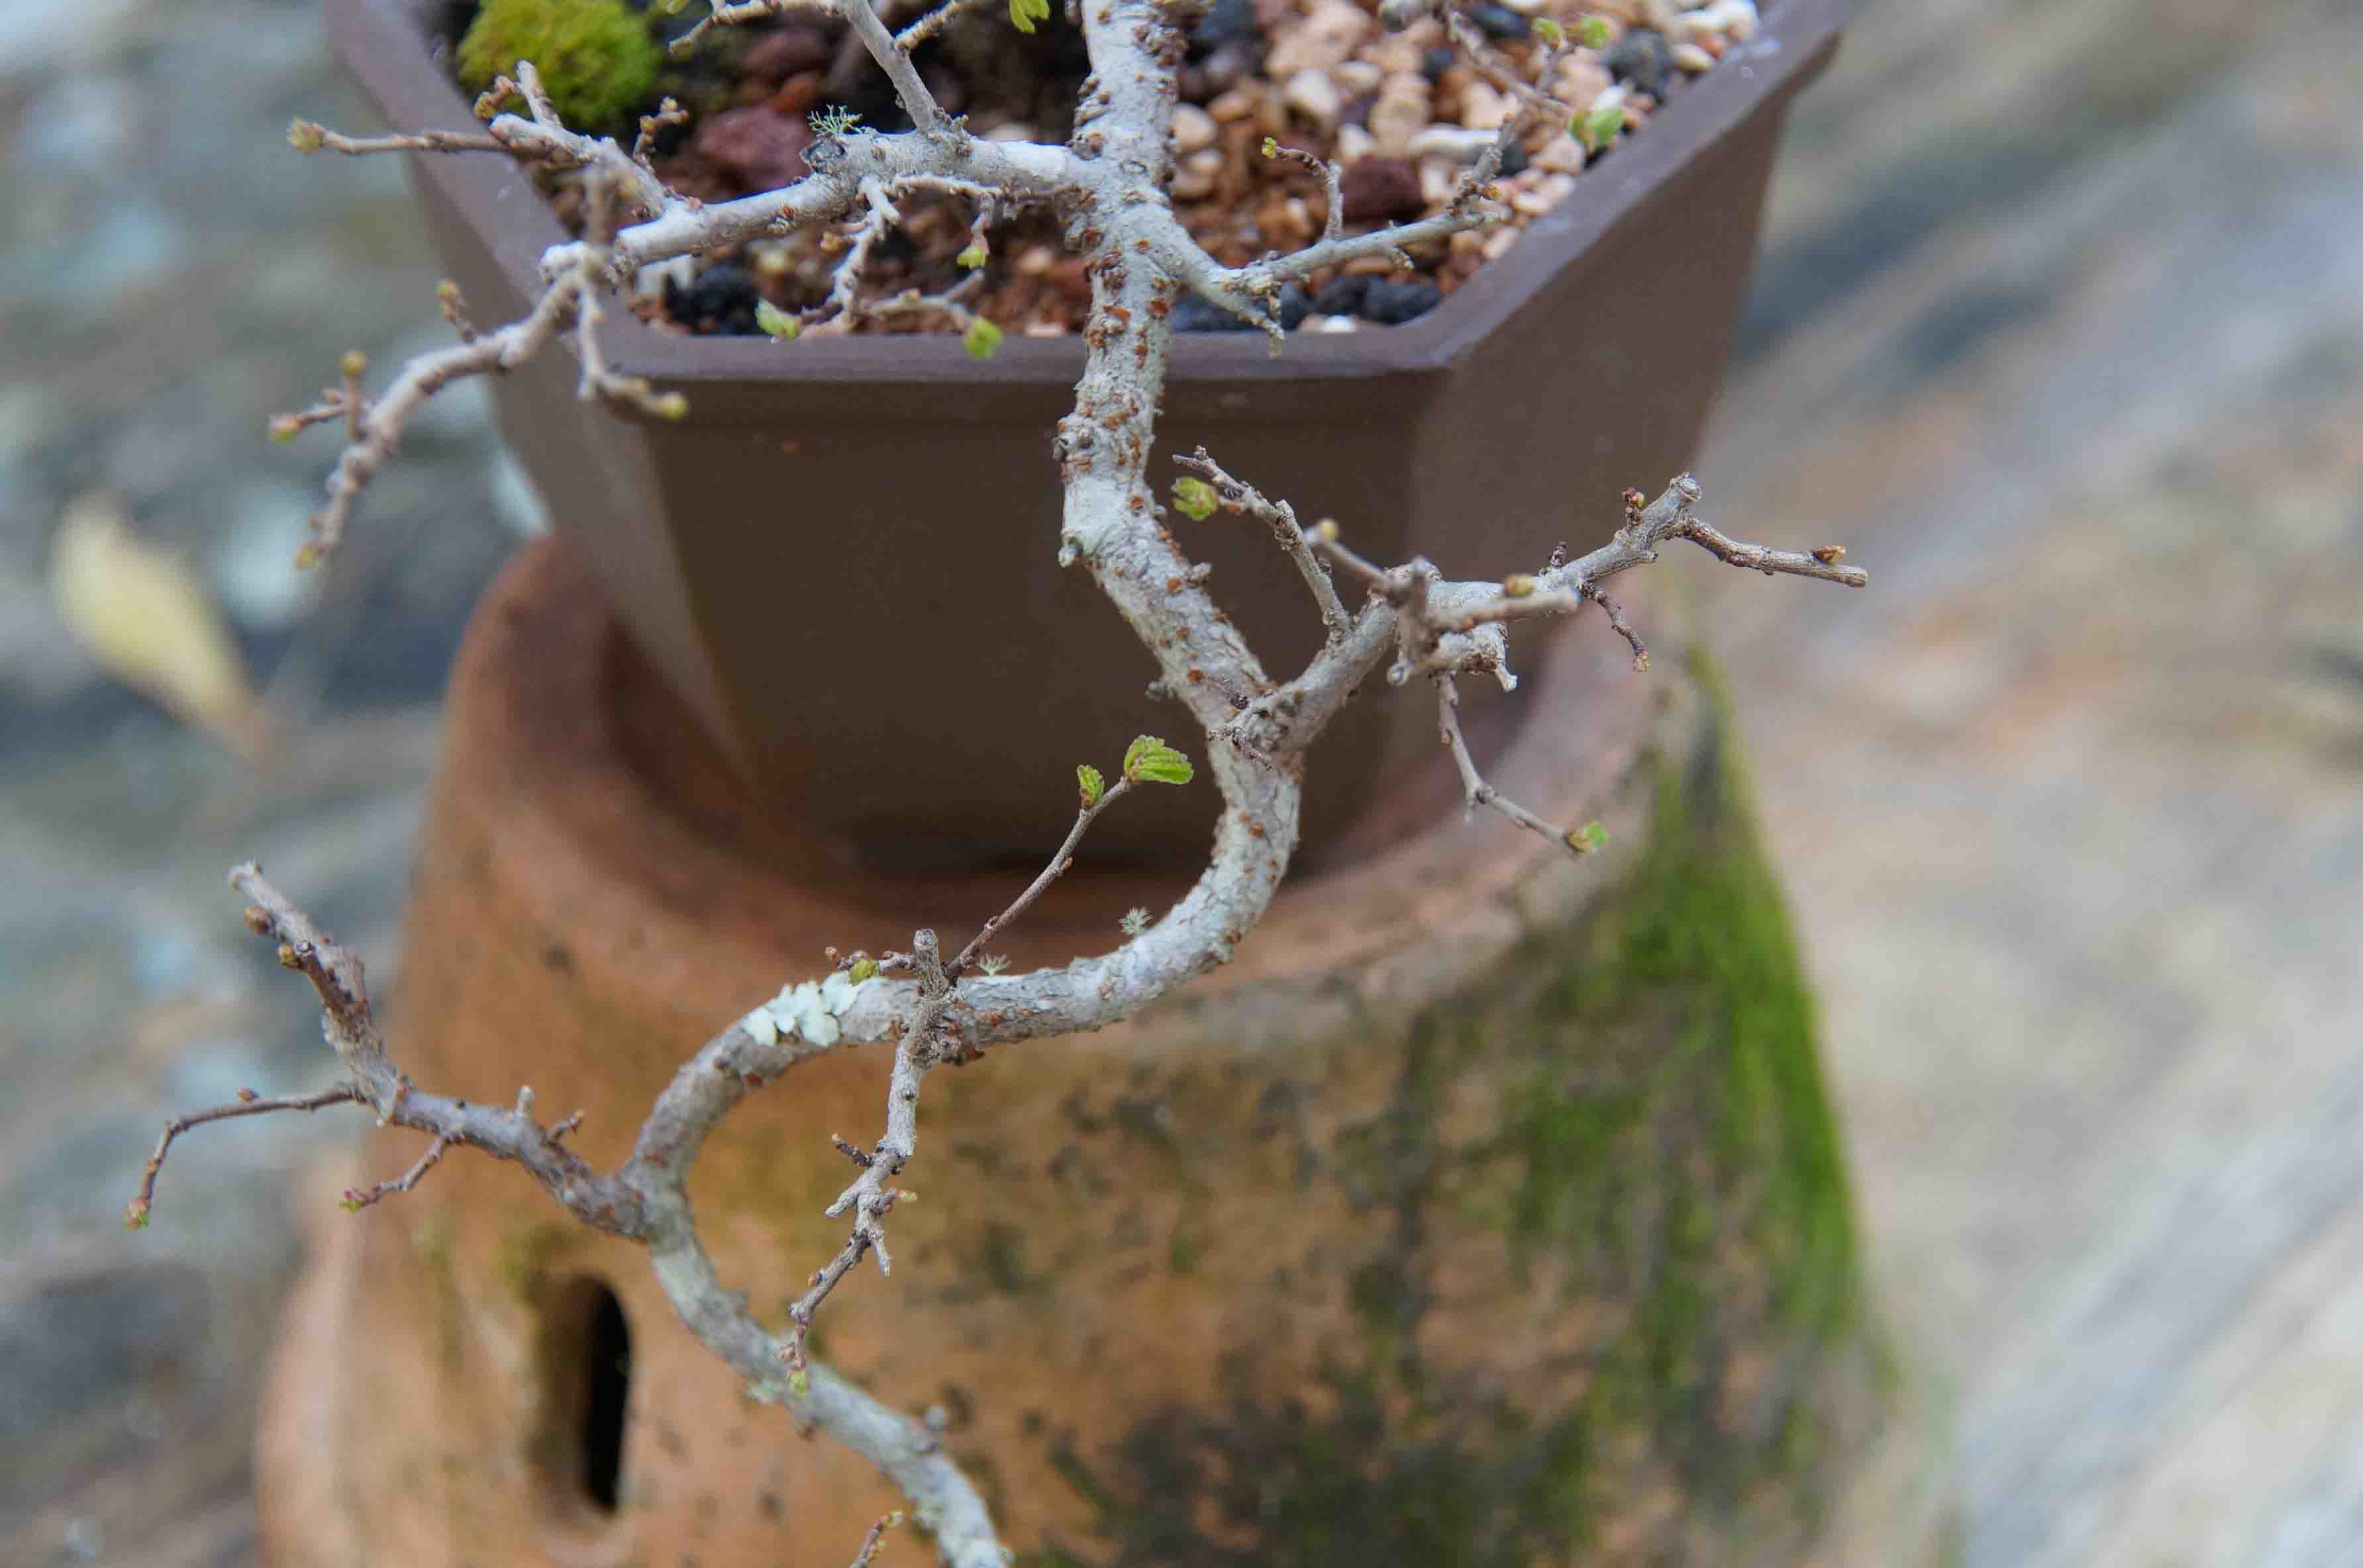
I like to start by cleaning the trunk if it needs it. This one had some moss growing on it, which is not uncommon in the Heart of Dixie, if YOU stand still long enough, moss will grow on you! It is important to keep the moss off of the trunks, centain kinds can and will cause the bark to rot. I like to use a firm or hard tooth brush and a little water. If you need something more, try a little hyrogen peroxide (diluted to about 10% with water) to help you clean it up.

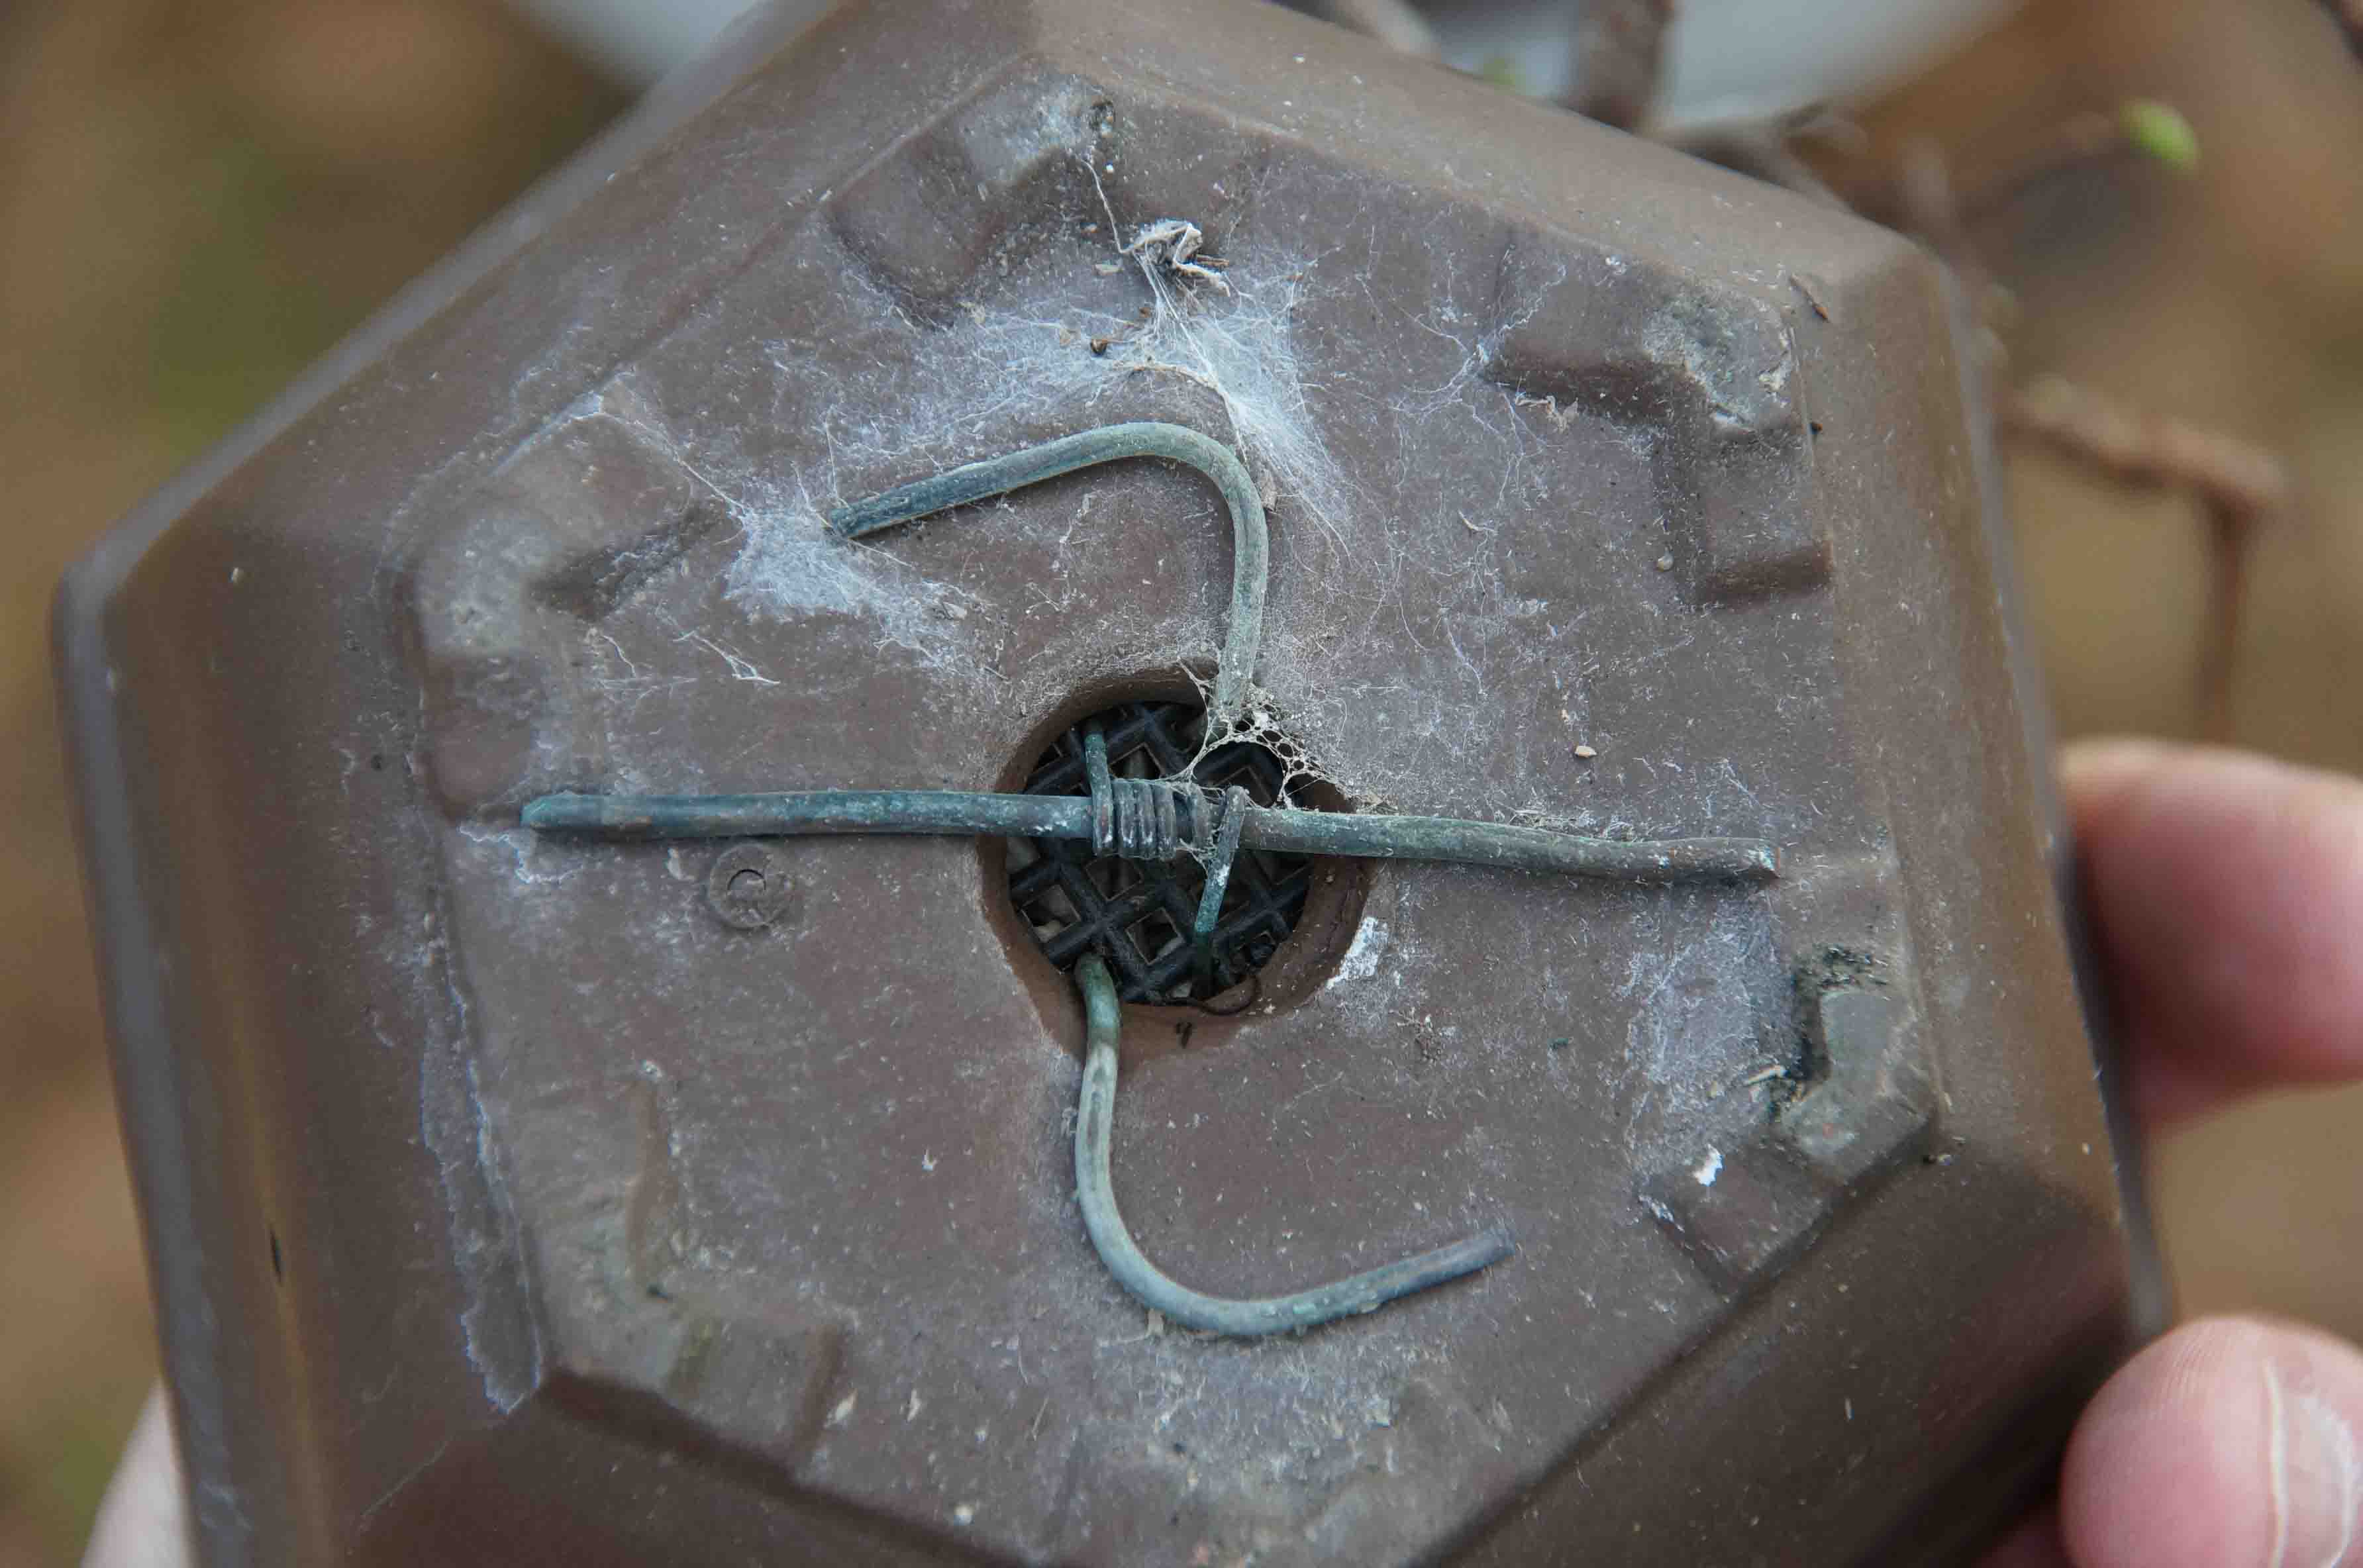
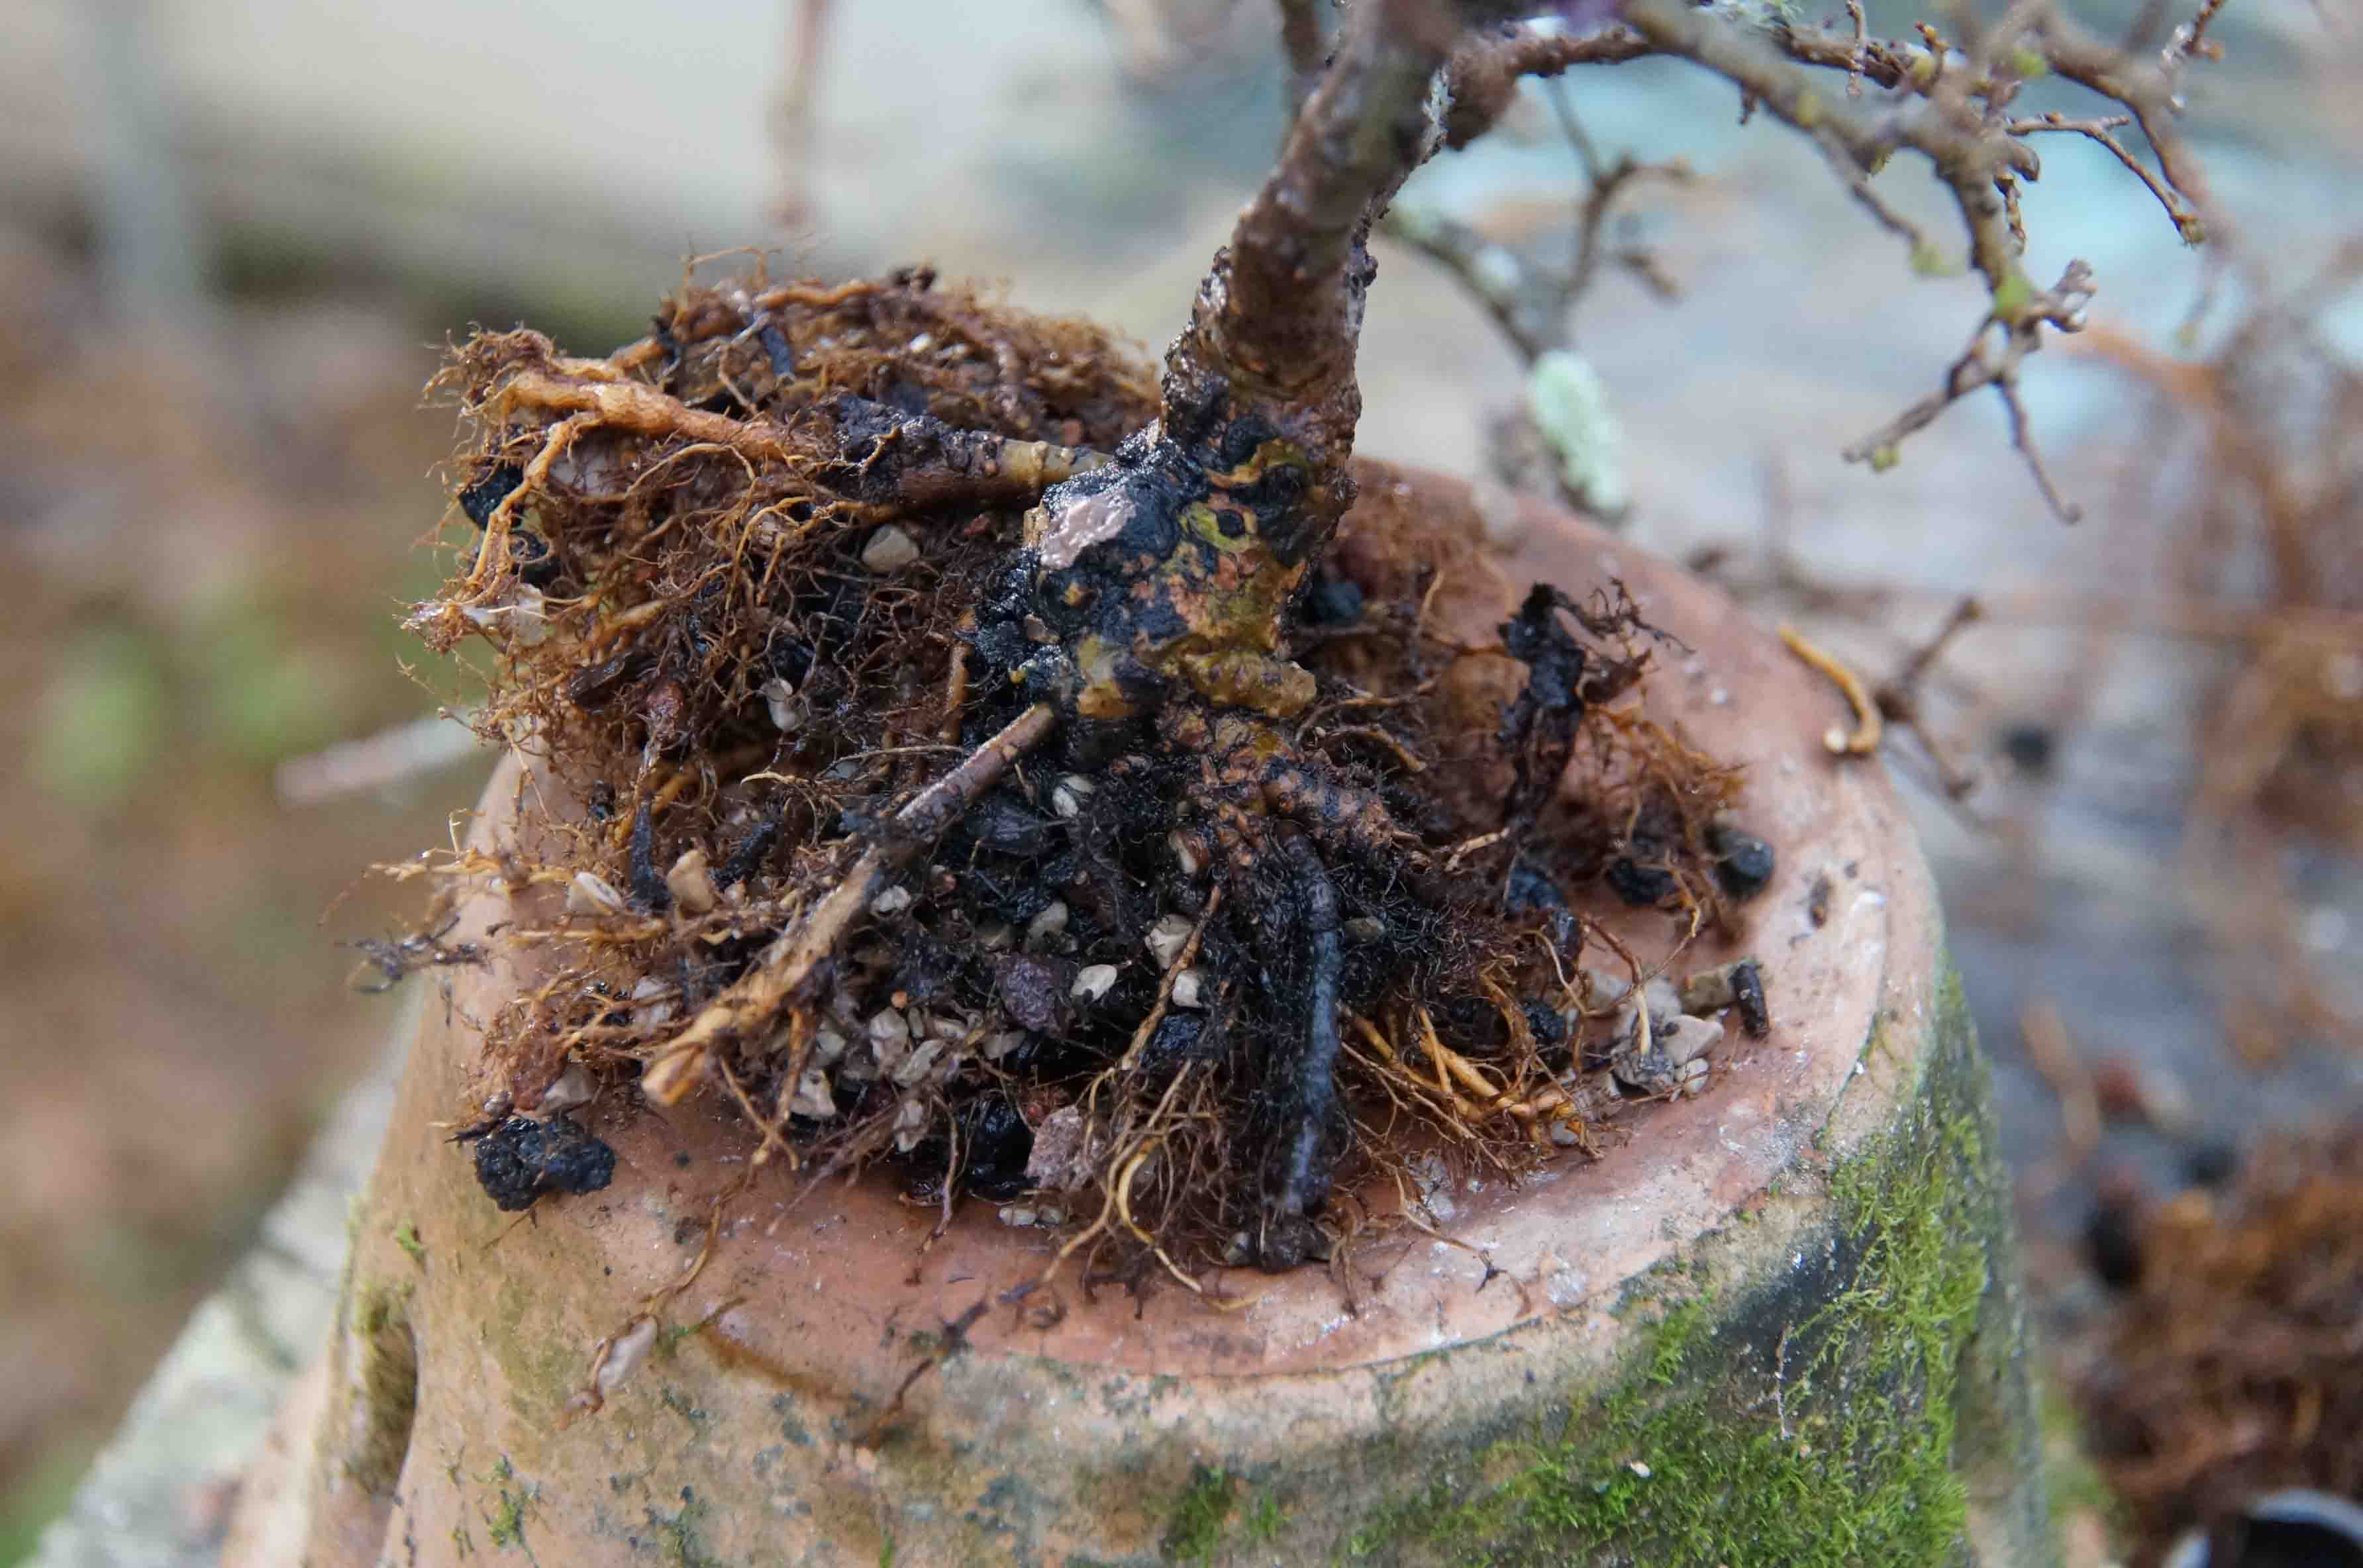
Next we just need to cut the wires securing the tree in the pot. There are may ways to tie a tree into a pot, if you get stuck on how to do it, shoot me and email, I'll give you some ideas. As you can see the pot was filled with roots.
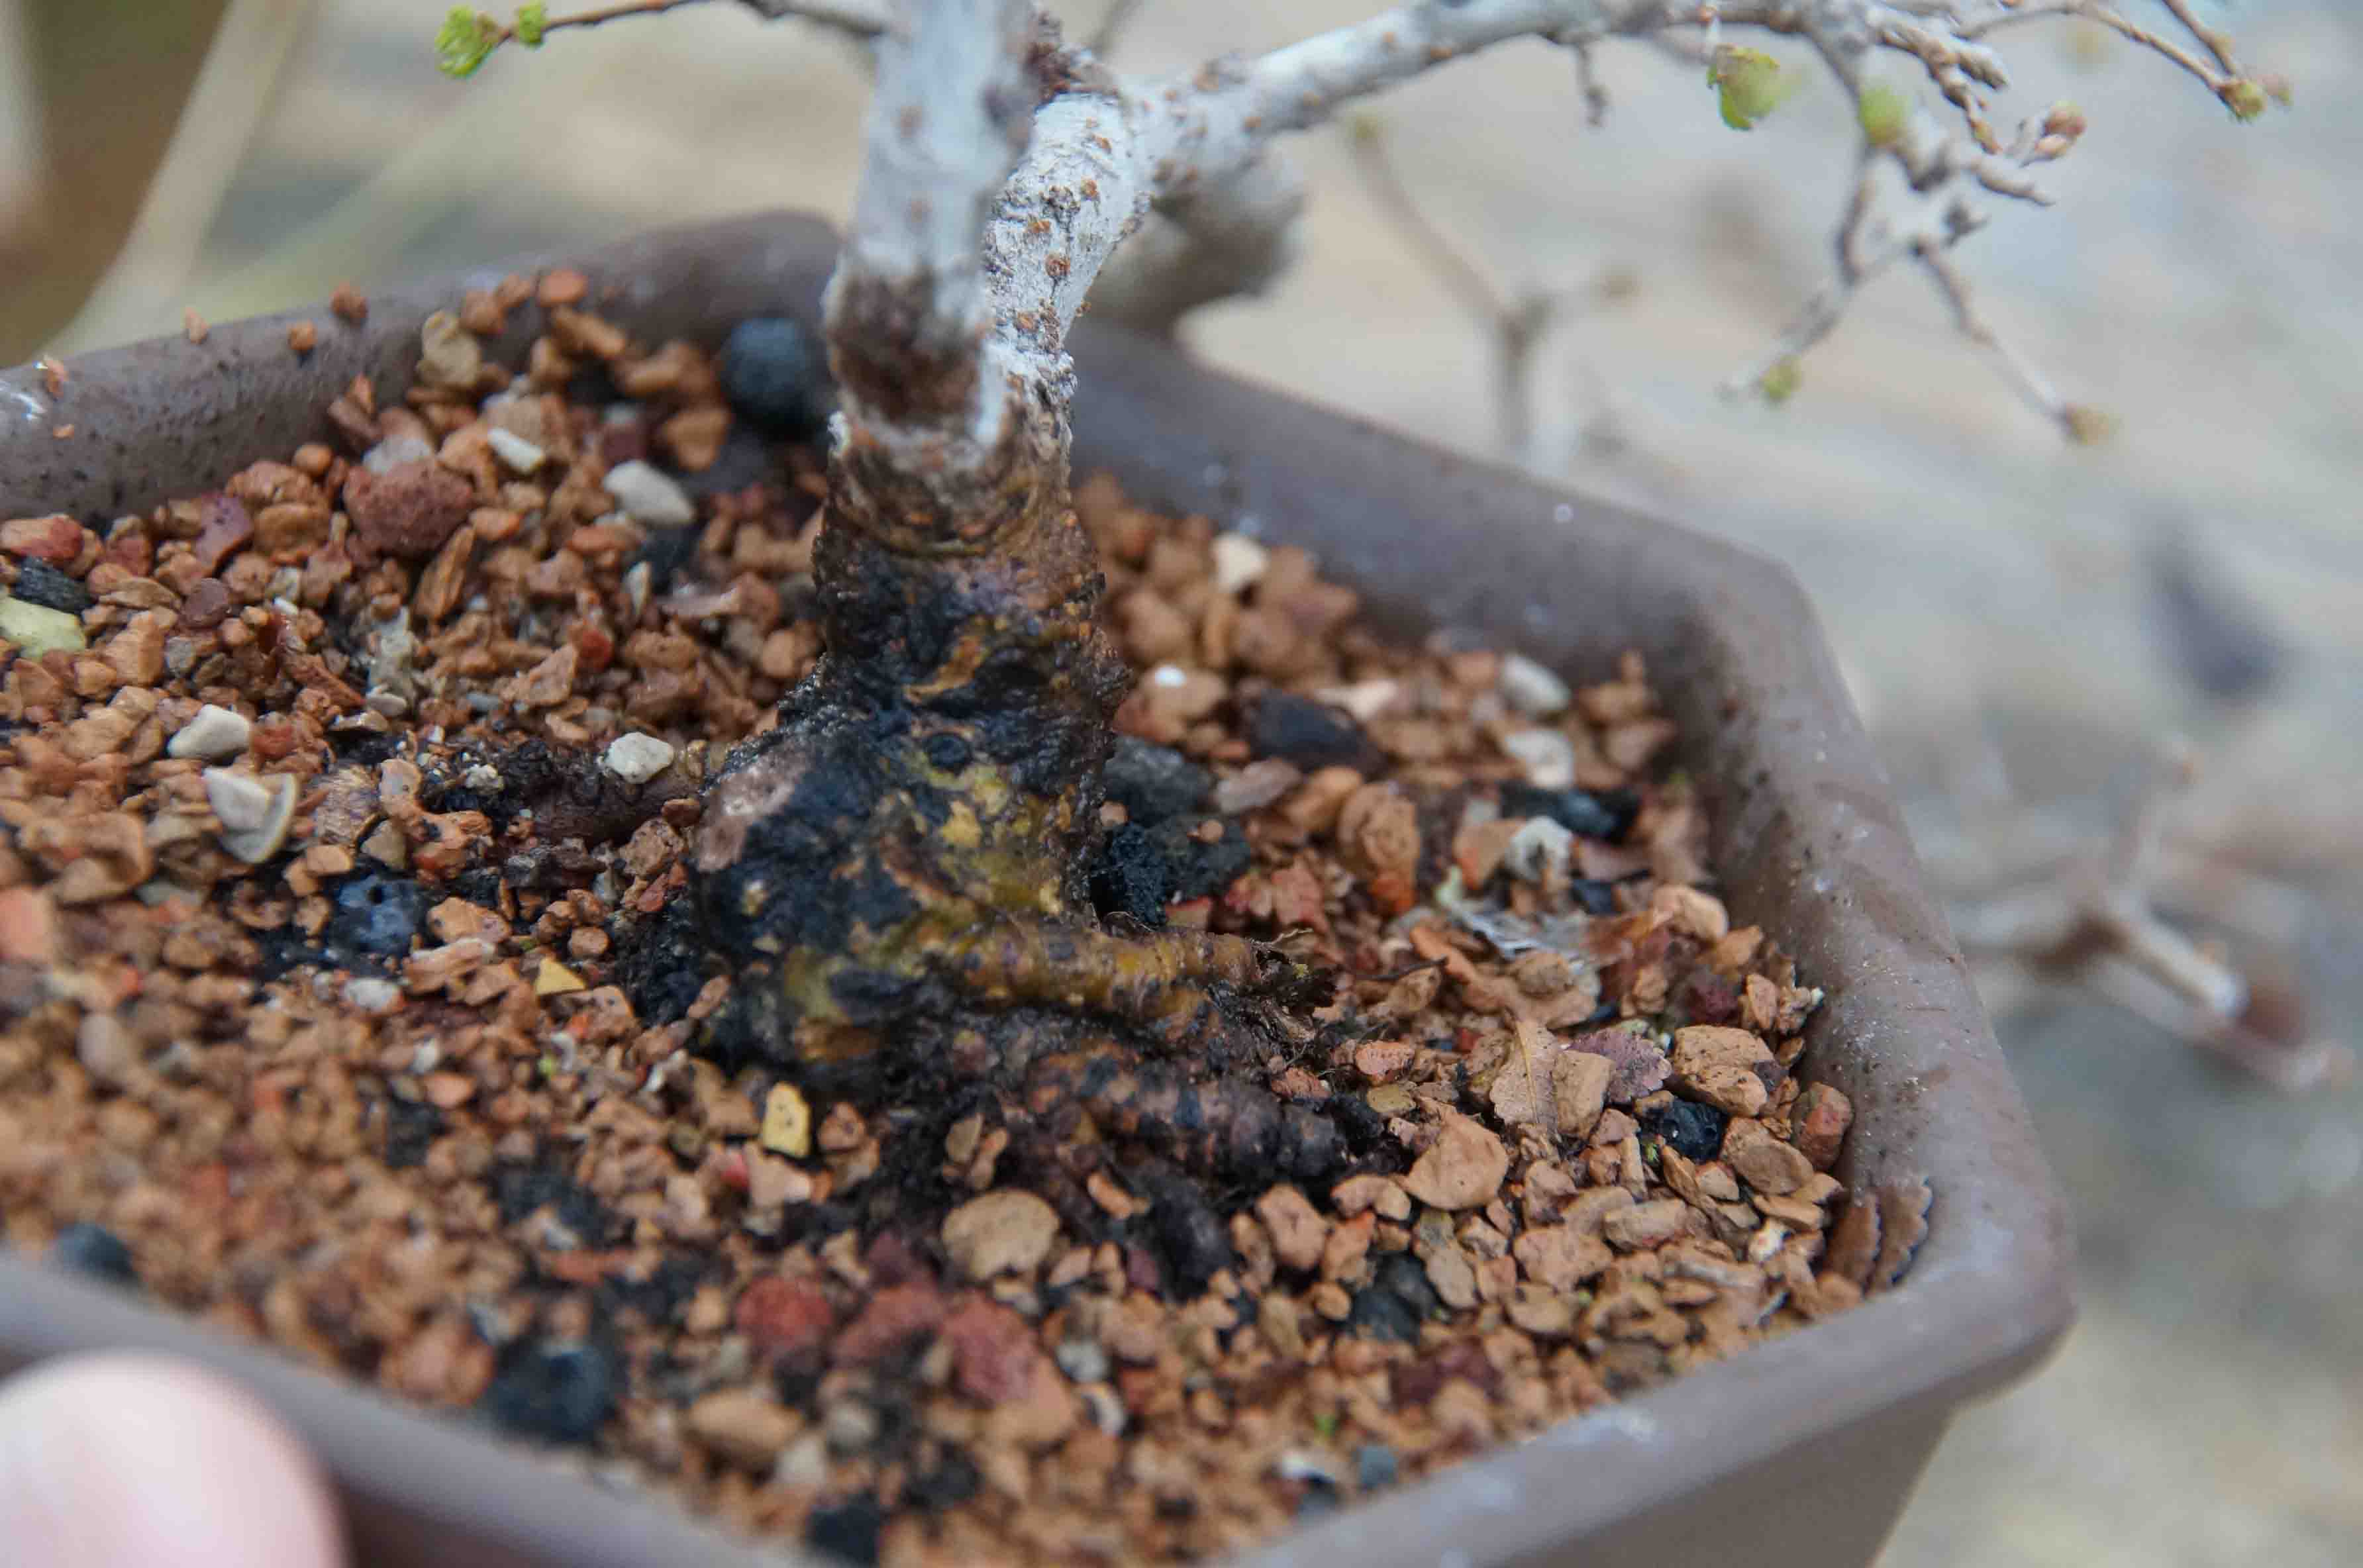
Next, I just comb the root mass and old soil out. You can use chop sticks, a root rake, or root hook. I like to use a root hook, the one in the picture is one that a friend made for me and is one of my favorite tools. After combing the roots out I found a few crossing roots that needed to be removed and took care of them.
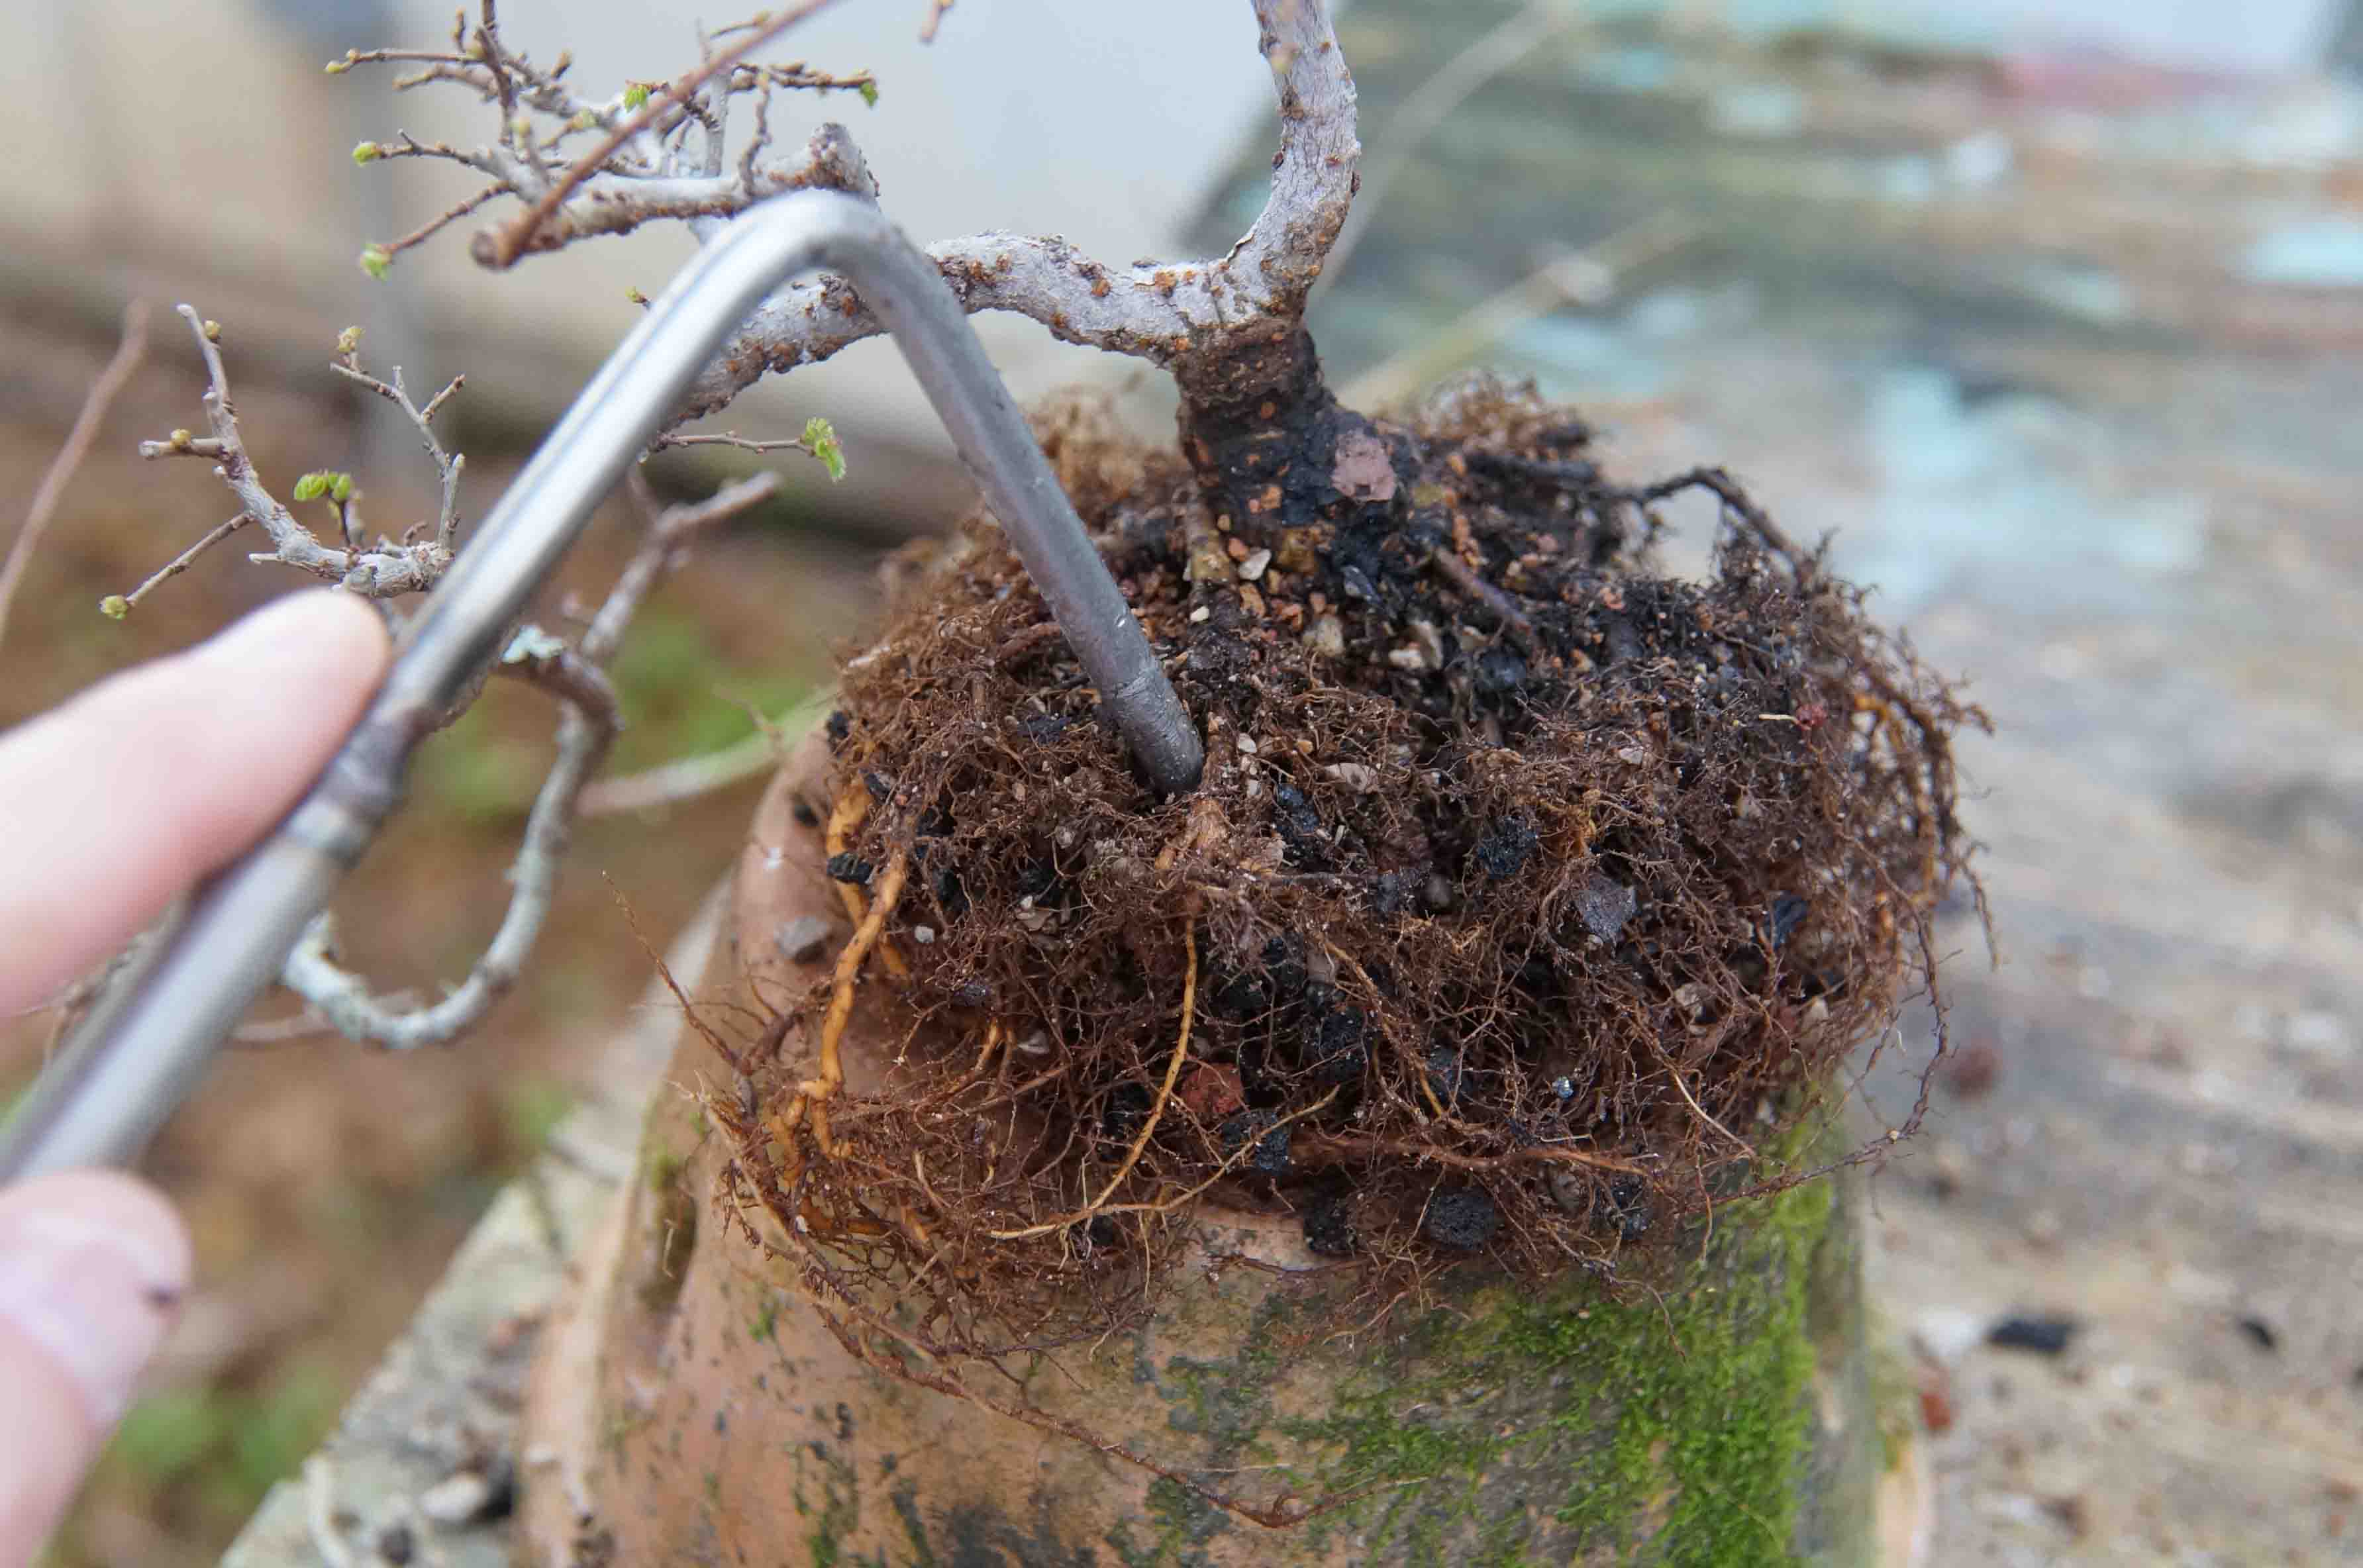

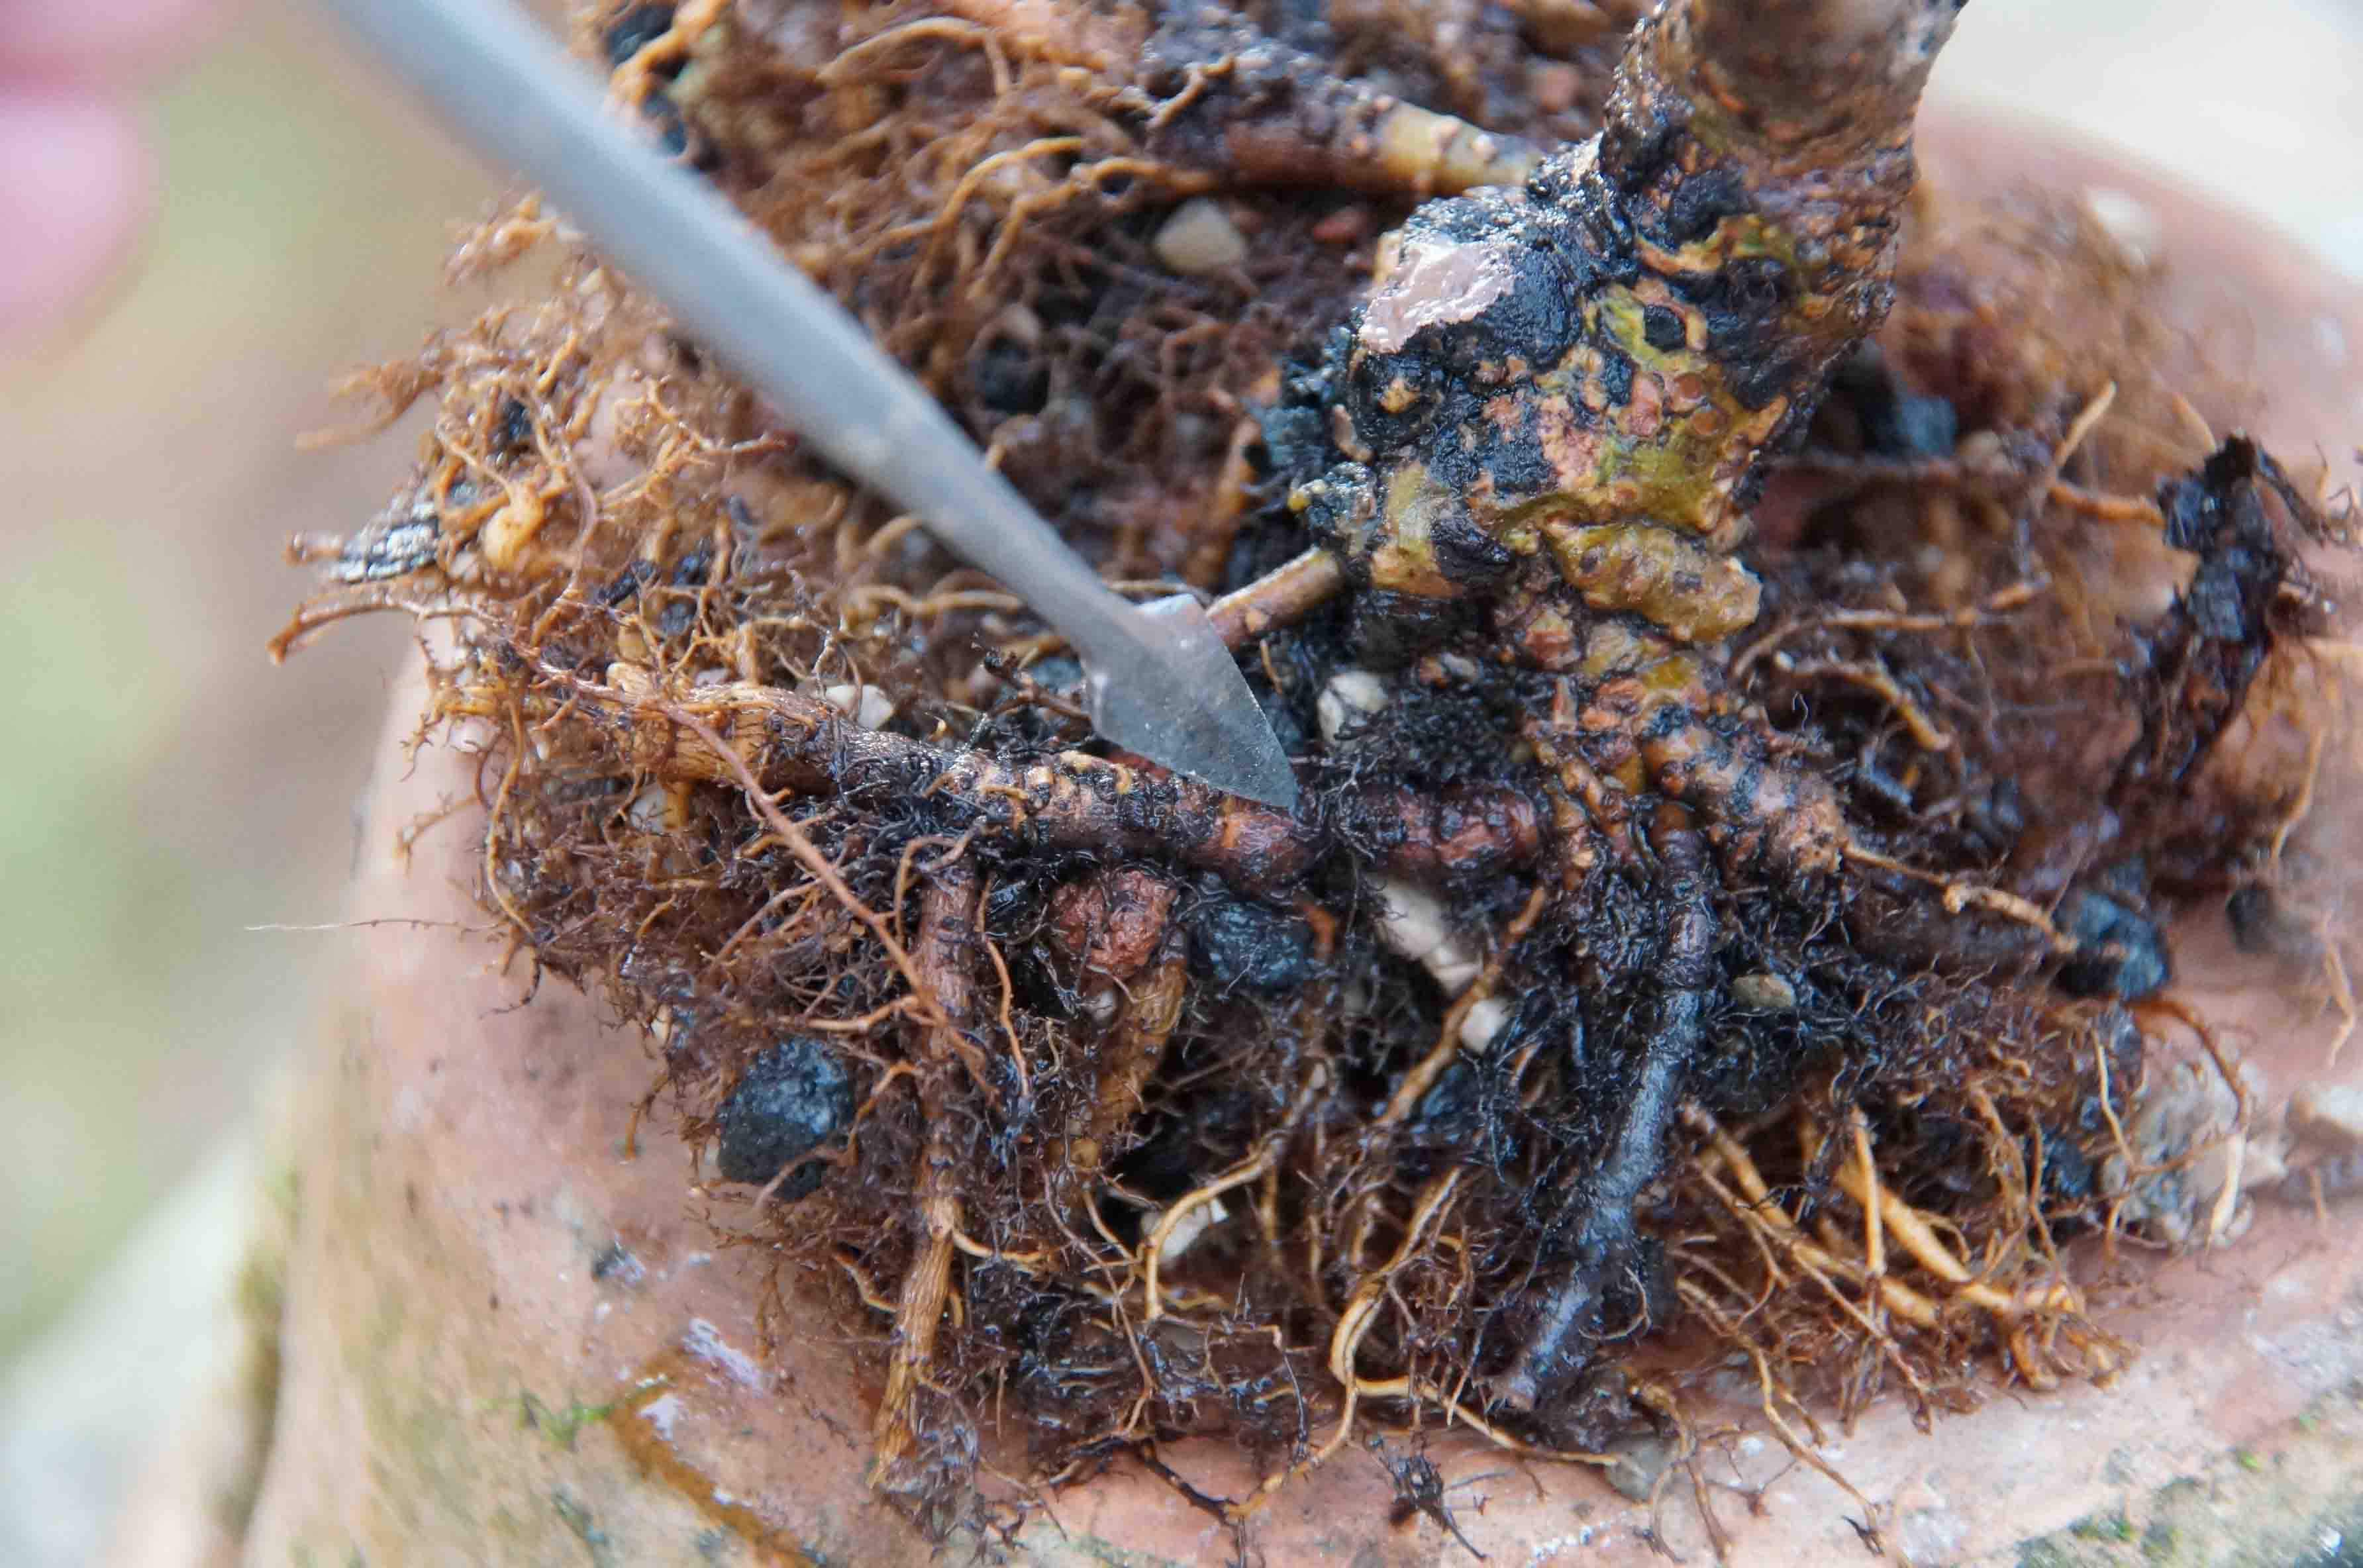
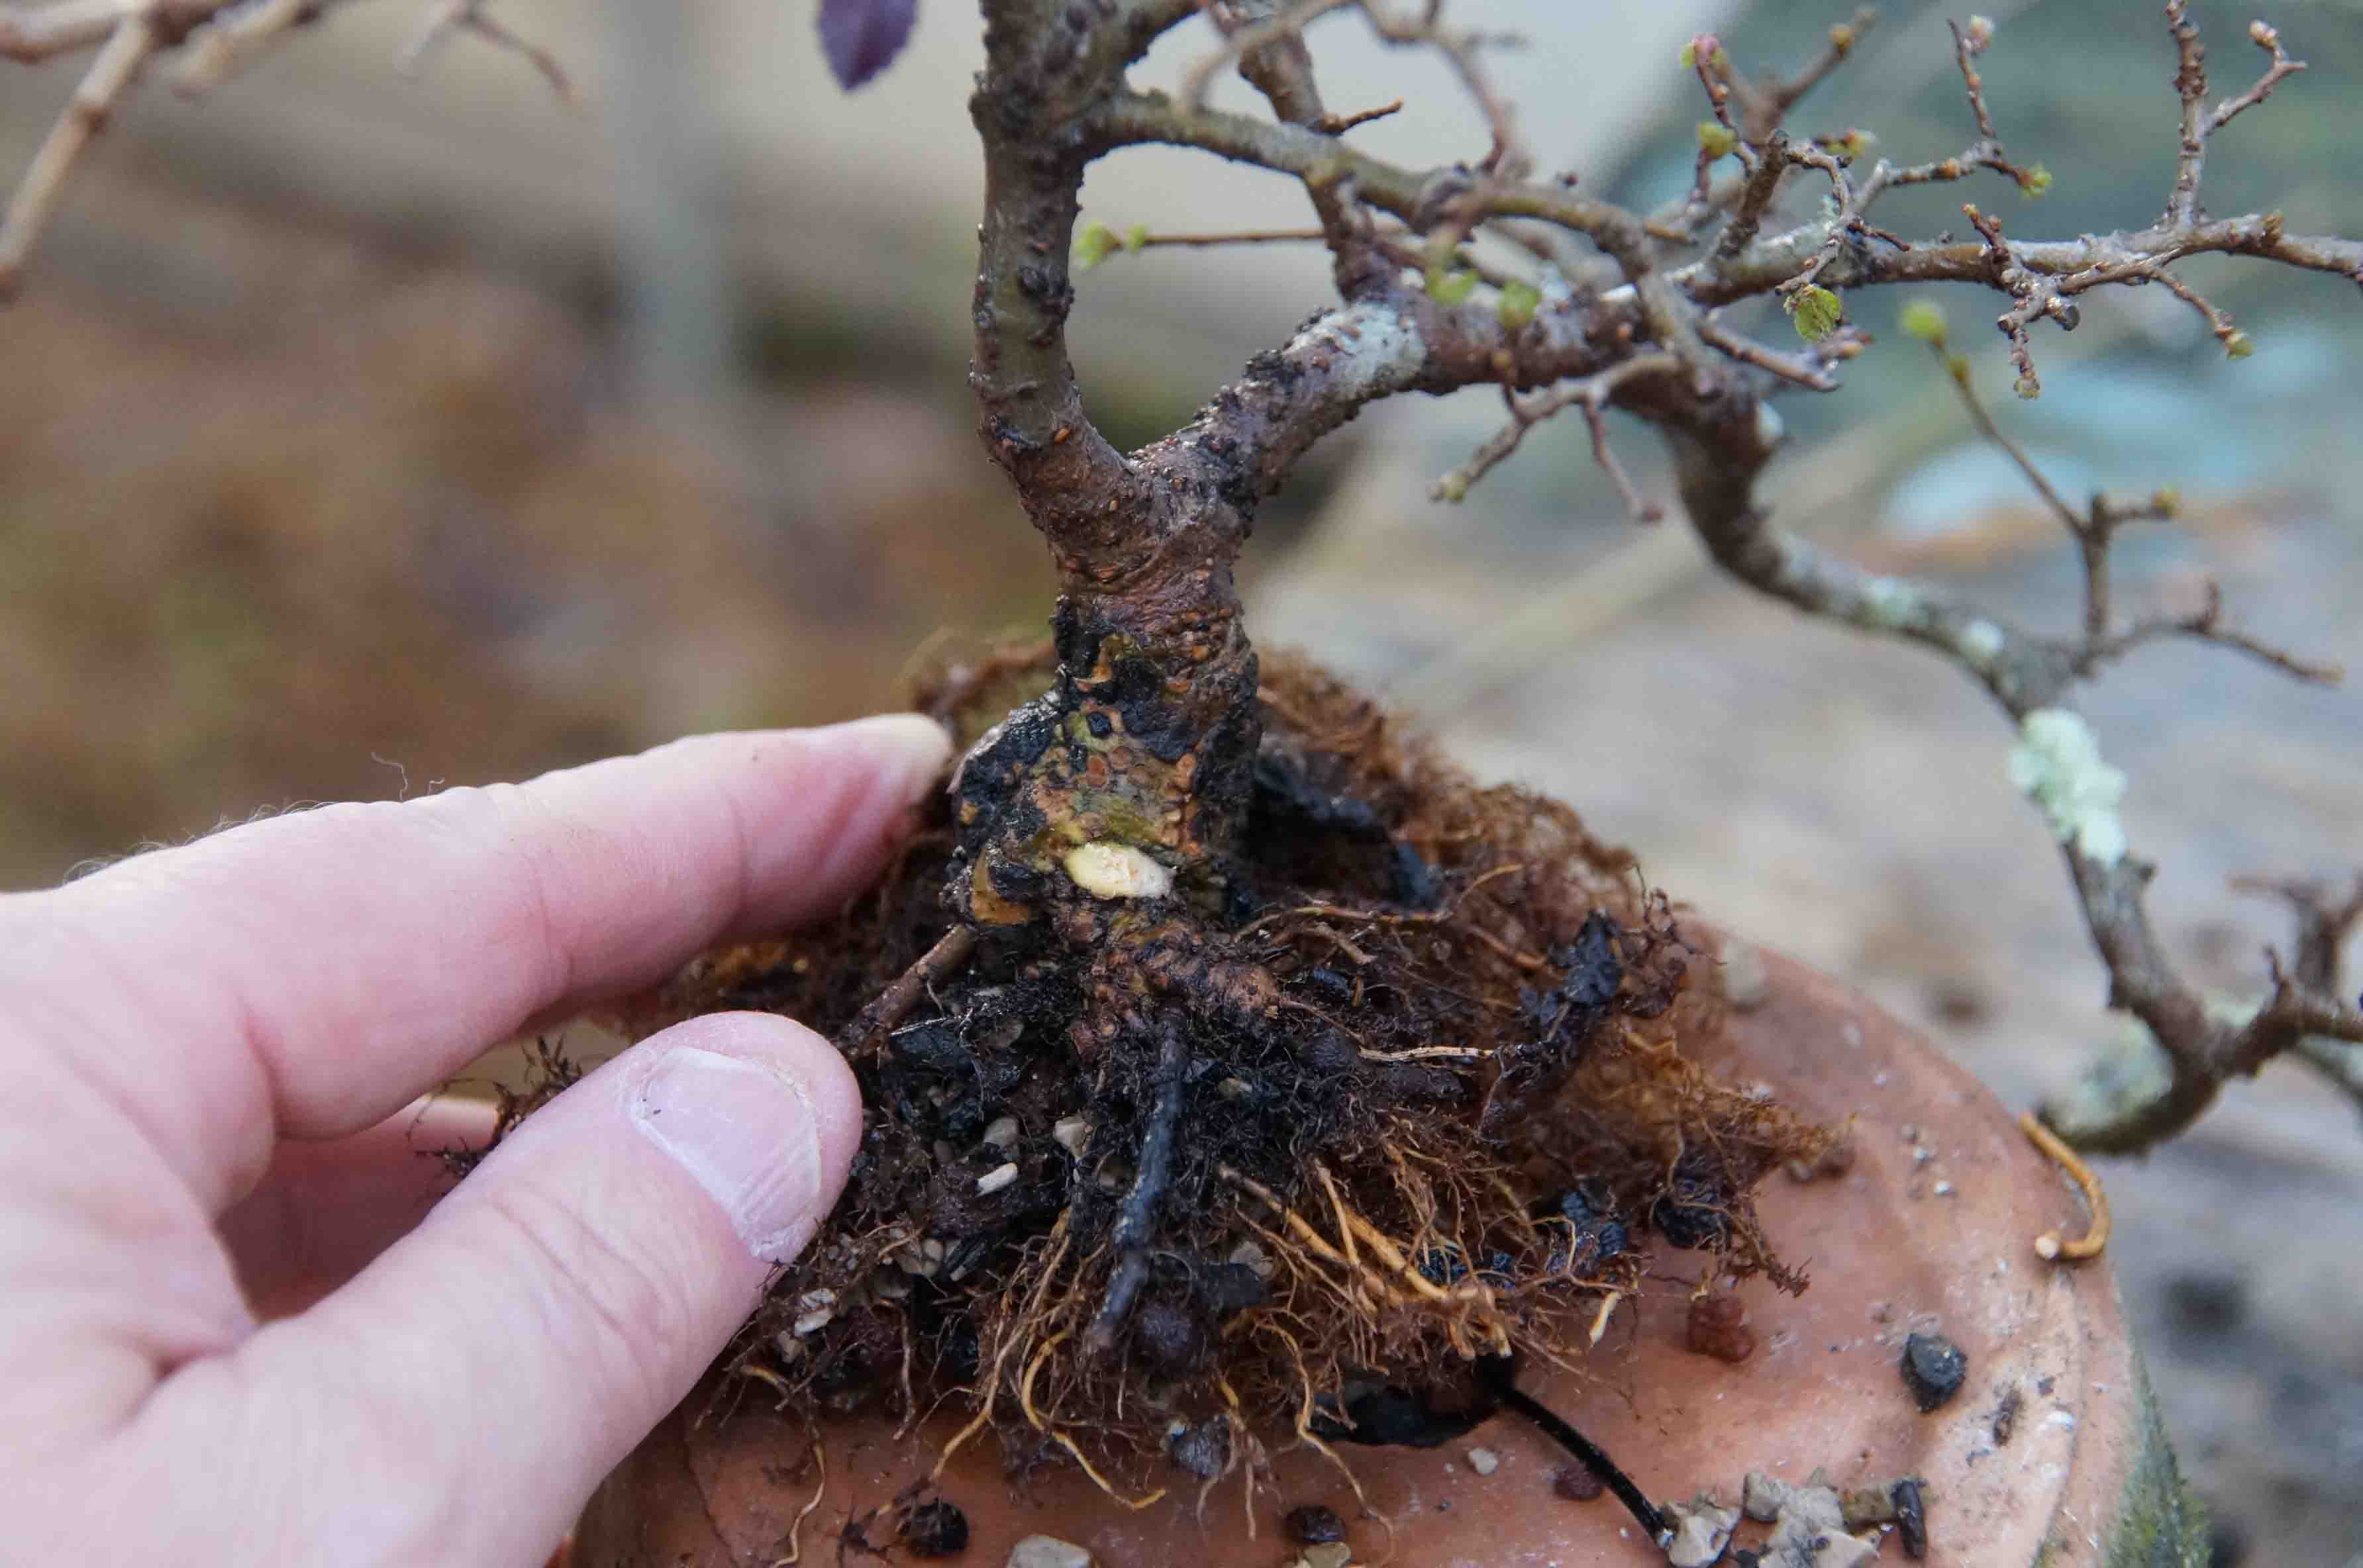
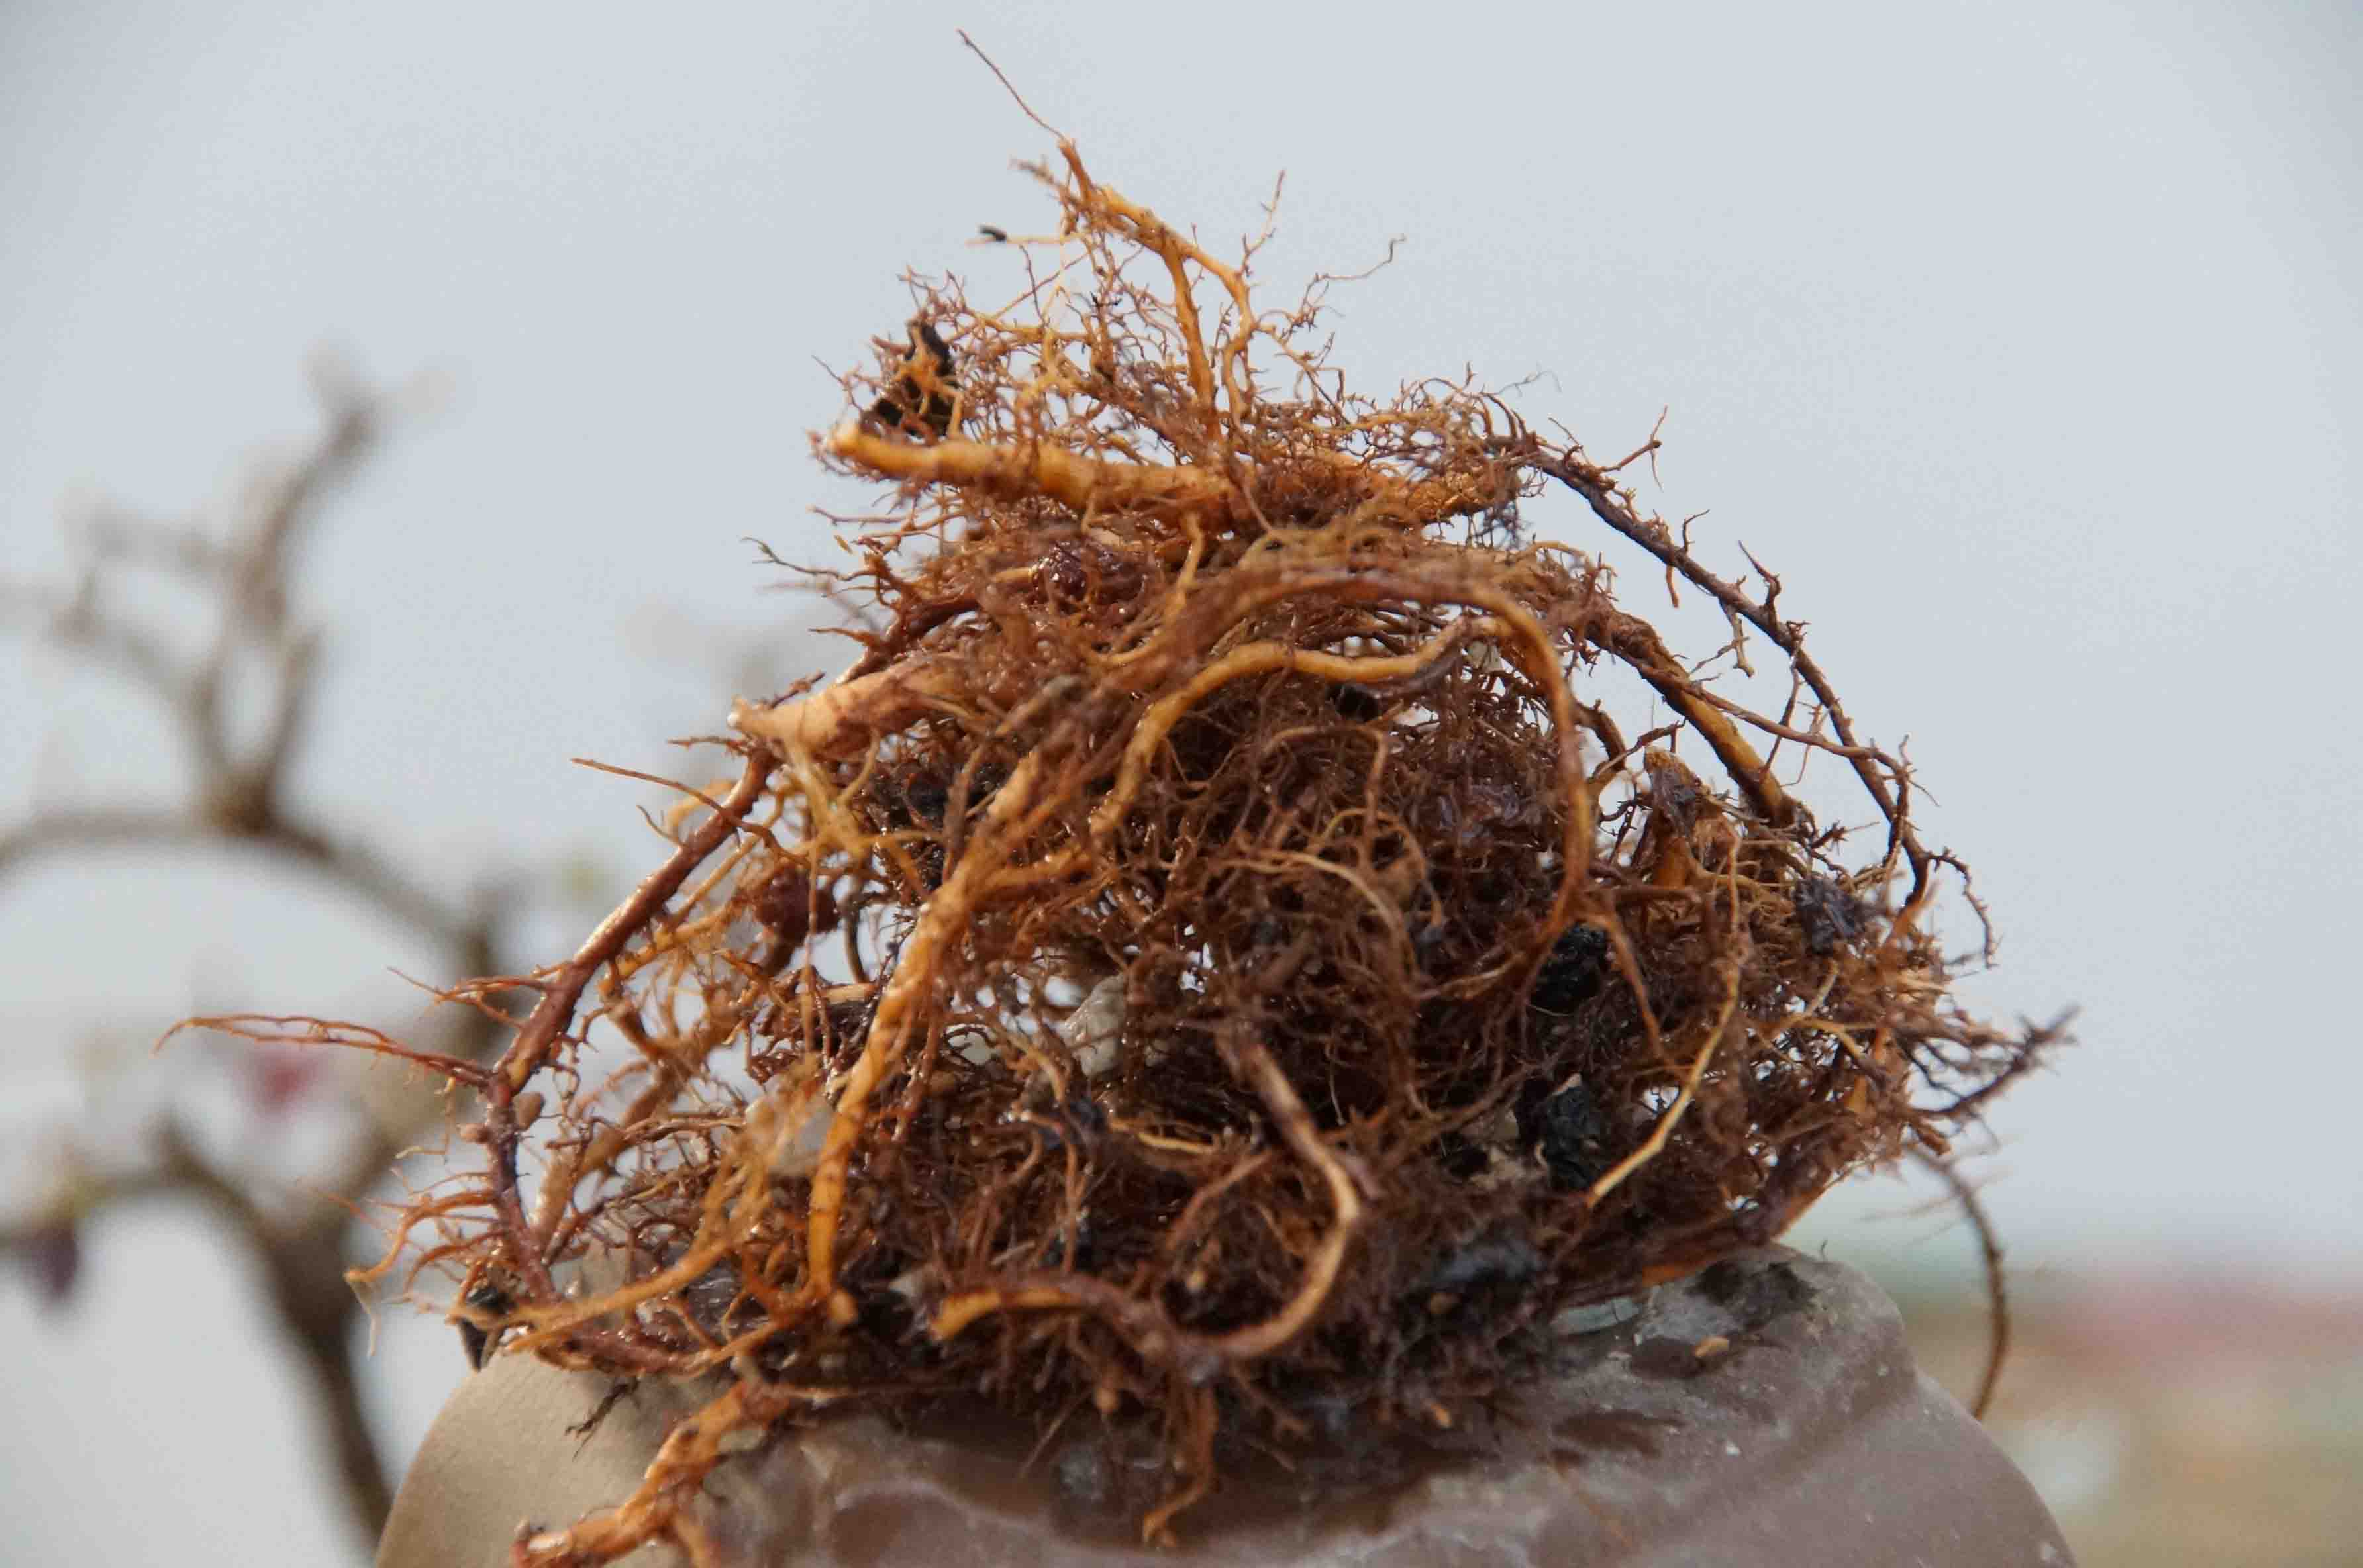
Now, I like to give the roots a final comb out, and then a final trim. I removed about two thirds of the roots. Don't be afraid to be aggressive on deciduos trees, especially elms, when it comes to root pruning, they respond well to it.

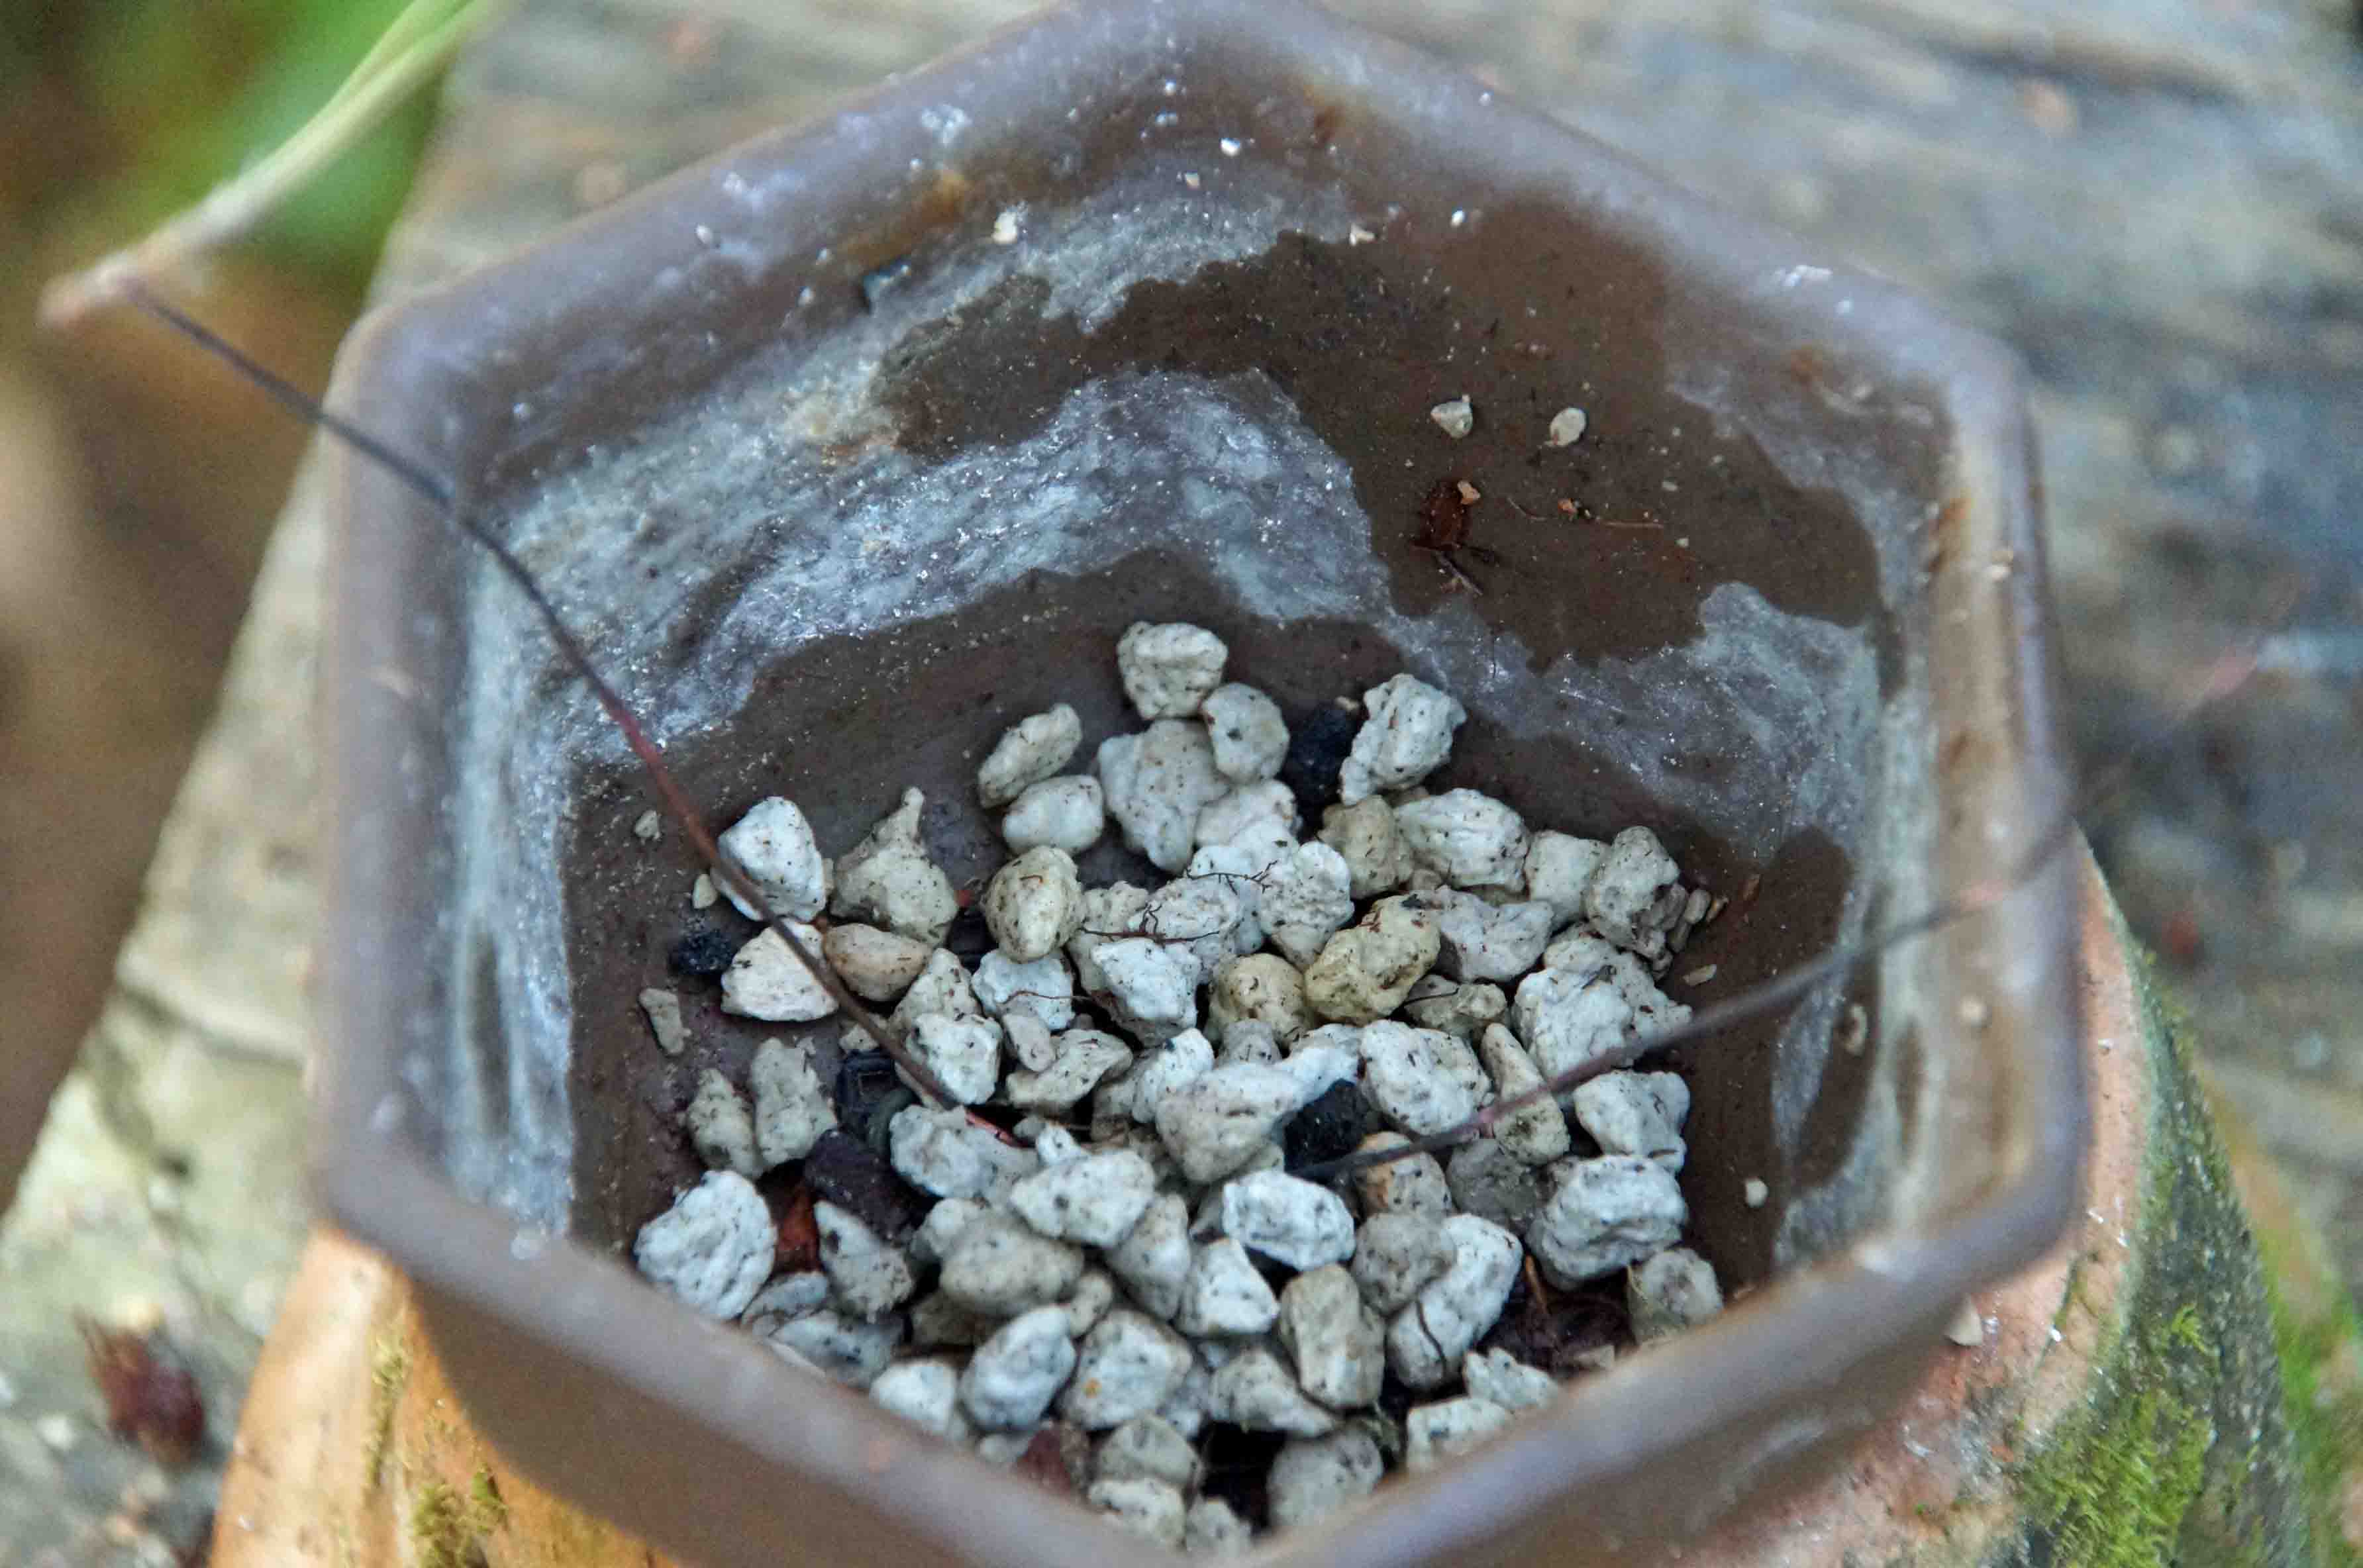
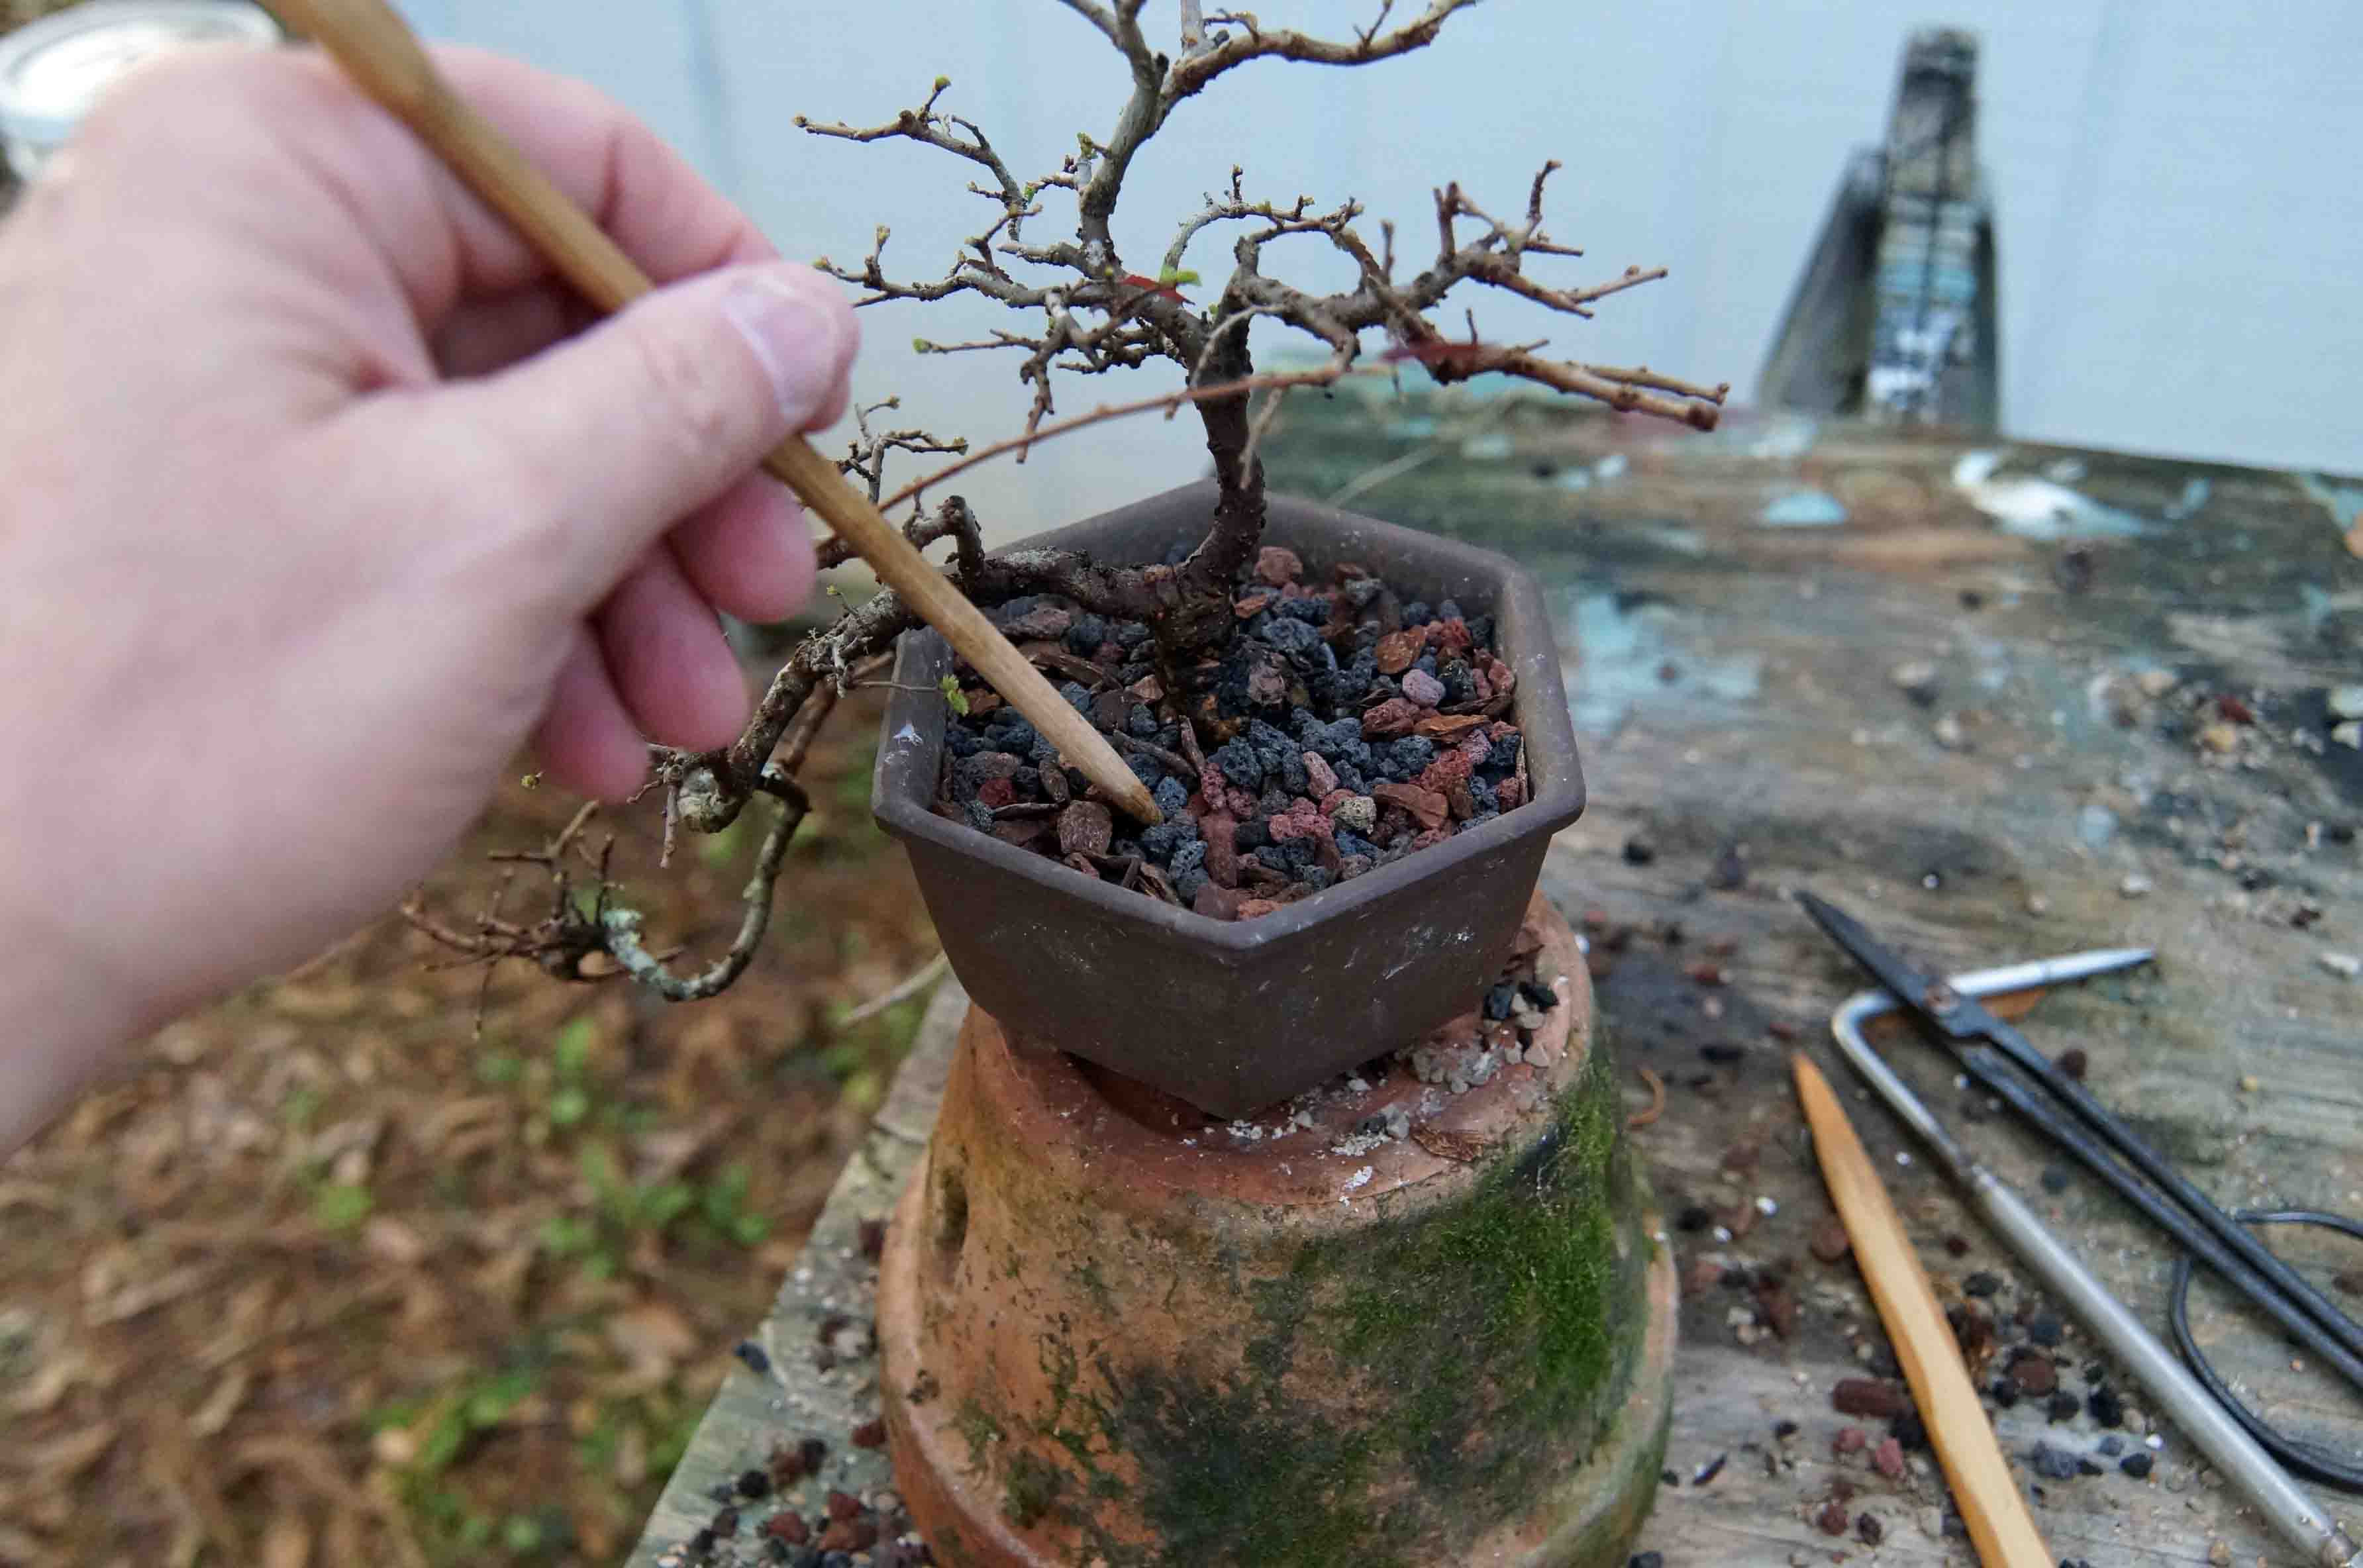
All we have left to do is just put the tree back in the pot. Since the drainage screen was still in good shape, I just let it be. For how to install a screen, check out this article. I prepared the pot with a drainage layer of pumice and then added a little soil. For this tree, I am using lava an fir bark, 80% lava and 20% fir bark. I added the tree, tied it in, and then used chop sticks to pack the soil in between the roots. This is an important step, as it helps to fill any voids with soil and makes sure that the roots are surrounded by soil.

That is about all there is to it, if you need any advice, use the contact page, and I will be happy to help.
Some background on the tree: It was started as a cutting several years ago. One thing that is unique about this elm is that the fall color is a vivid red; all of my other elms have a pale yellow or orange-yellow fall color.
Some background on the tree: It was started as a cutting several years ago. One thing that is unique about this elm is that the fall color is a vivid red; all of my other elms have a pale yellow or orange-yellow fall color.