
The following repot was performed in late July of 2016. I decided to write an article about it in case there was an interest in repotting a large tree or group planting. It was a major undertaking that took several hours, in the rain some of the time.
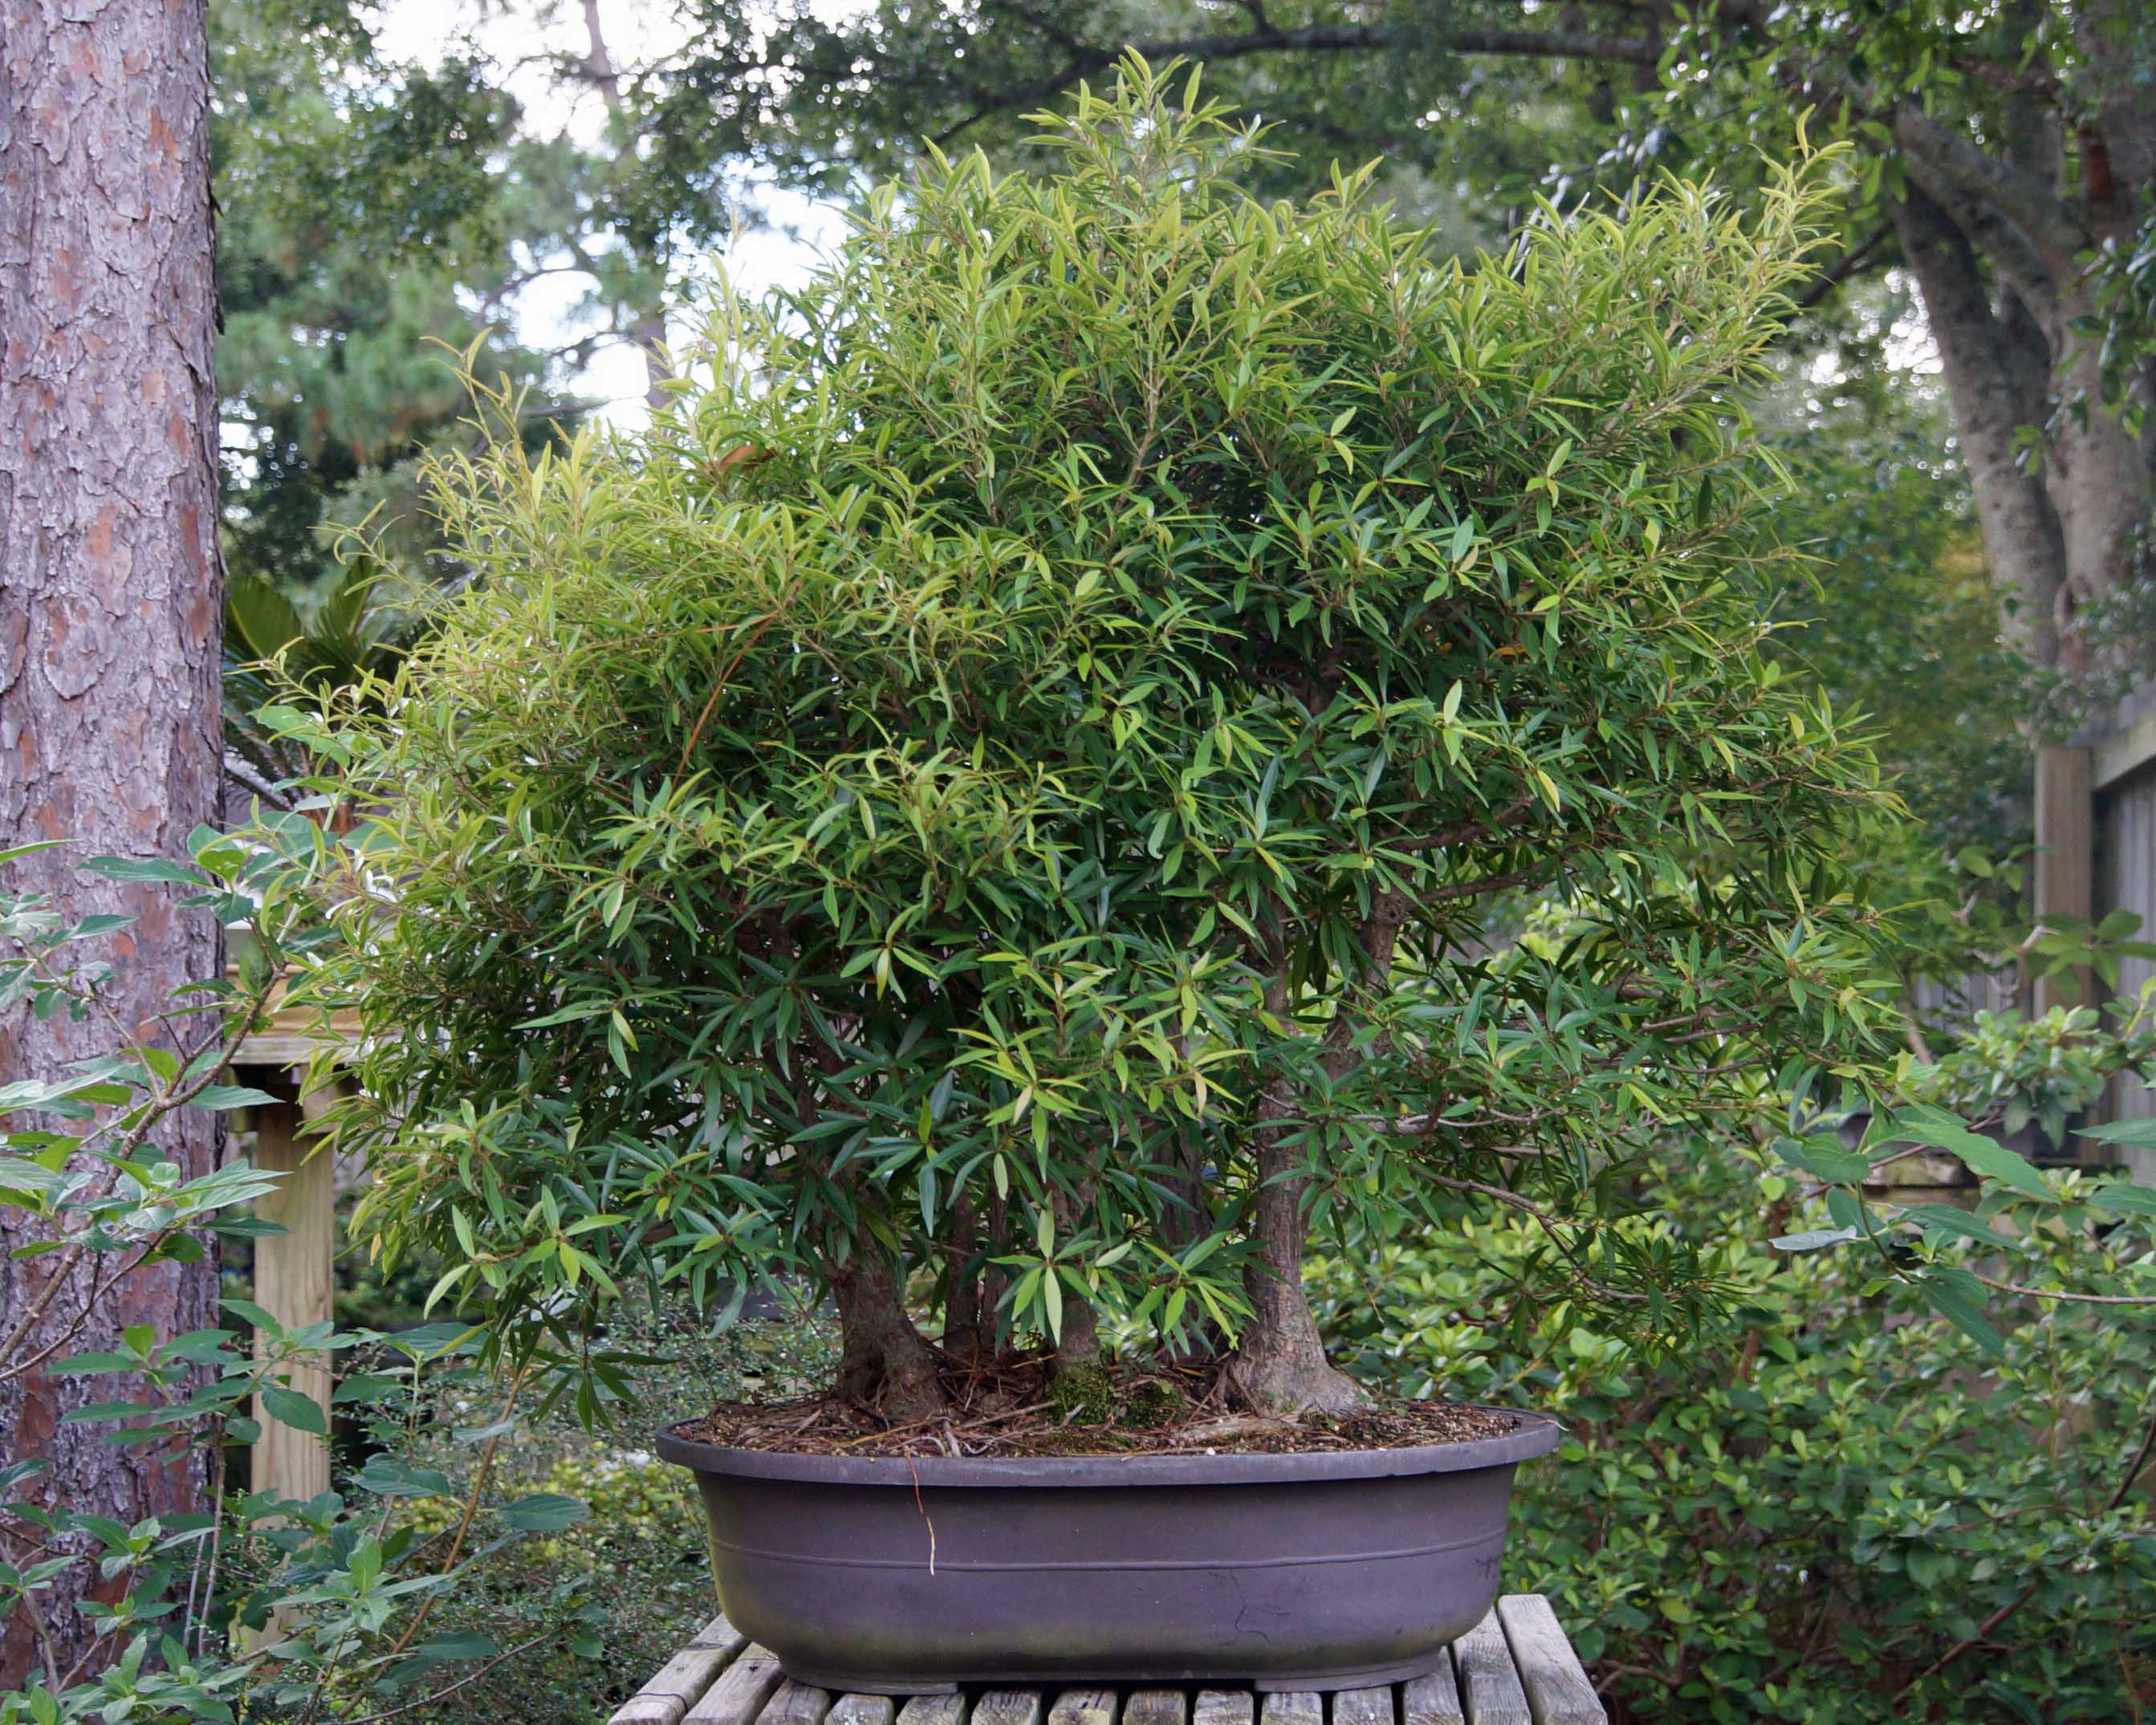
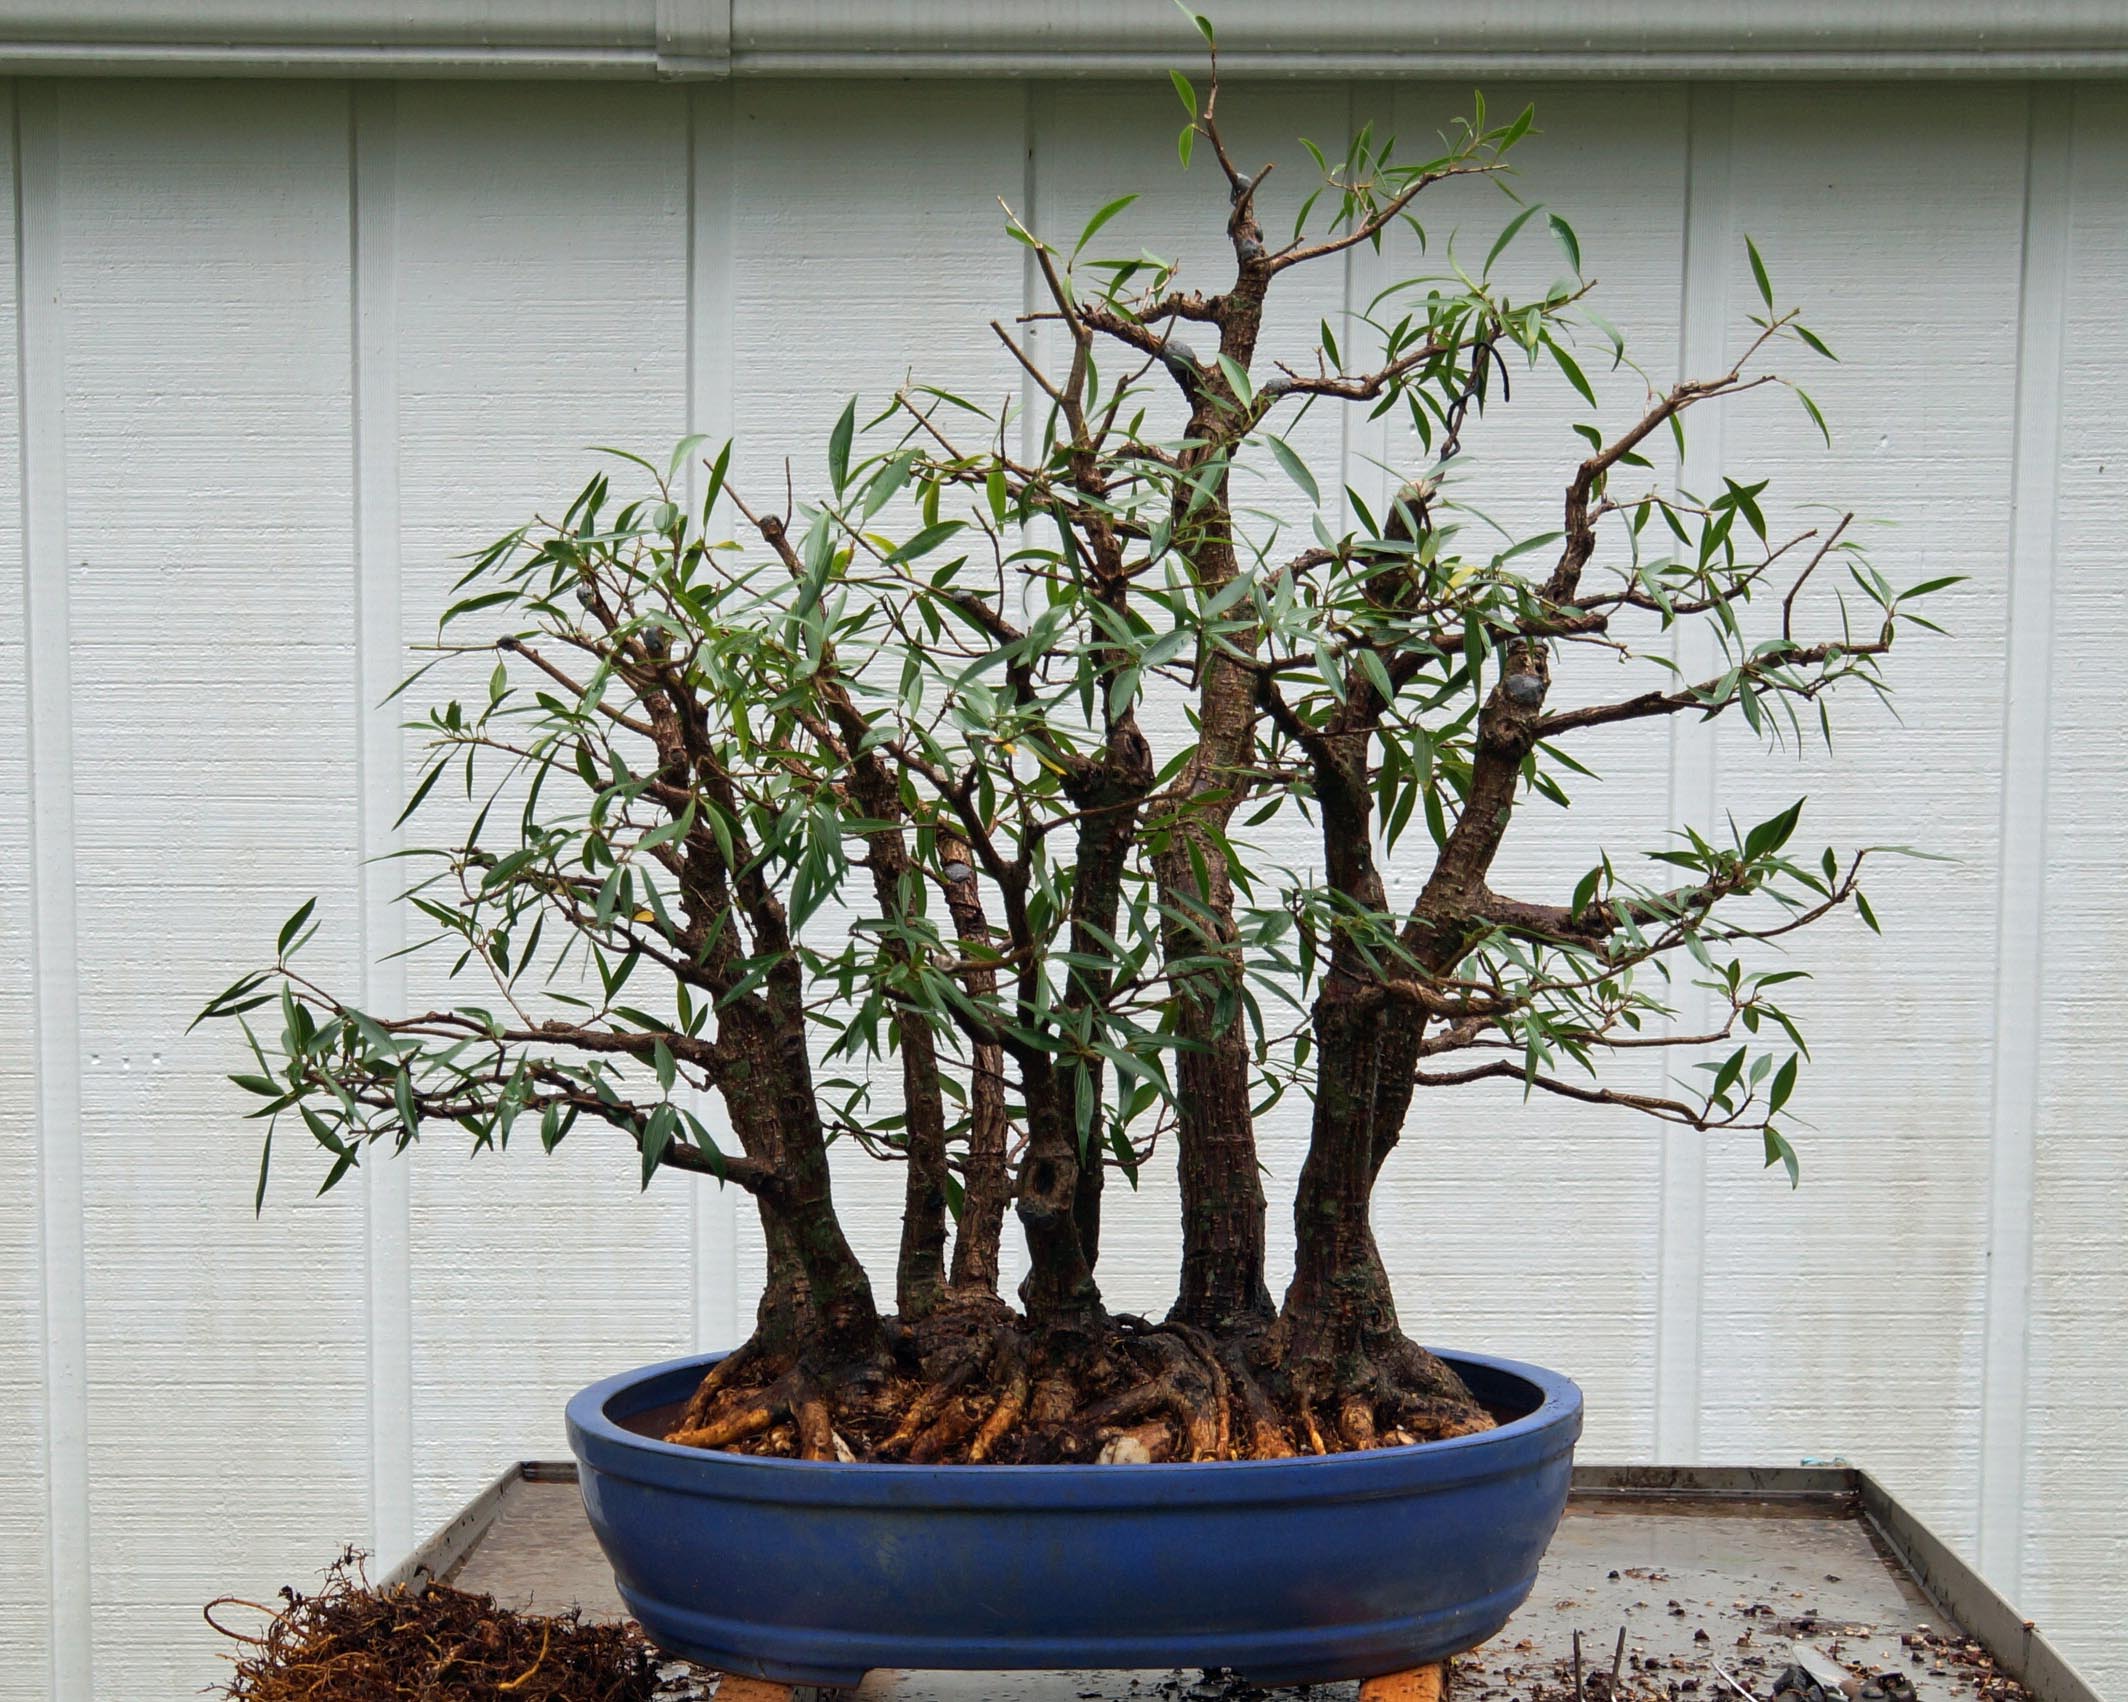
After giving this ficus nerifolia forest a good trim, it was time to give it a repot. It had been in the oval mica pot for several years and was getting root-bound. The mica pot was too deep for the composition and I finally managed to get a suitable pot for it. Nothing fancy, just a large Chinese oval in light blue. I would have preferred a light cream or green colored one as I think it would have gone better with the overall appearance but I could not beat the price of this one. I traded some smaller pots with my dad for this one. One day, I hope to find a cream colored one. If you find yourself reading this and know a place to get a reasonably priced pot of this size, please use the contact form to shoot me an email.
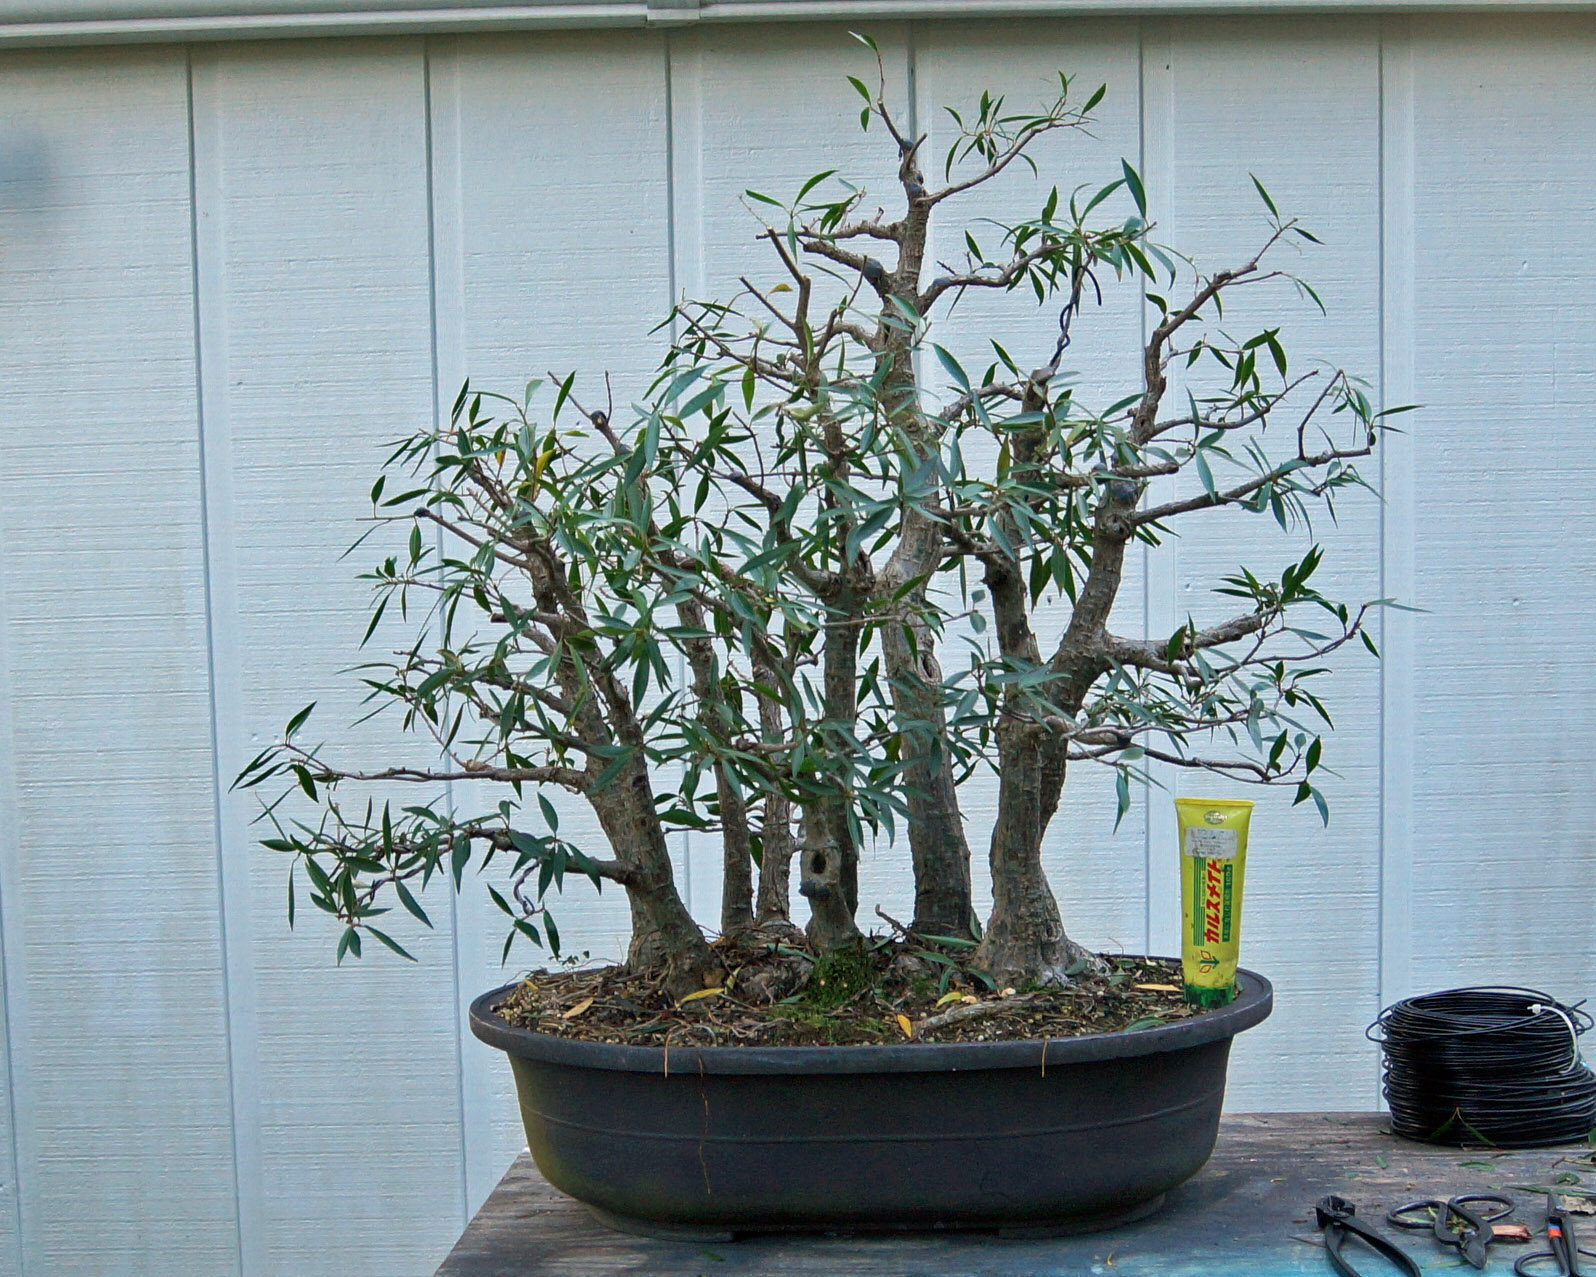
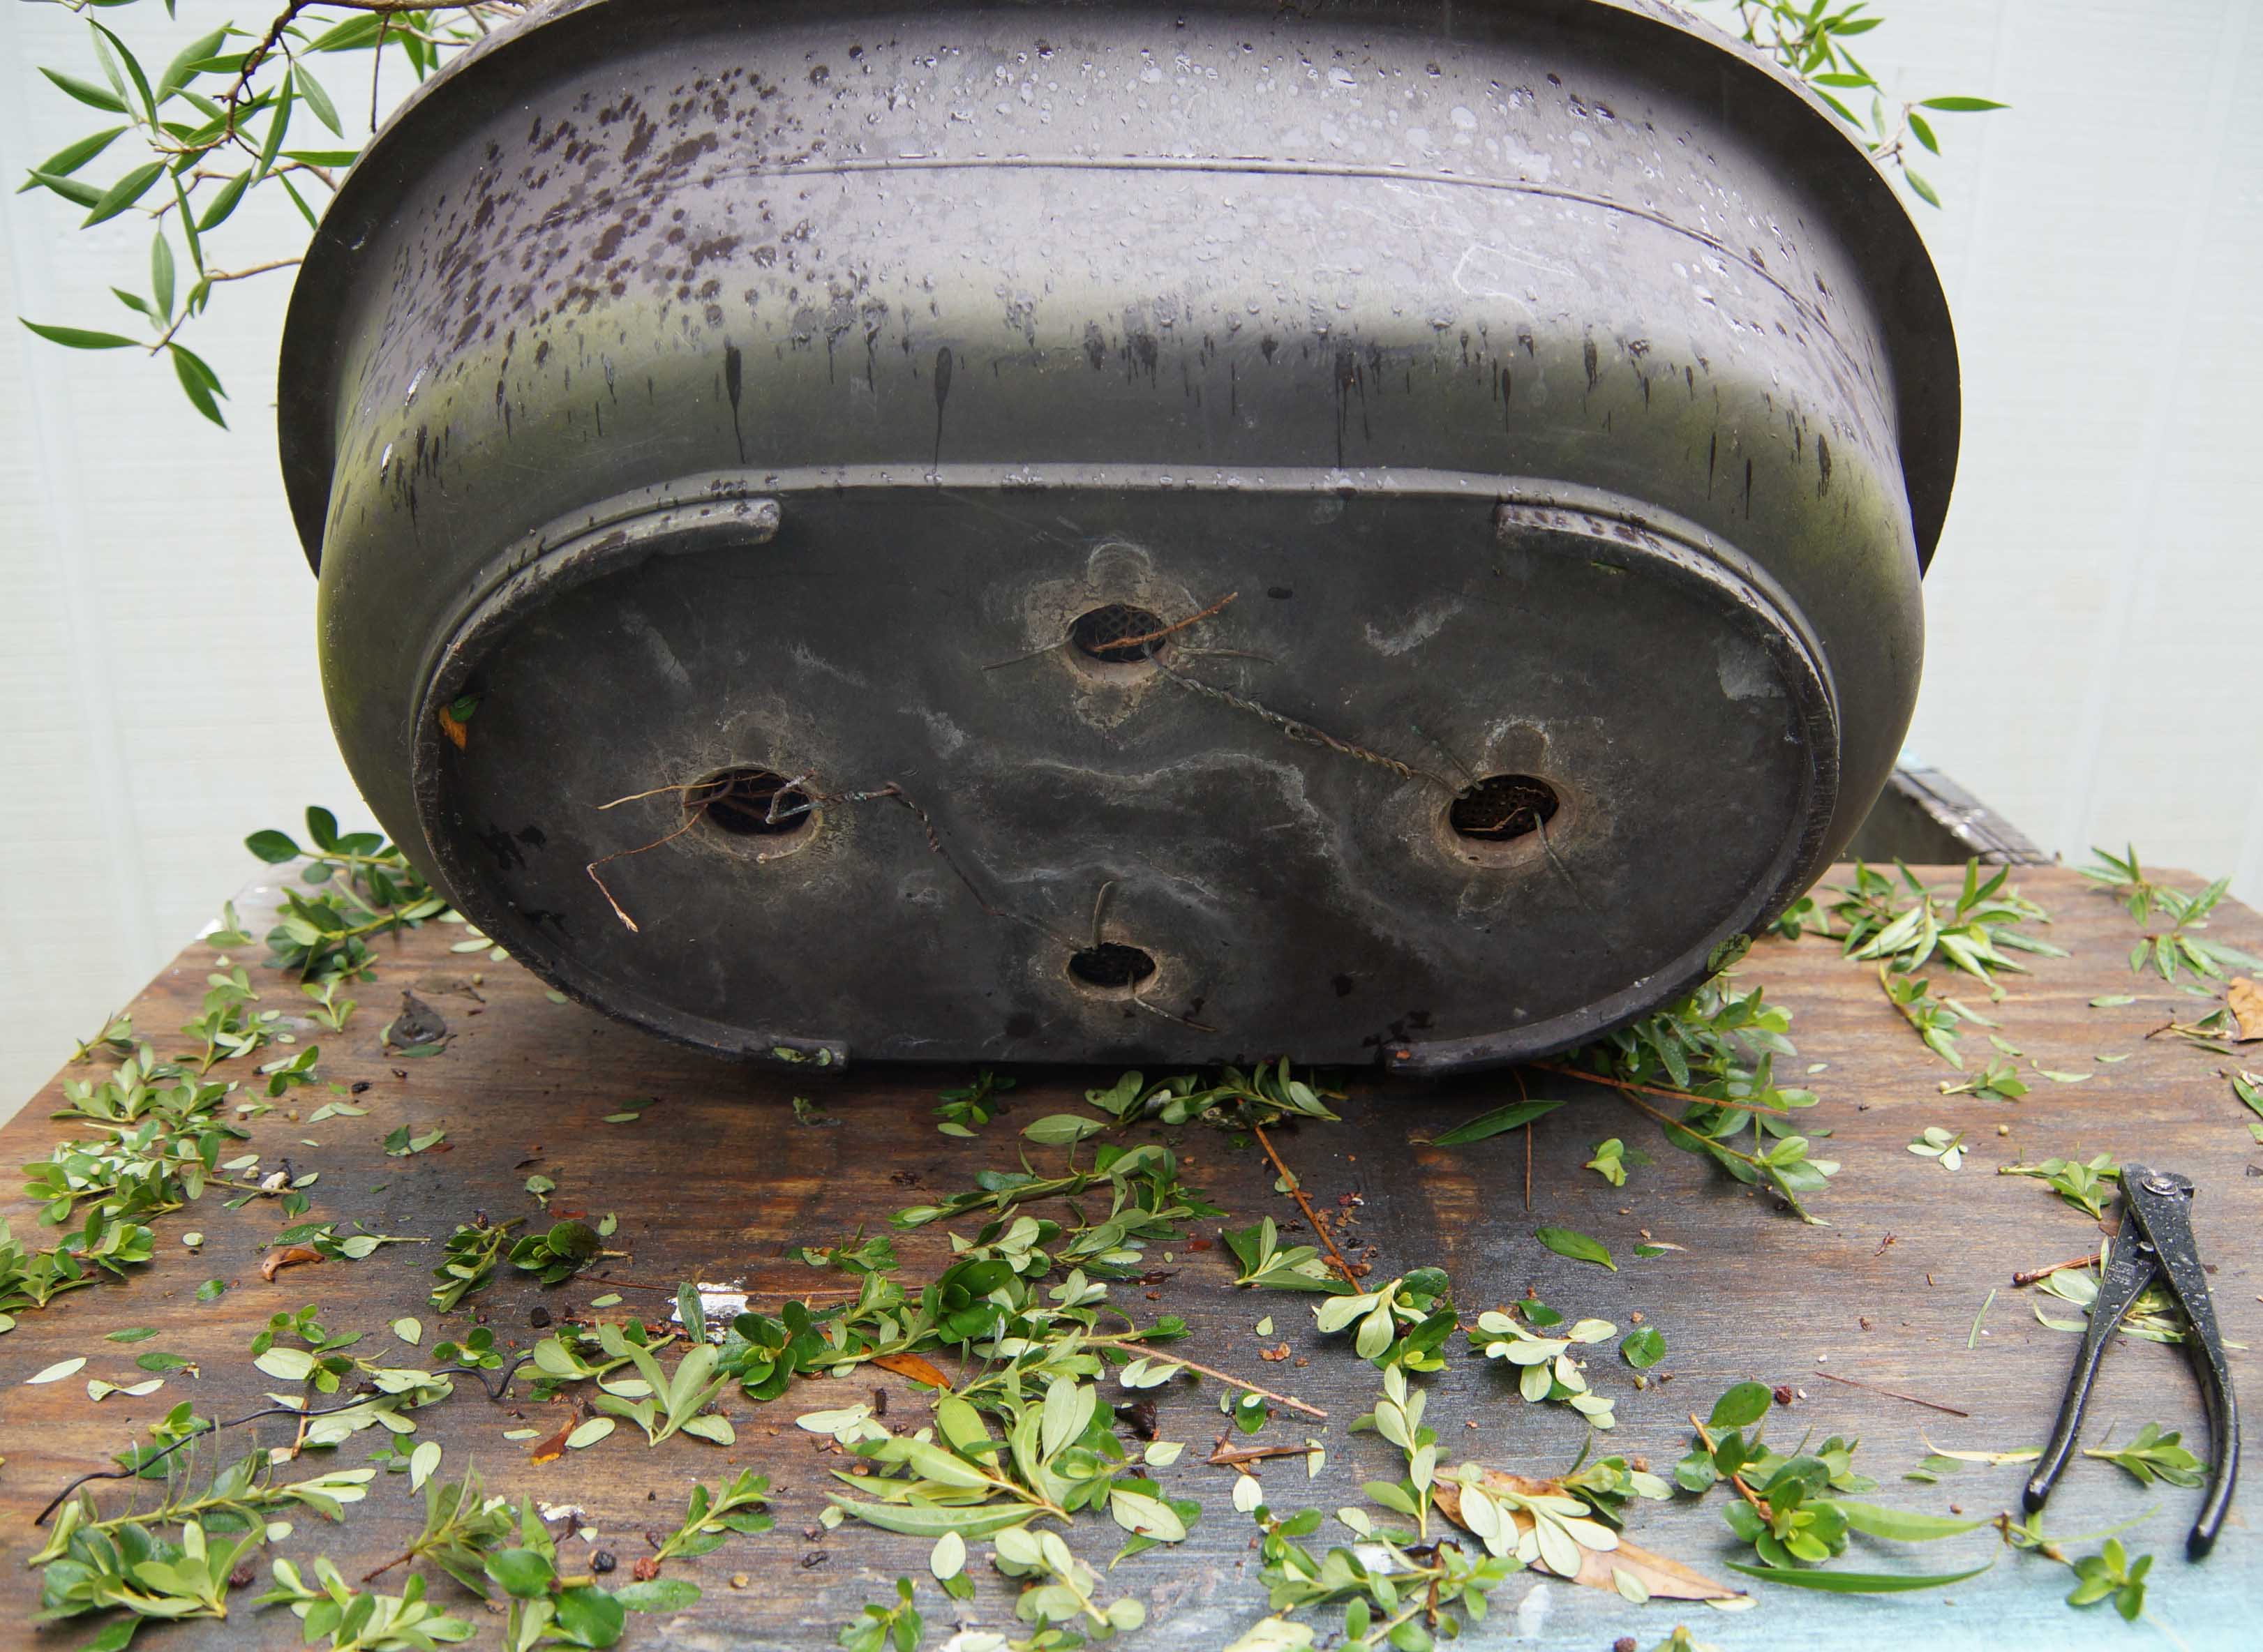
Let’s get started. It is always good to give whatever you are repotting a good trim, cutback, or whatever you want to call it, especially if it is very large. This will help keep from breaking limbs that you may want to keep while you are working on the roots. Tilting the pot over a bit, I cut the wires that were holding the group in the pot, and gently worked it out. I like this part, it is kinda like popping the cork on a bottle of champagne, lol. It came out without too much effort, since the pot was very open at the top. I have learned that when choosing pots, it is best to go with a pot that has an edge that stays even with the sides. So called “bag pots” and others that have a lip that protrudes into or slopes toward the inside of the pot, while pretty, are a POA to get the tree out. Trust me, save yourself some aggravation.
After giving this ficus nerifolia forest a good trim, it was time to give it a repot. It had been in the oval mica pot for several years and was getting root-bound. The mica pot was too deep for the composition and I finally managed to get a suitable pot for it. Nothing fancy, just a large Chinese oval in light blue. I would have preferred a light cream or green colored one as I think it would have gone better with the overall appearance but I could not beat the price of this one. I traded some smaller pots with my dad for this one. One day, I hope to find a cream colored one. If you find yourself reading this and know a place to get a reasonably priced pot of this size, please use the contact form to shoot me an email.
Let’s get started. It is always good to give whatever you are repotting a good trim, cutback, or whatever you want to call it, especially if it is very large. This will help keep from breaking limbs that you may want to keep while you are working on the roots. Tilting the pot over a bit, I cut the wires that were holding the group in the pot, and gently worked it out. I like this part, it is kinda like popping the cork on a bottle of champagne, lol. It came out without too much effort, since the pot was very open at the top. I have learned that when choosing pots, it is best to go with a pot that has an edge that stays even with the sides. So called “bag pots” and others that have a lip that protrudes into or slopes toward the inside of the pot, while pretty, are a POA to get the tree out. Trust me, save yourself some aggravation.

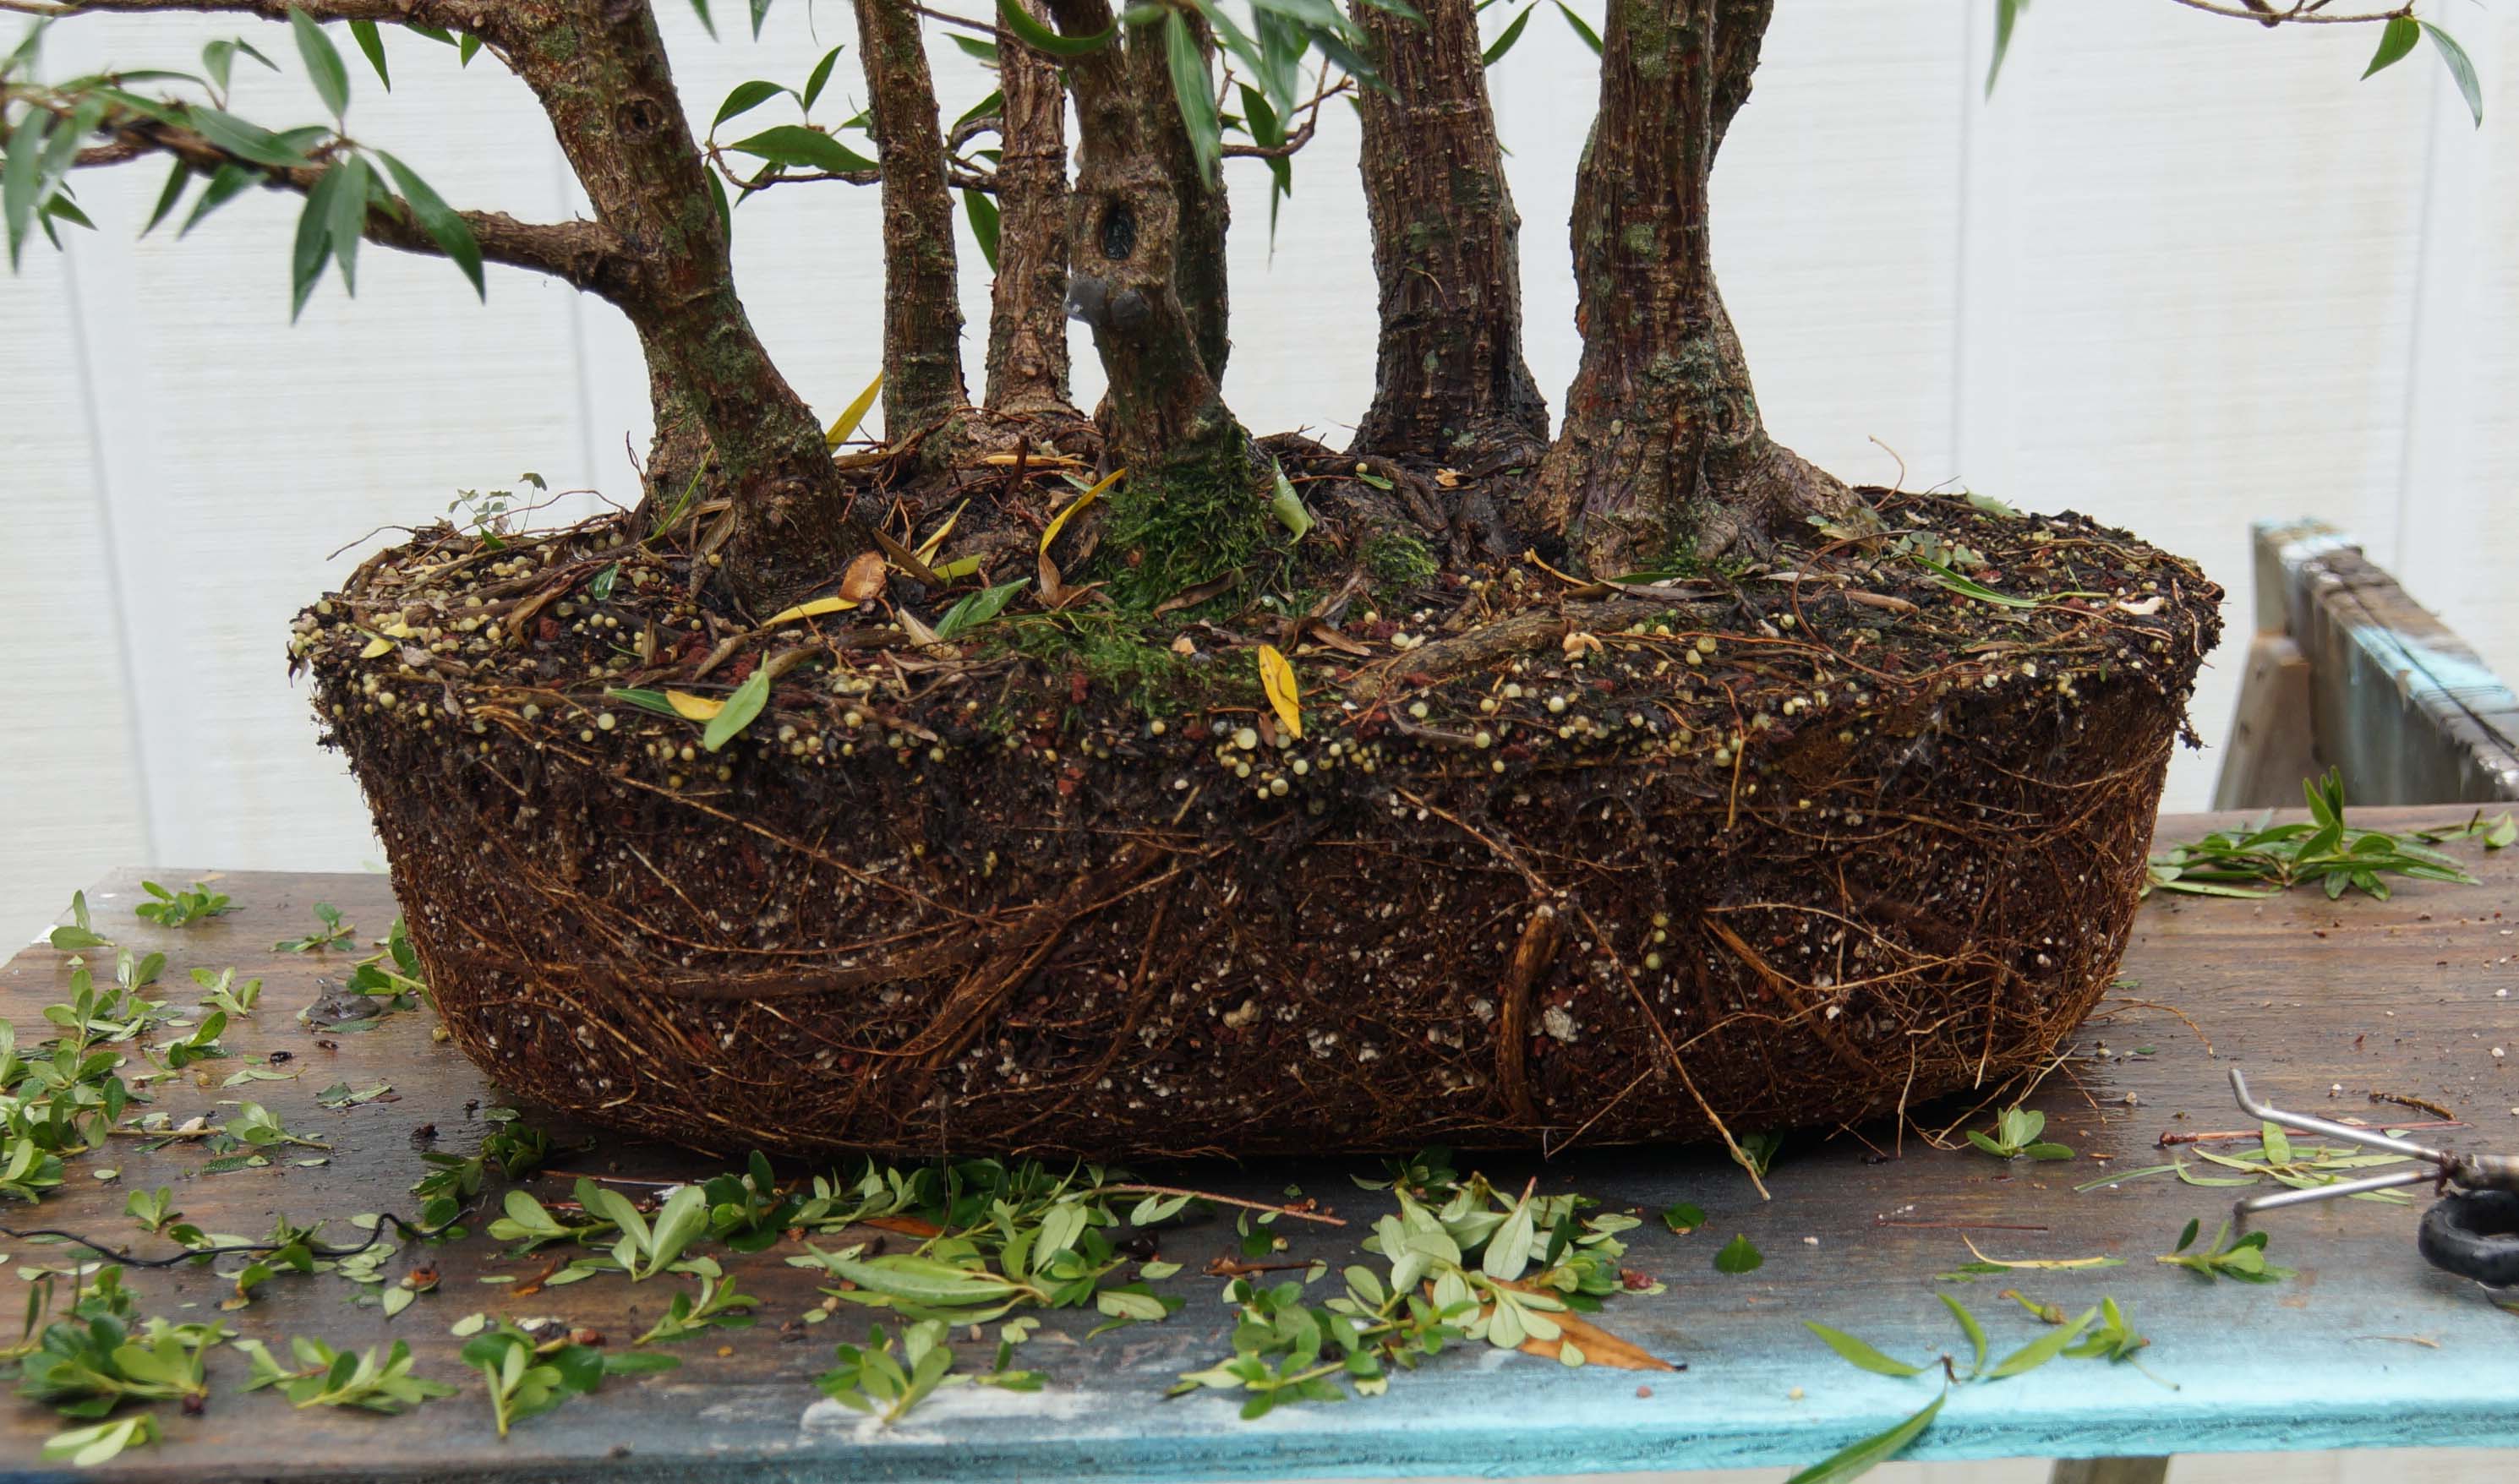
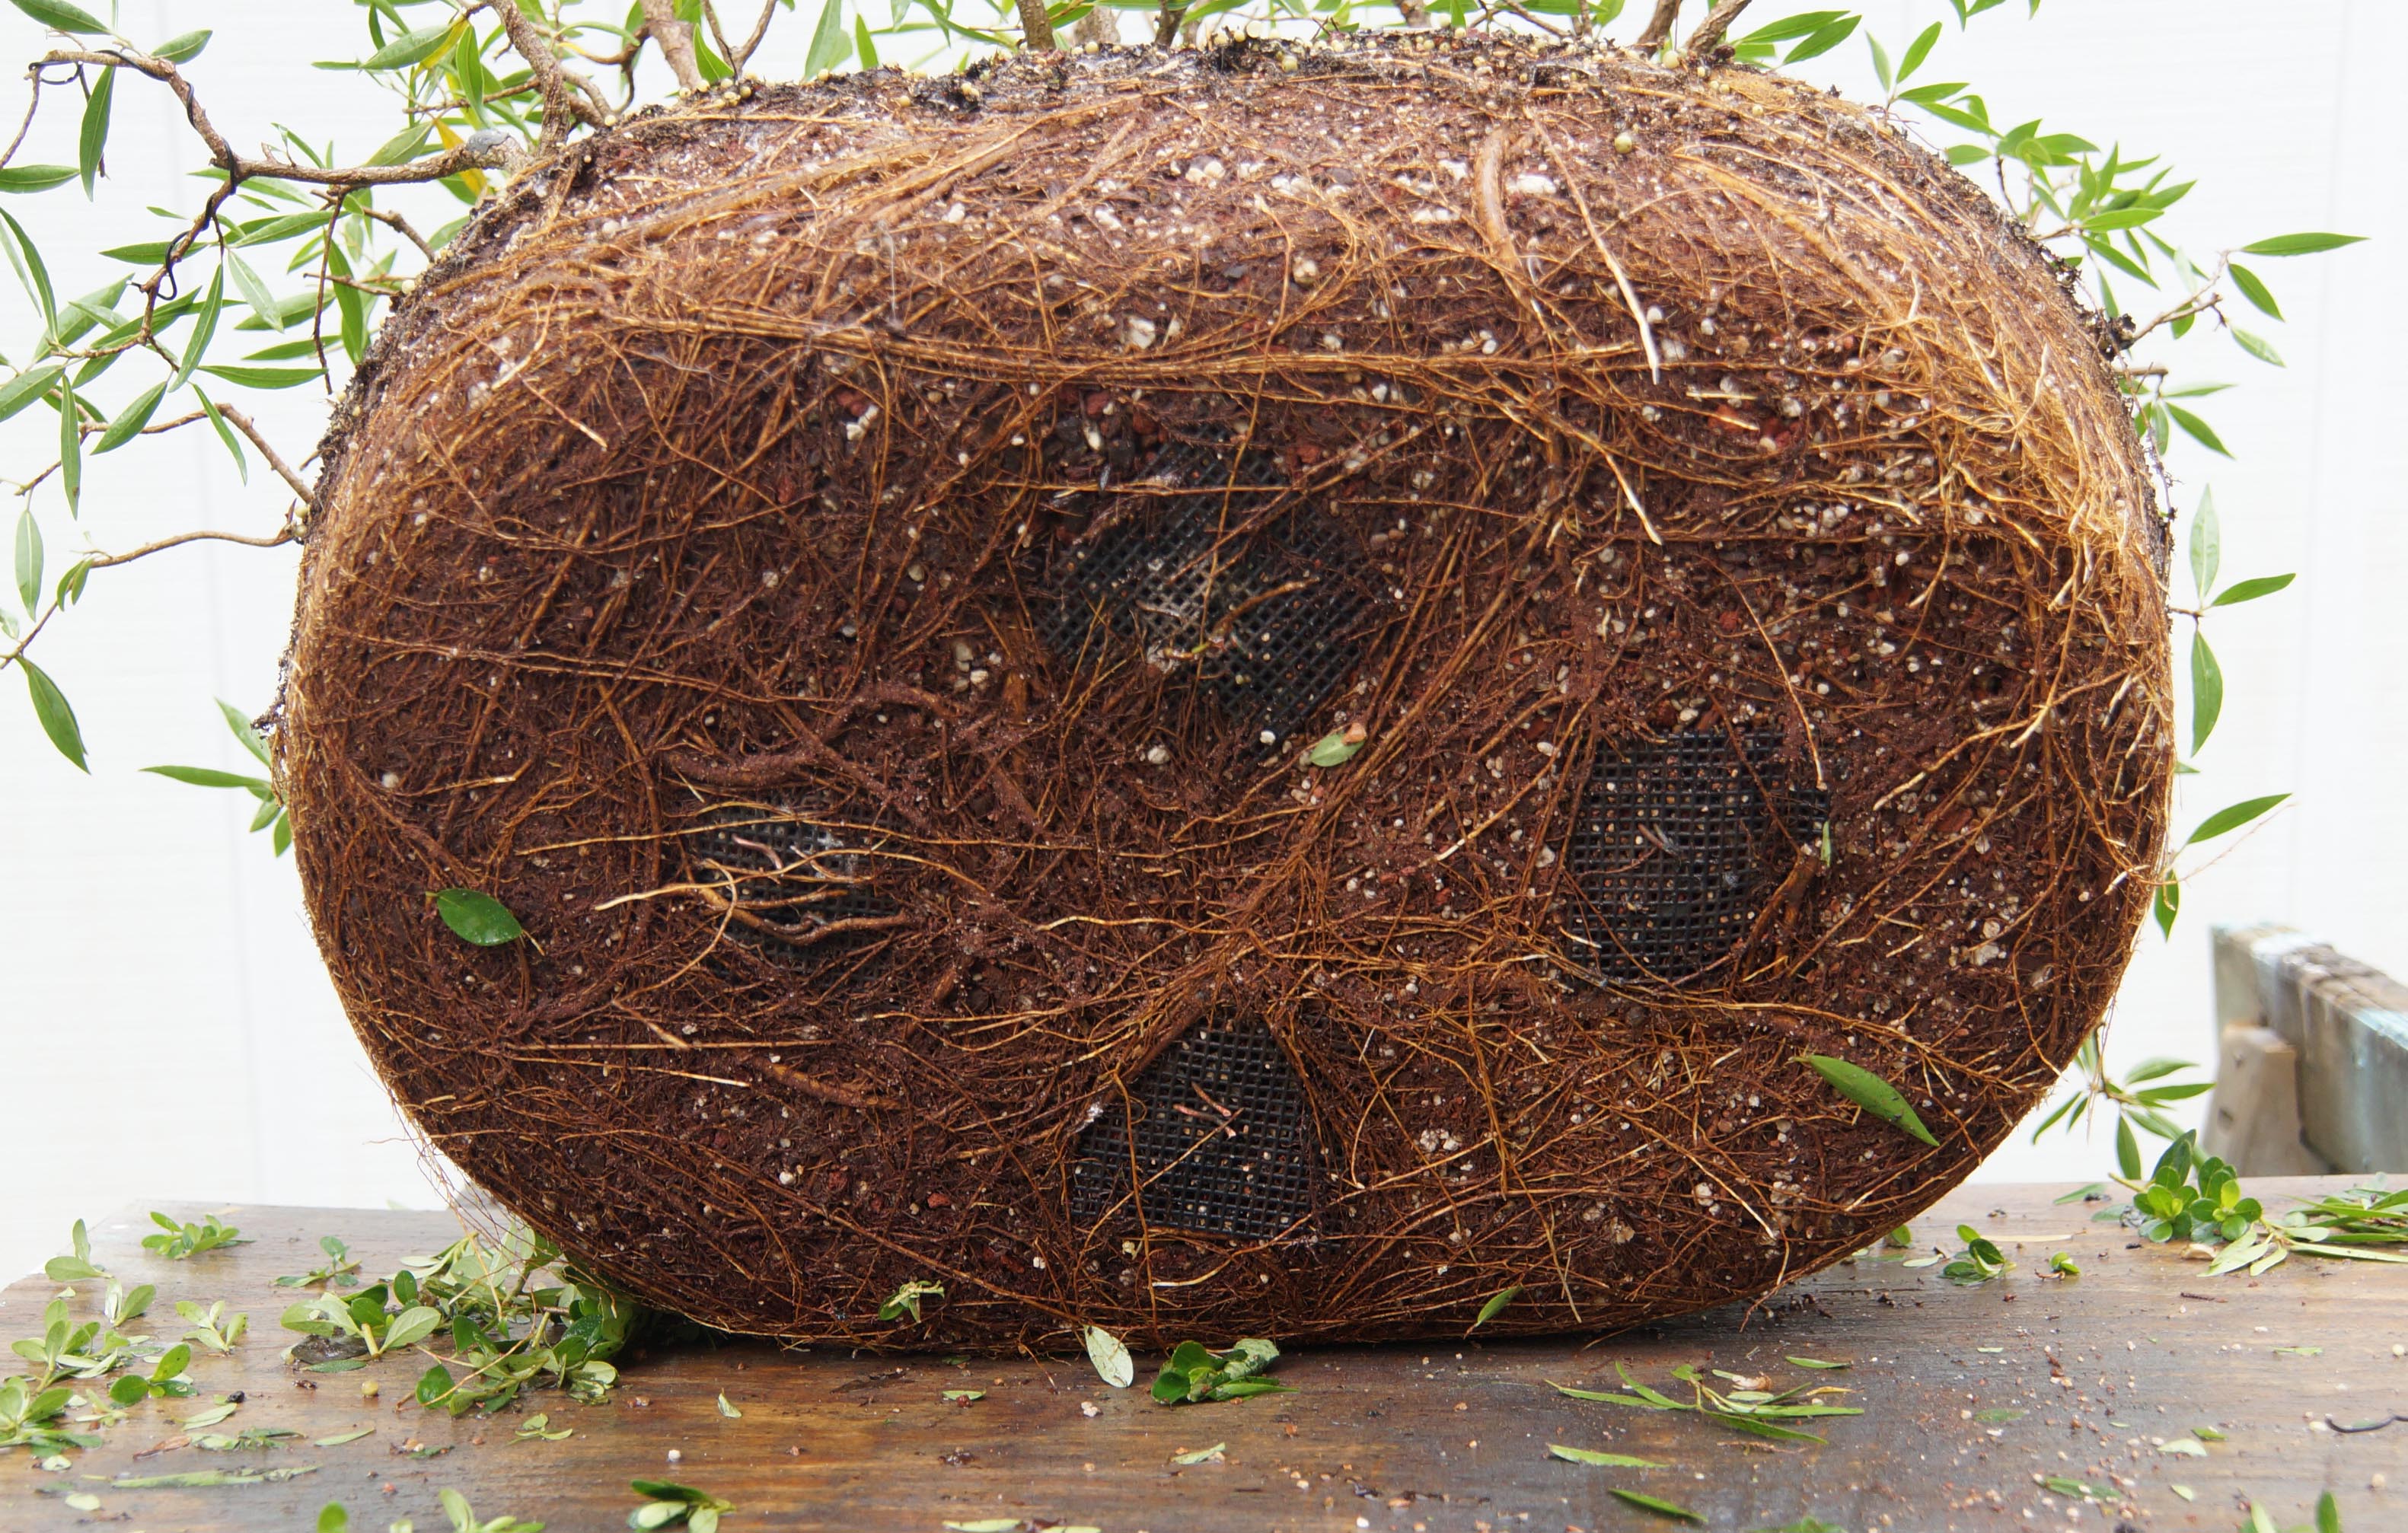
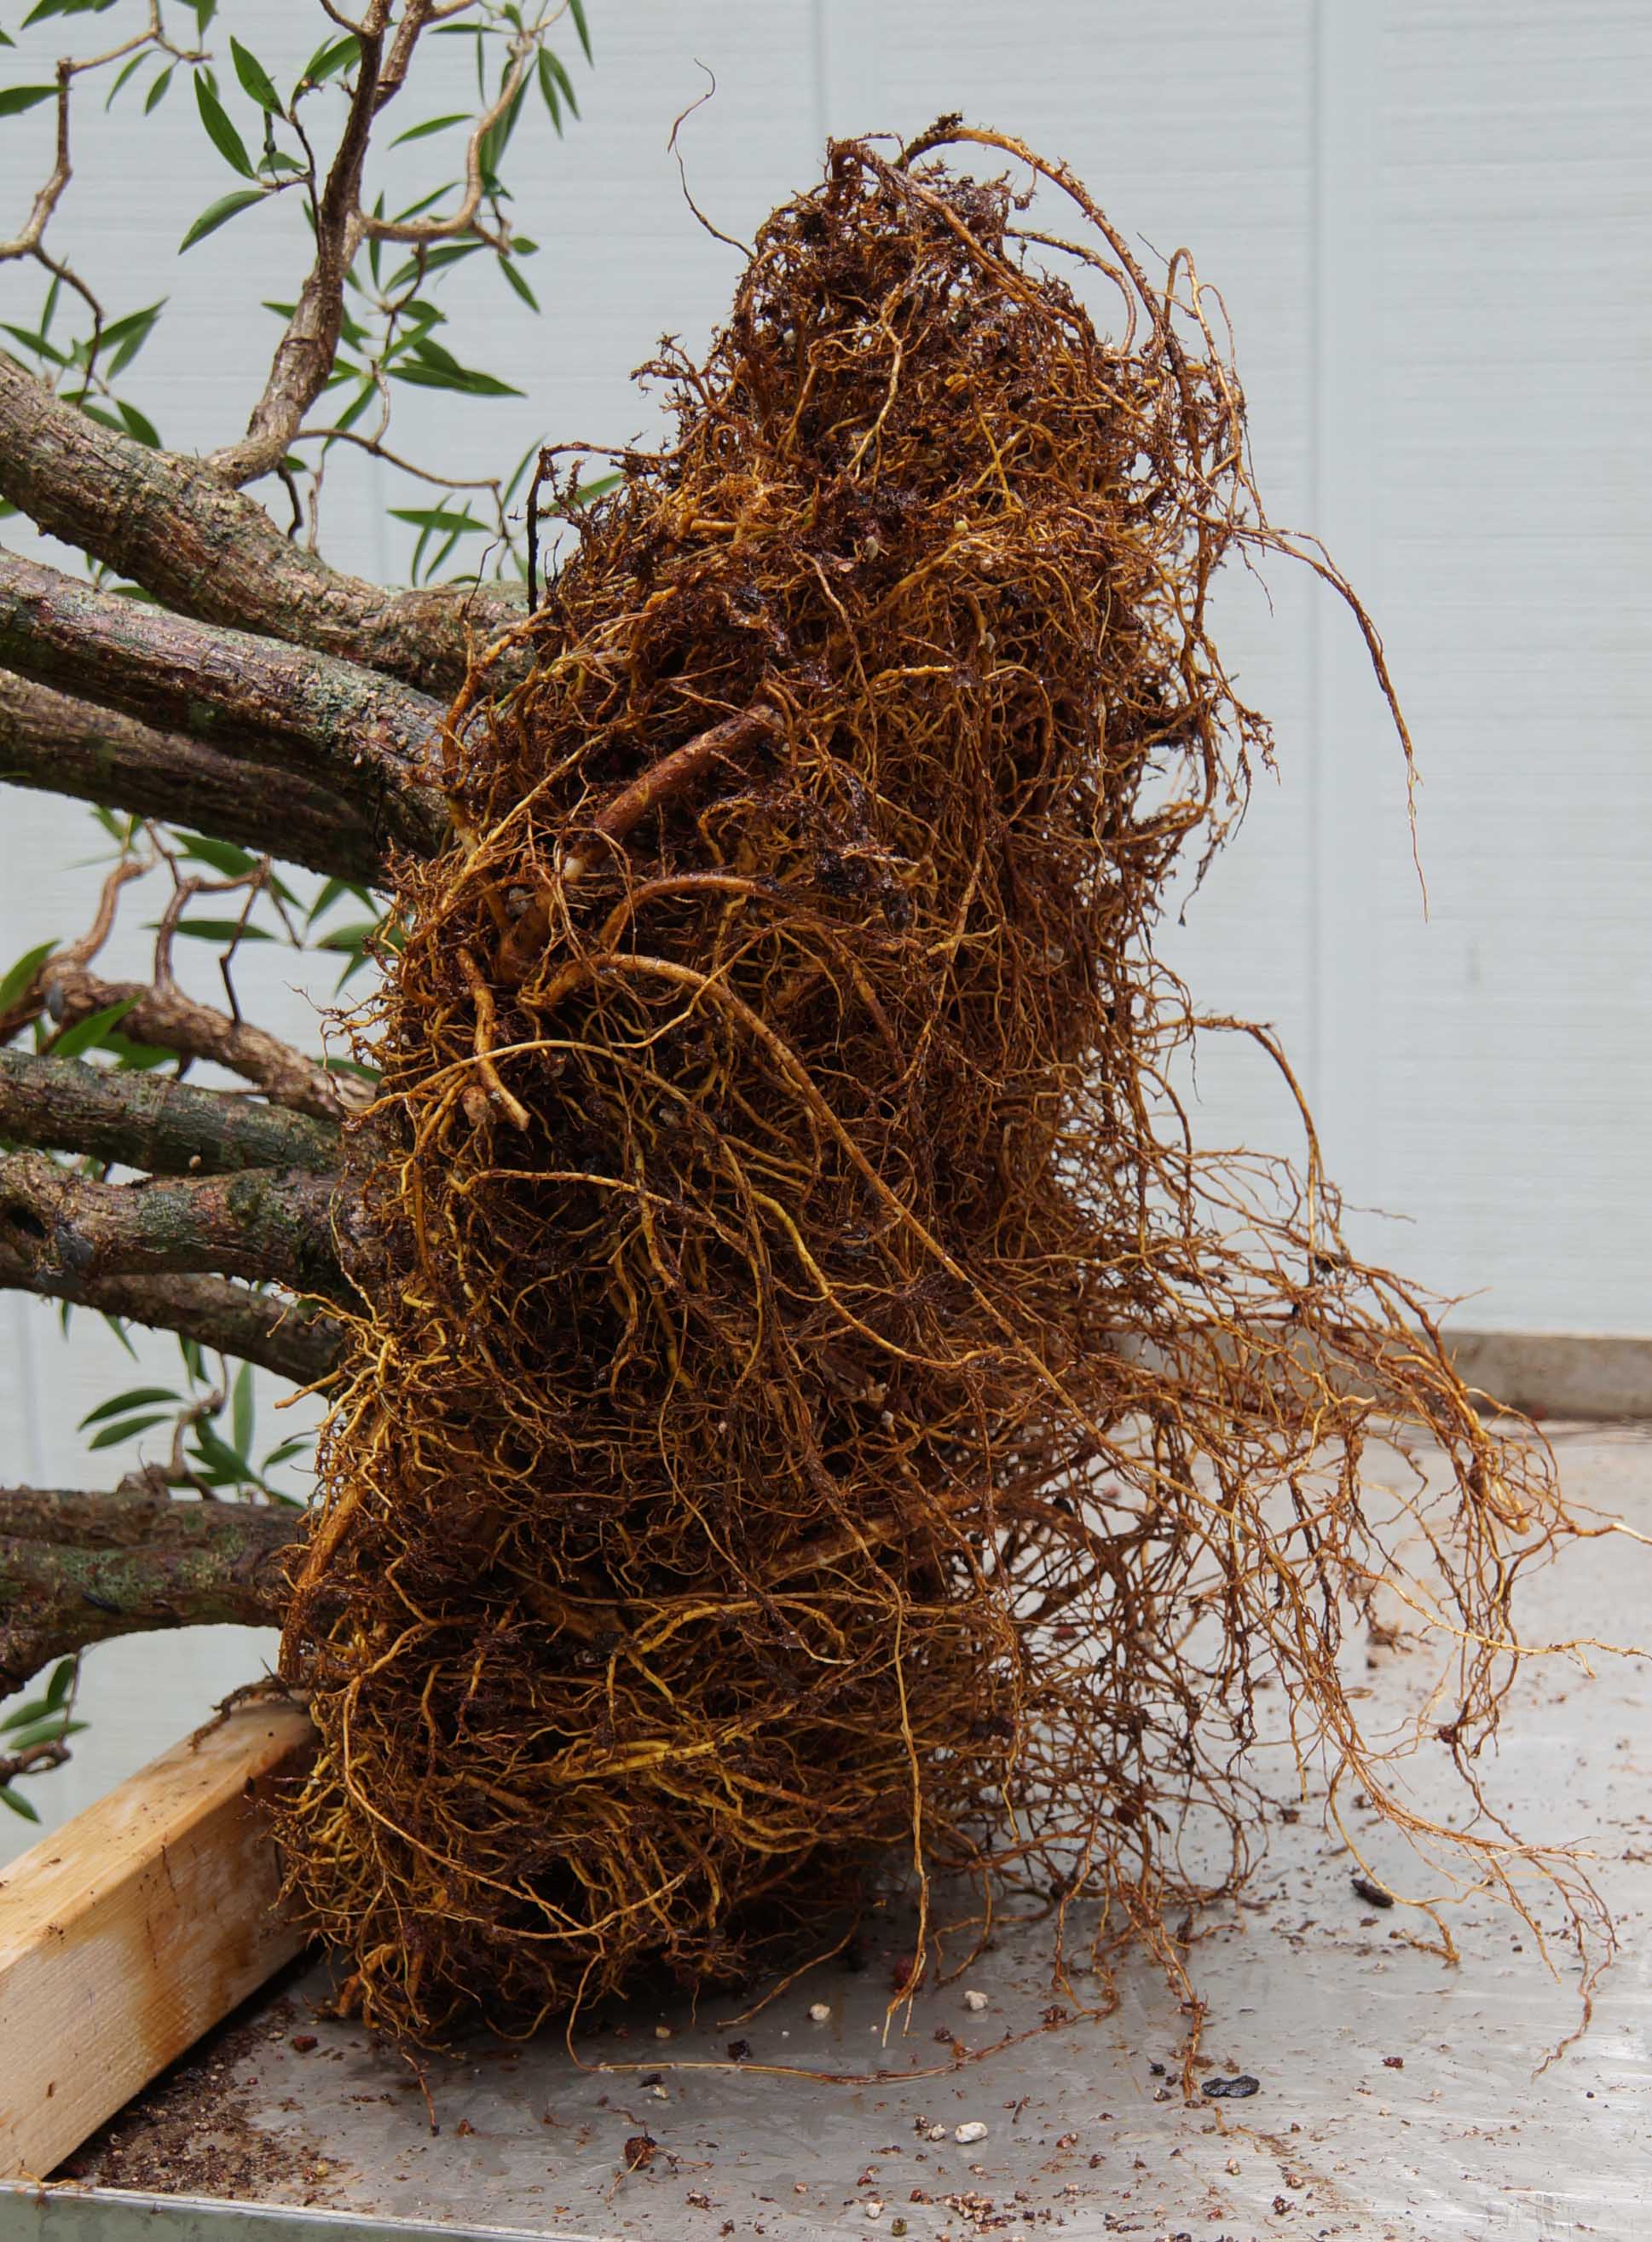
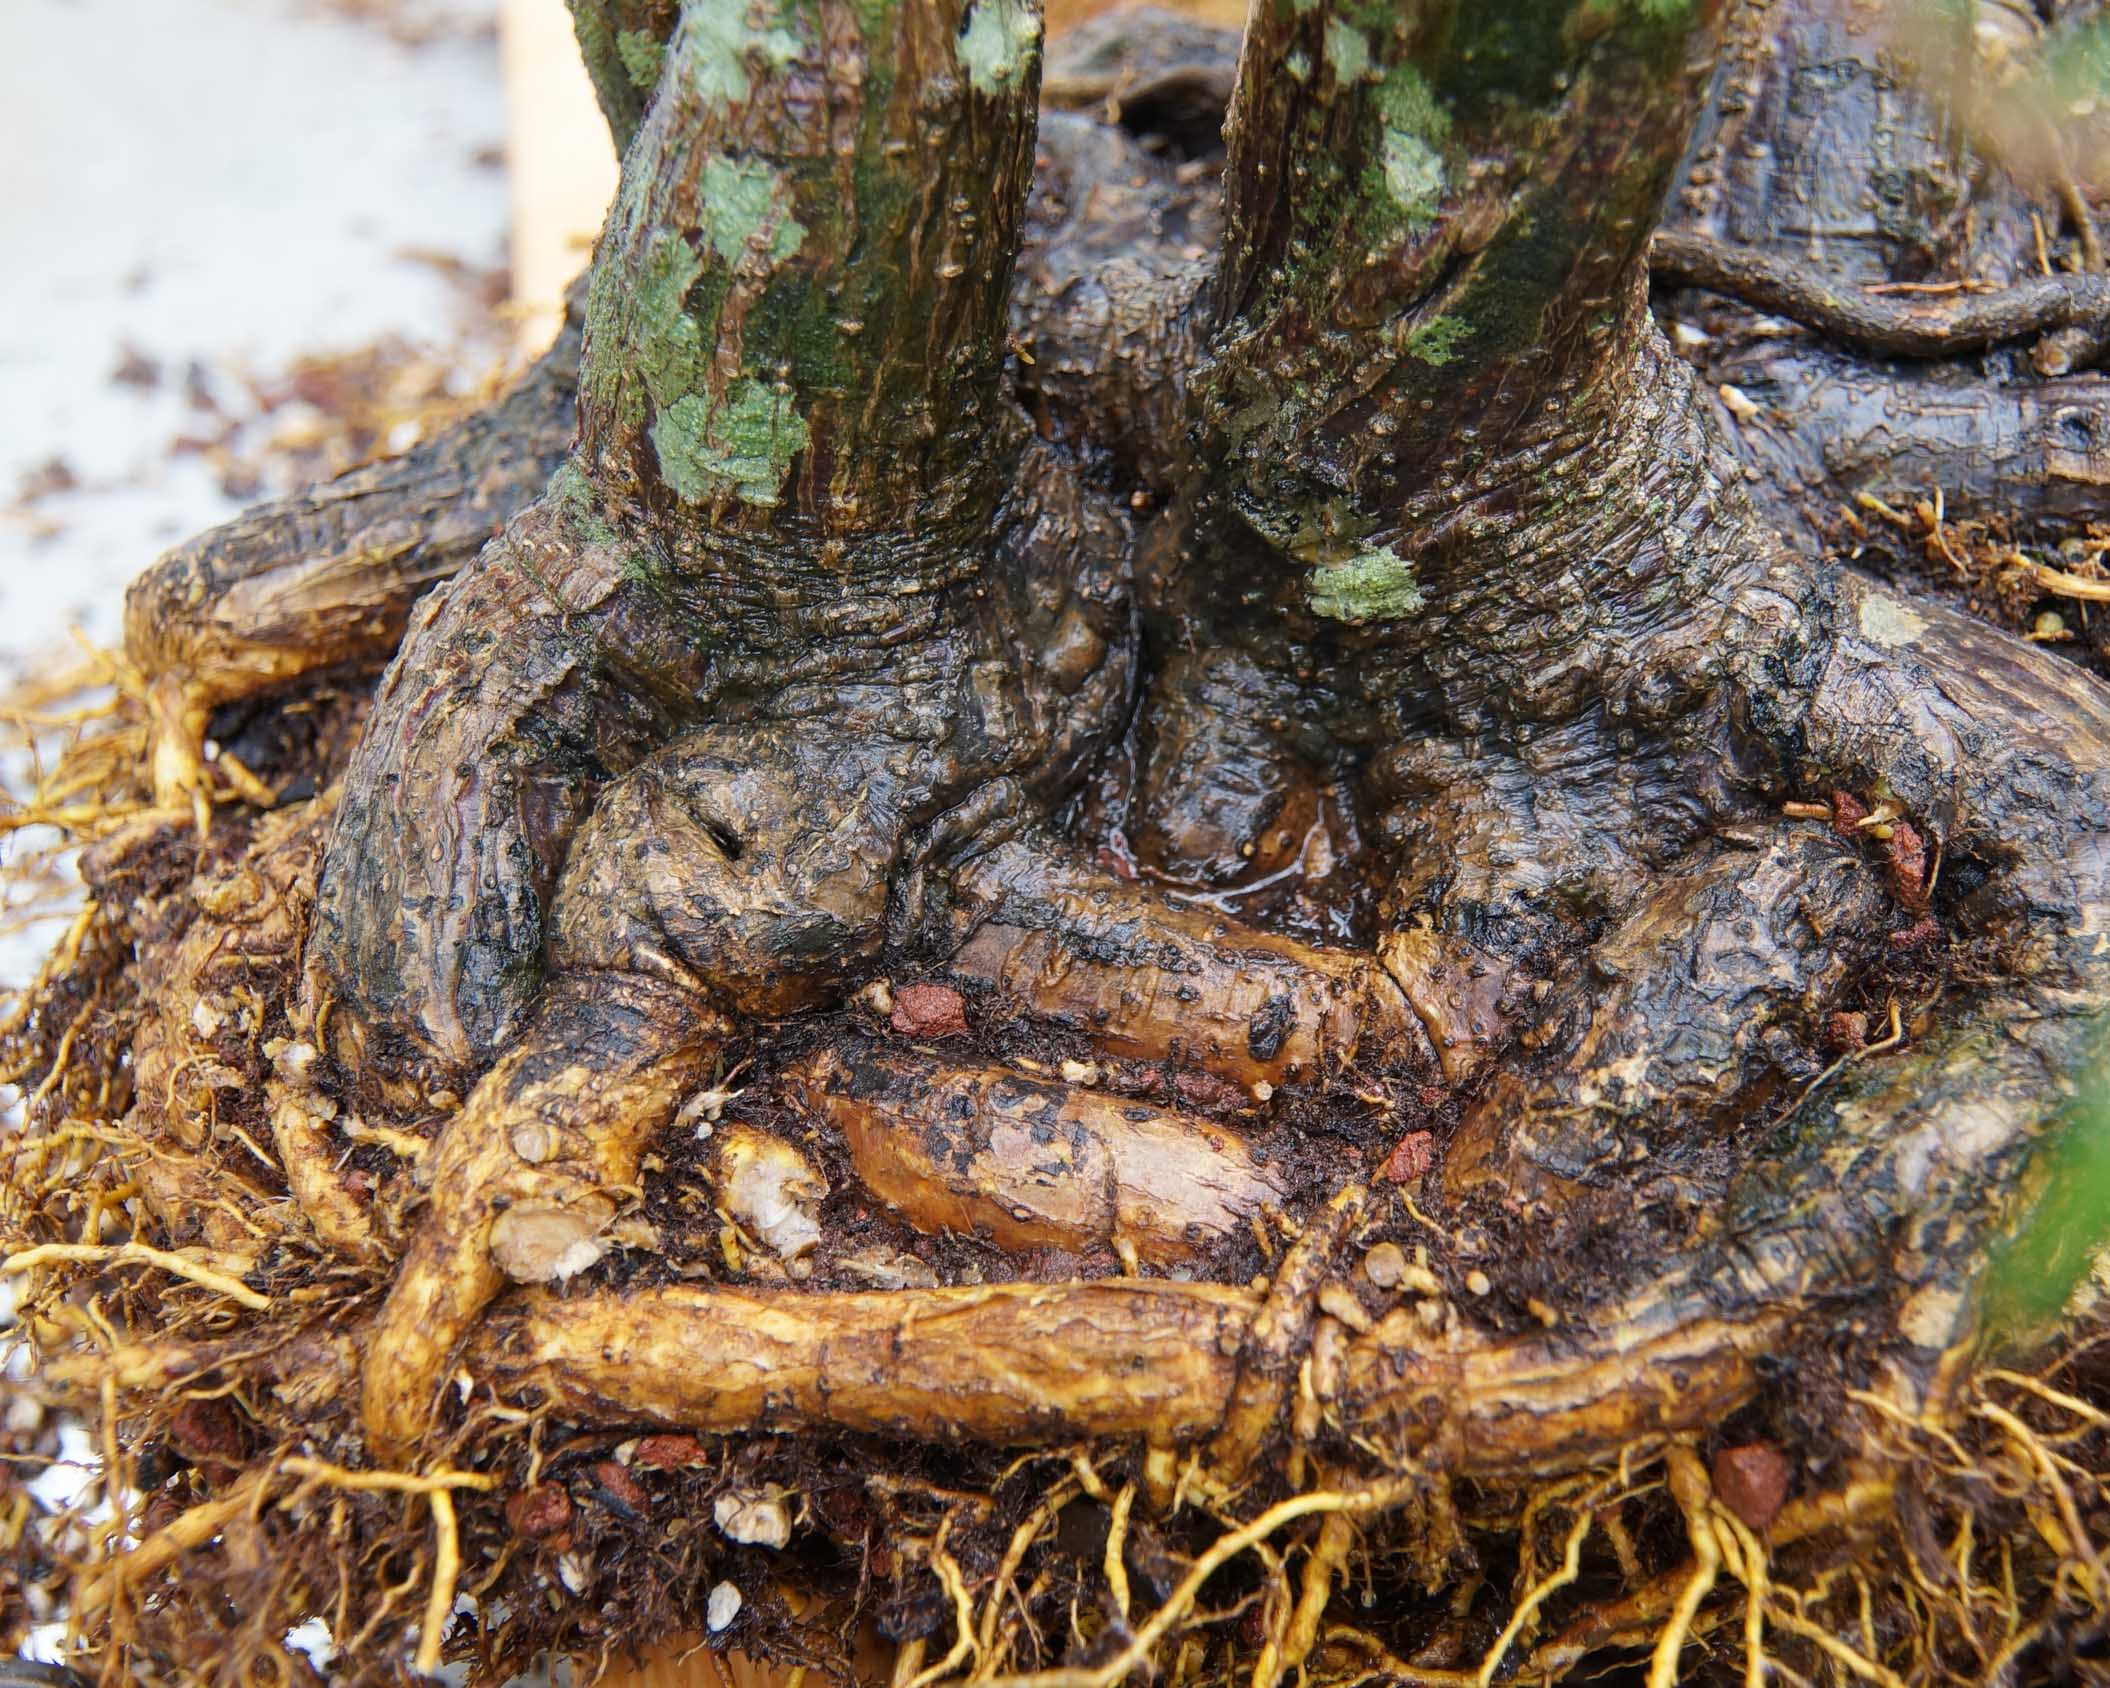
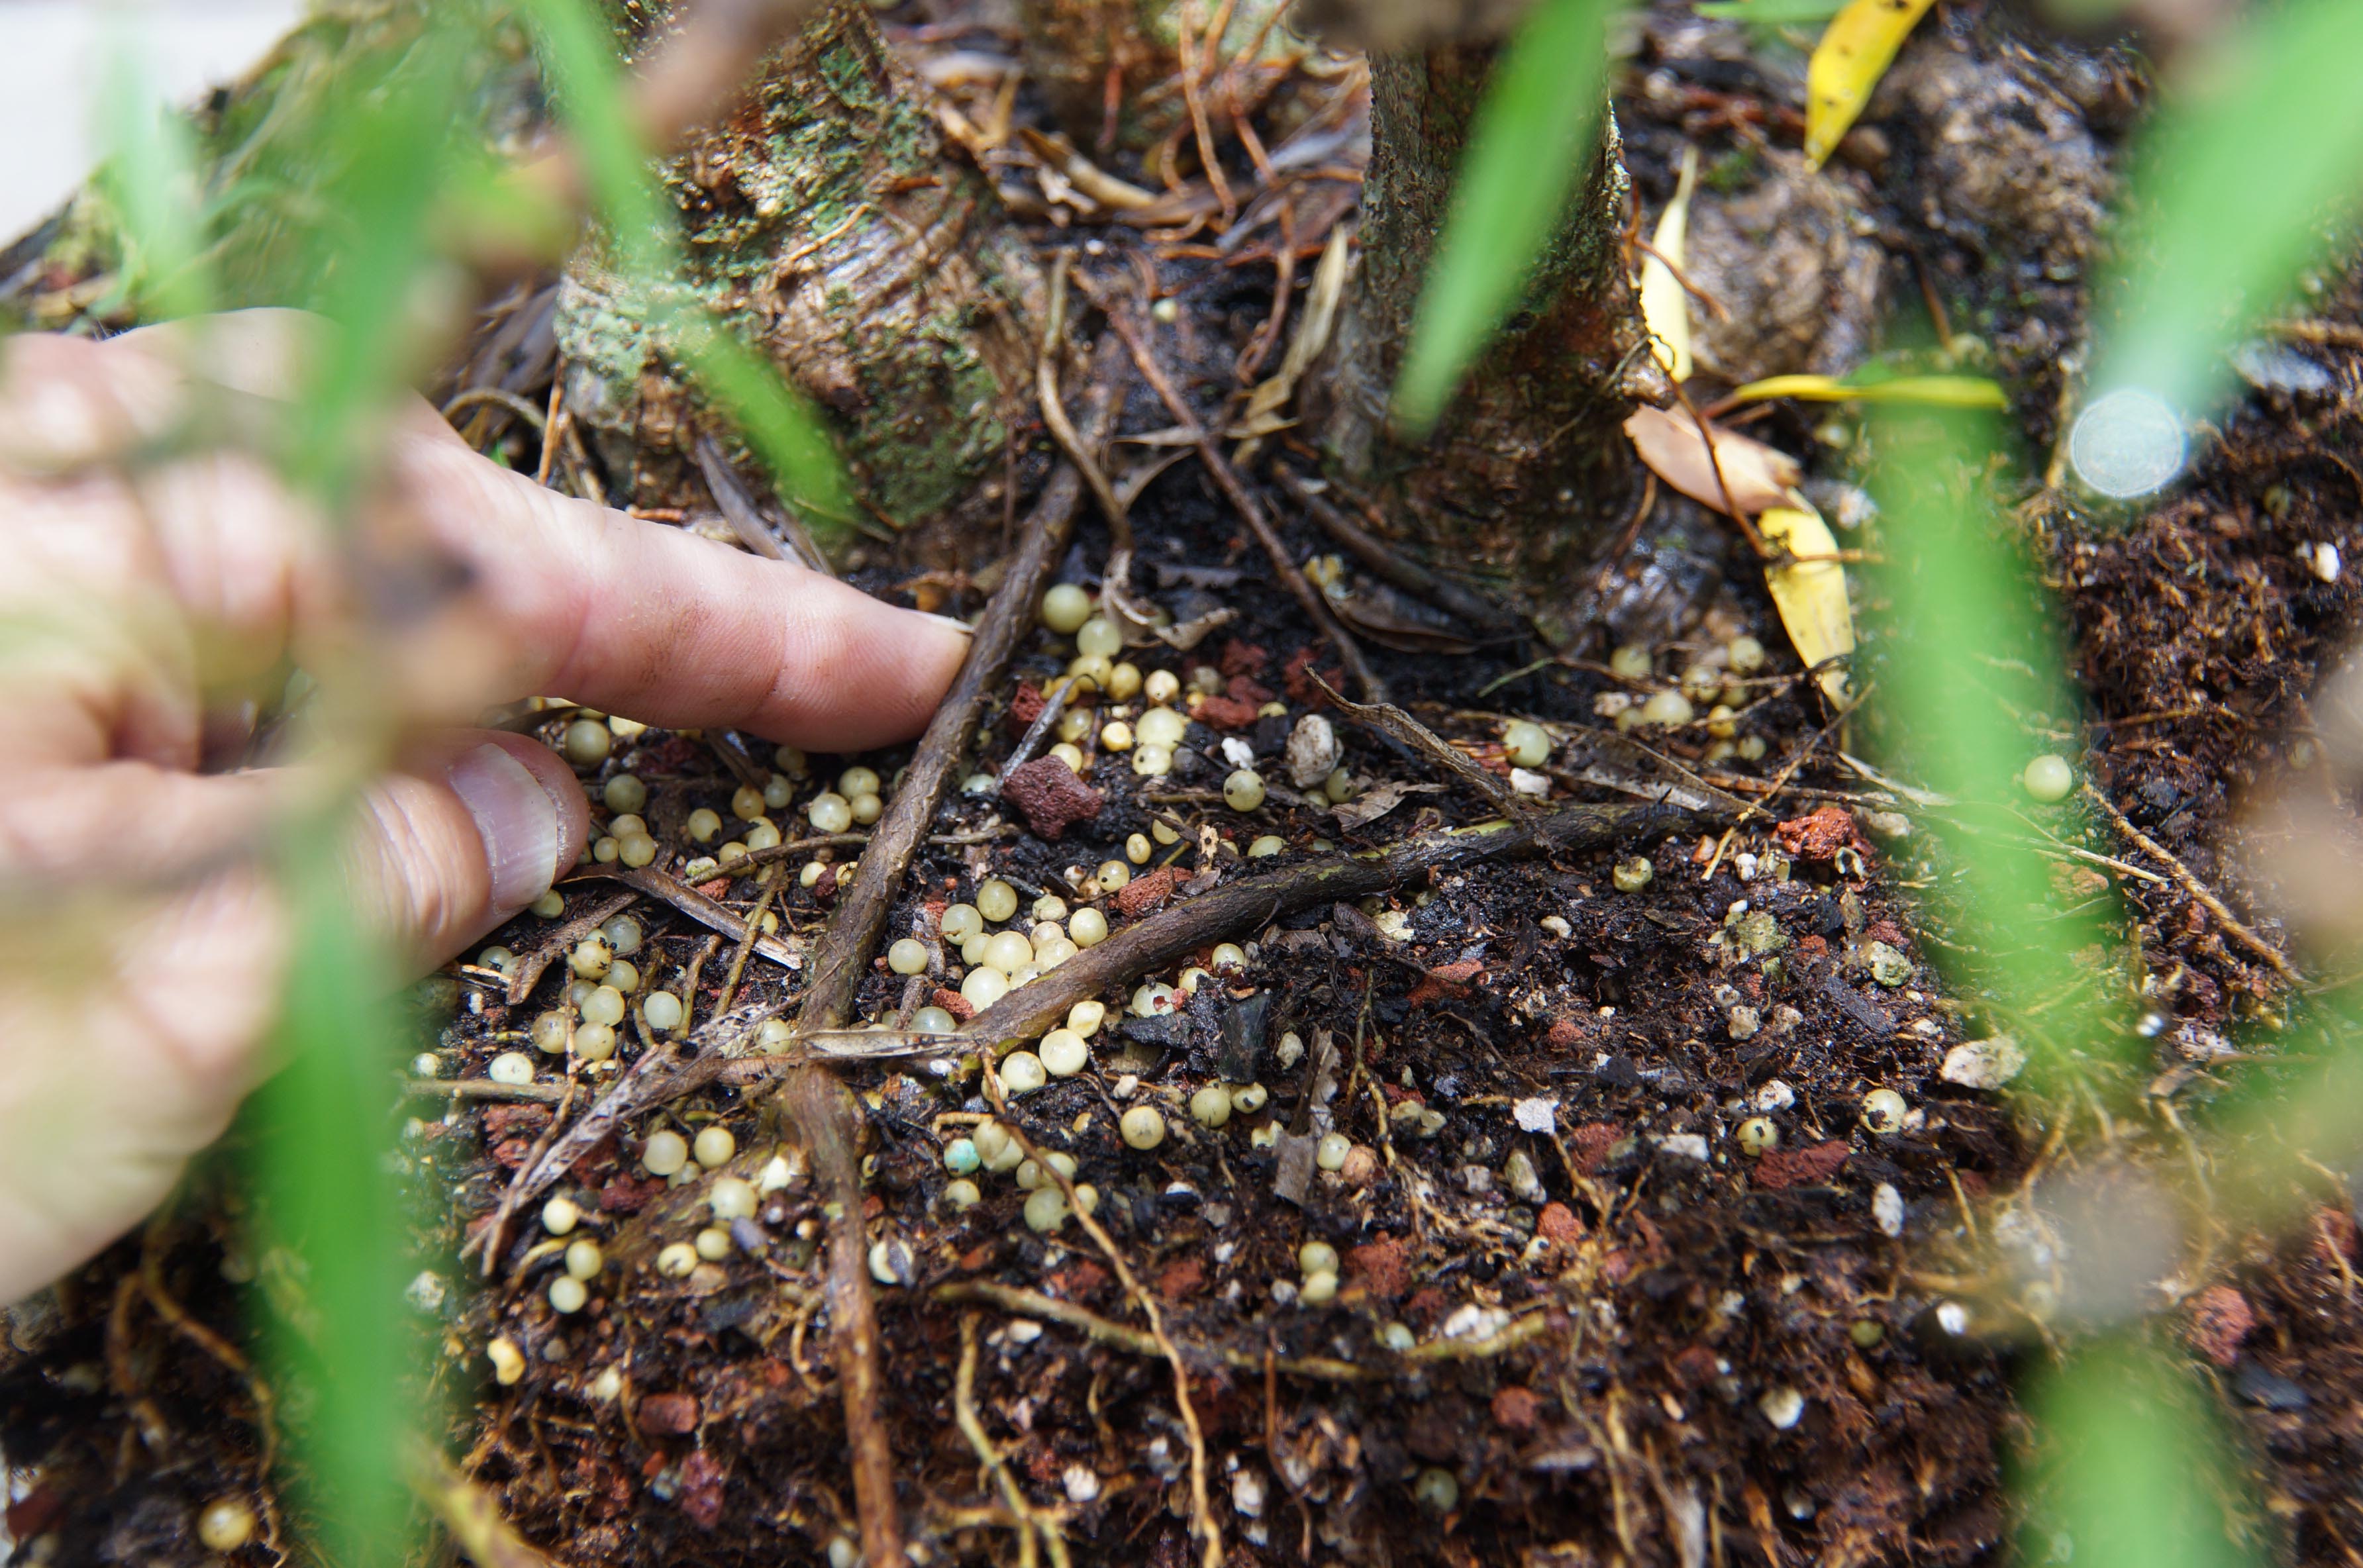
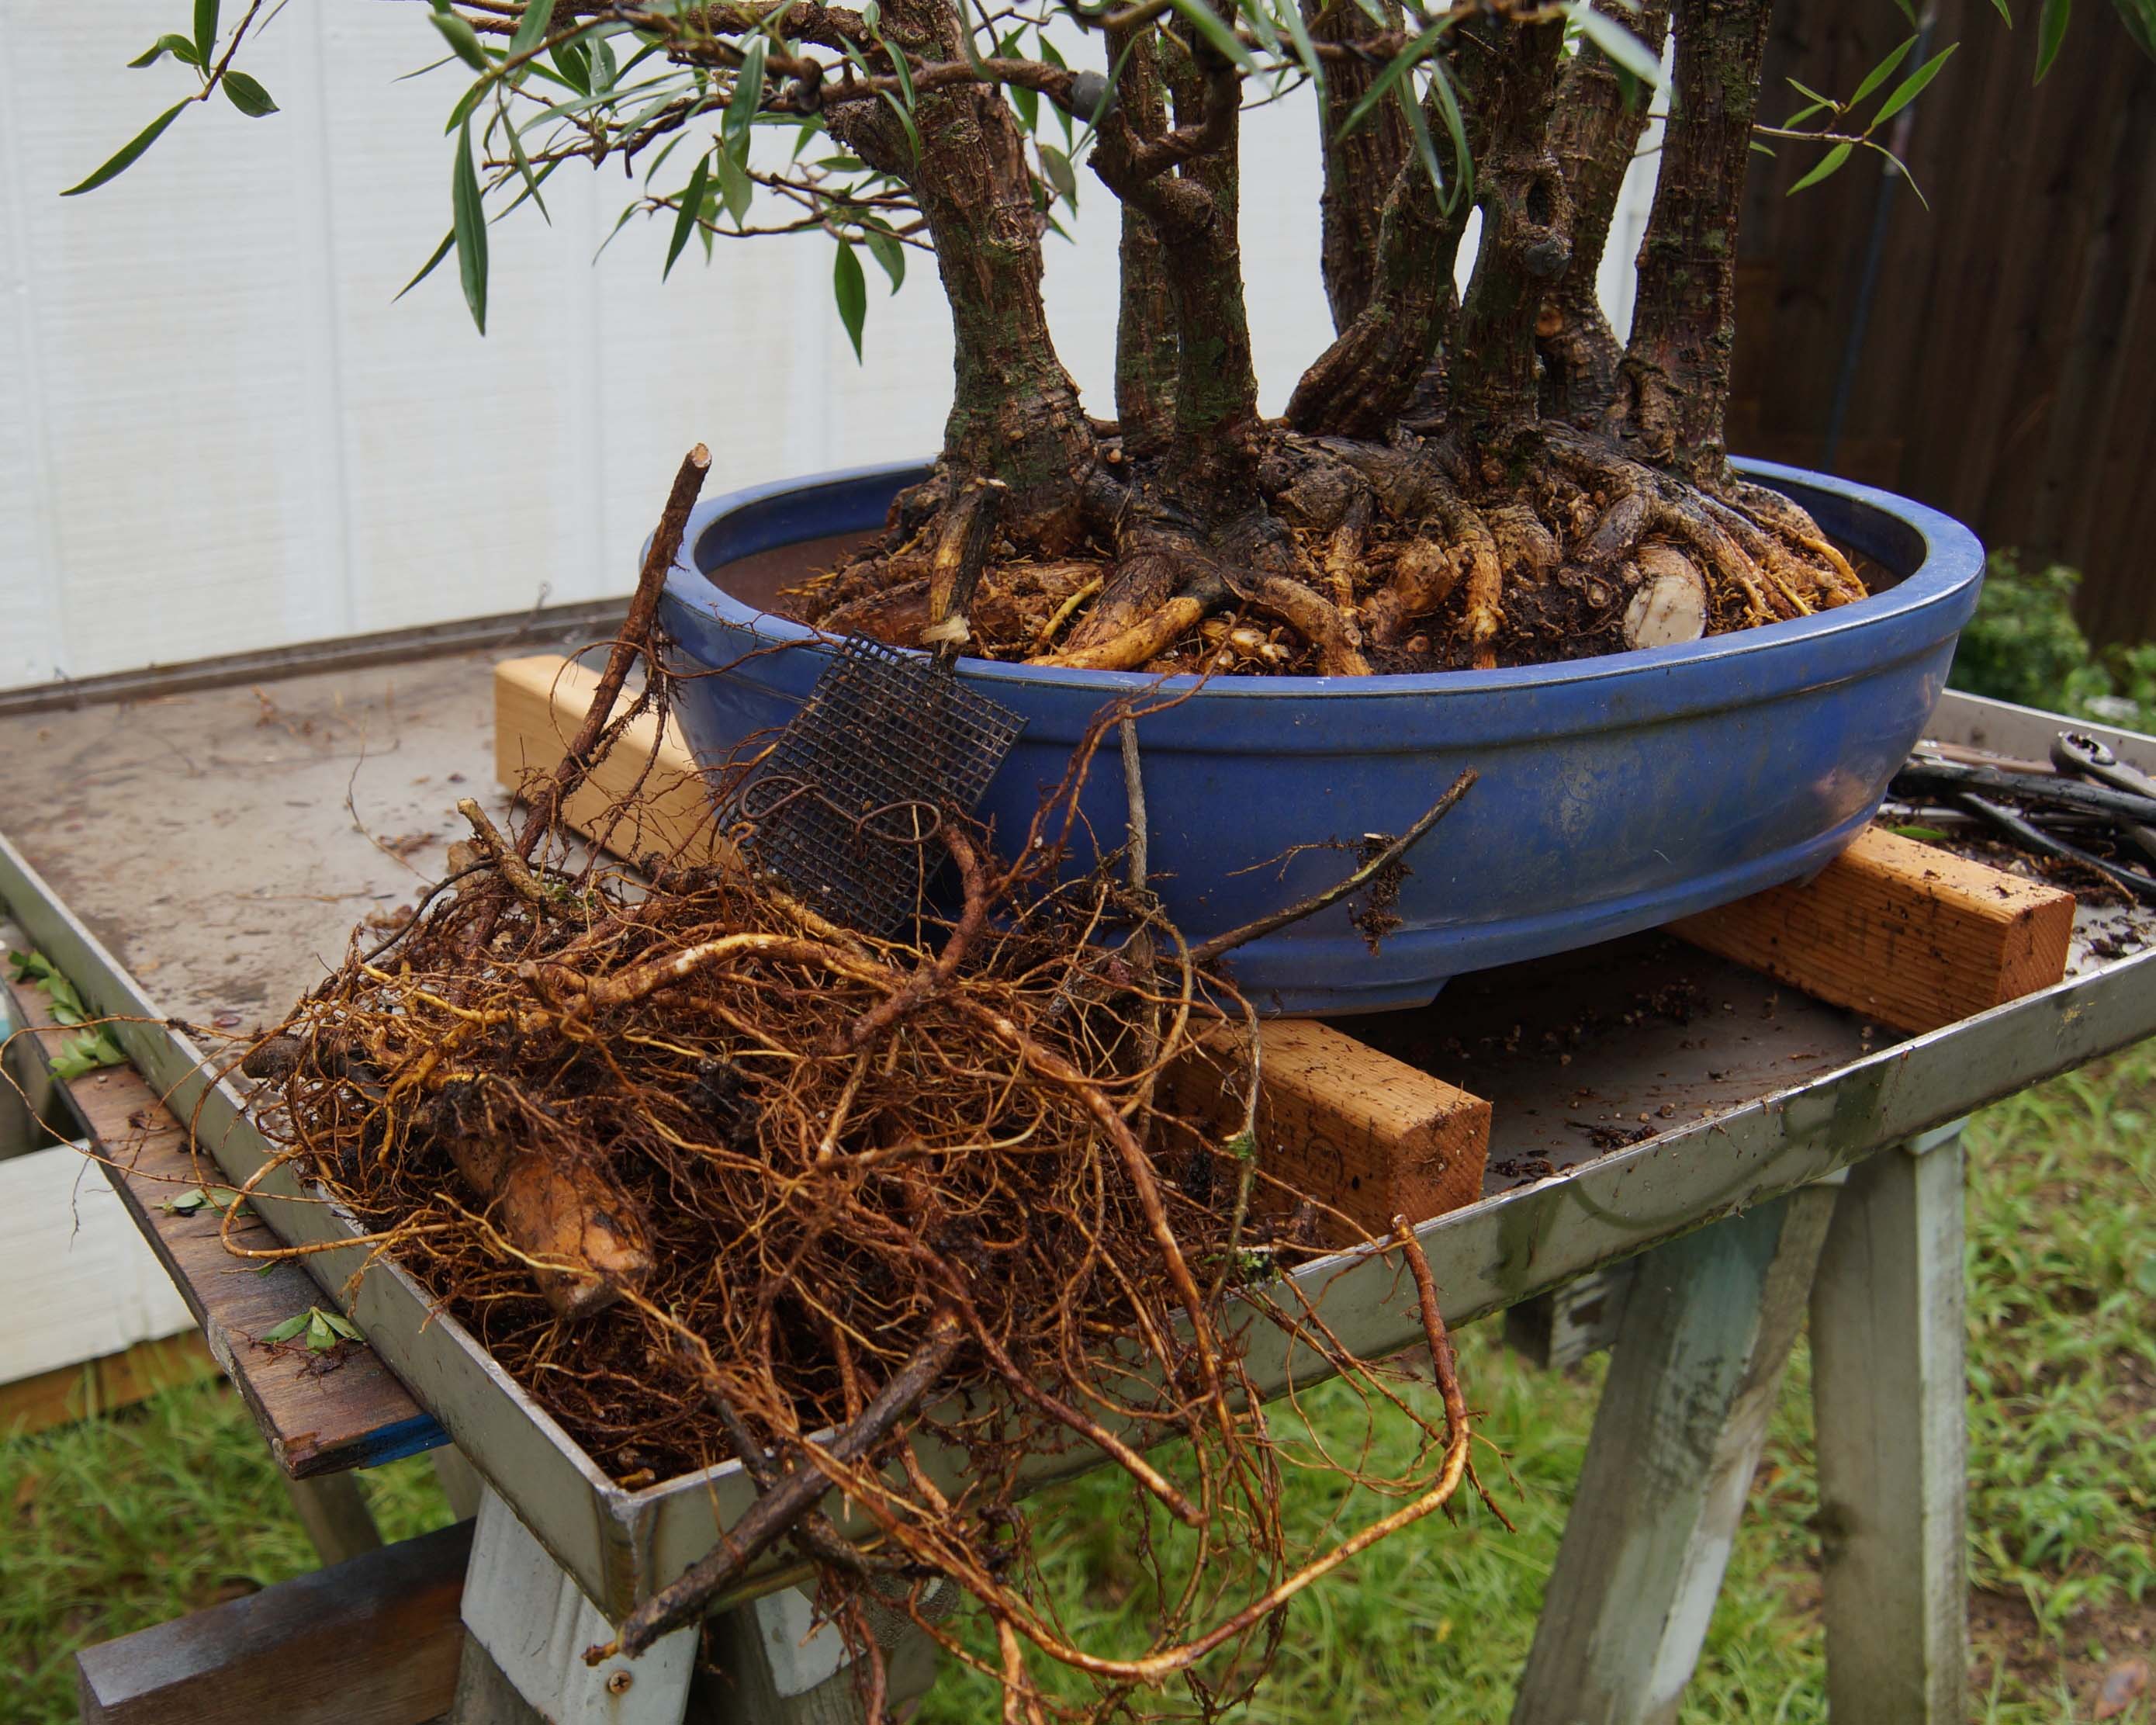
It had completely filled the pot with nice fine roots, and a few big ones, too. Looks like it is gonna be a job to comb them out.
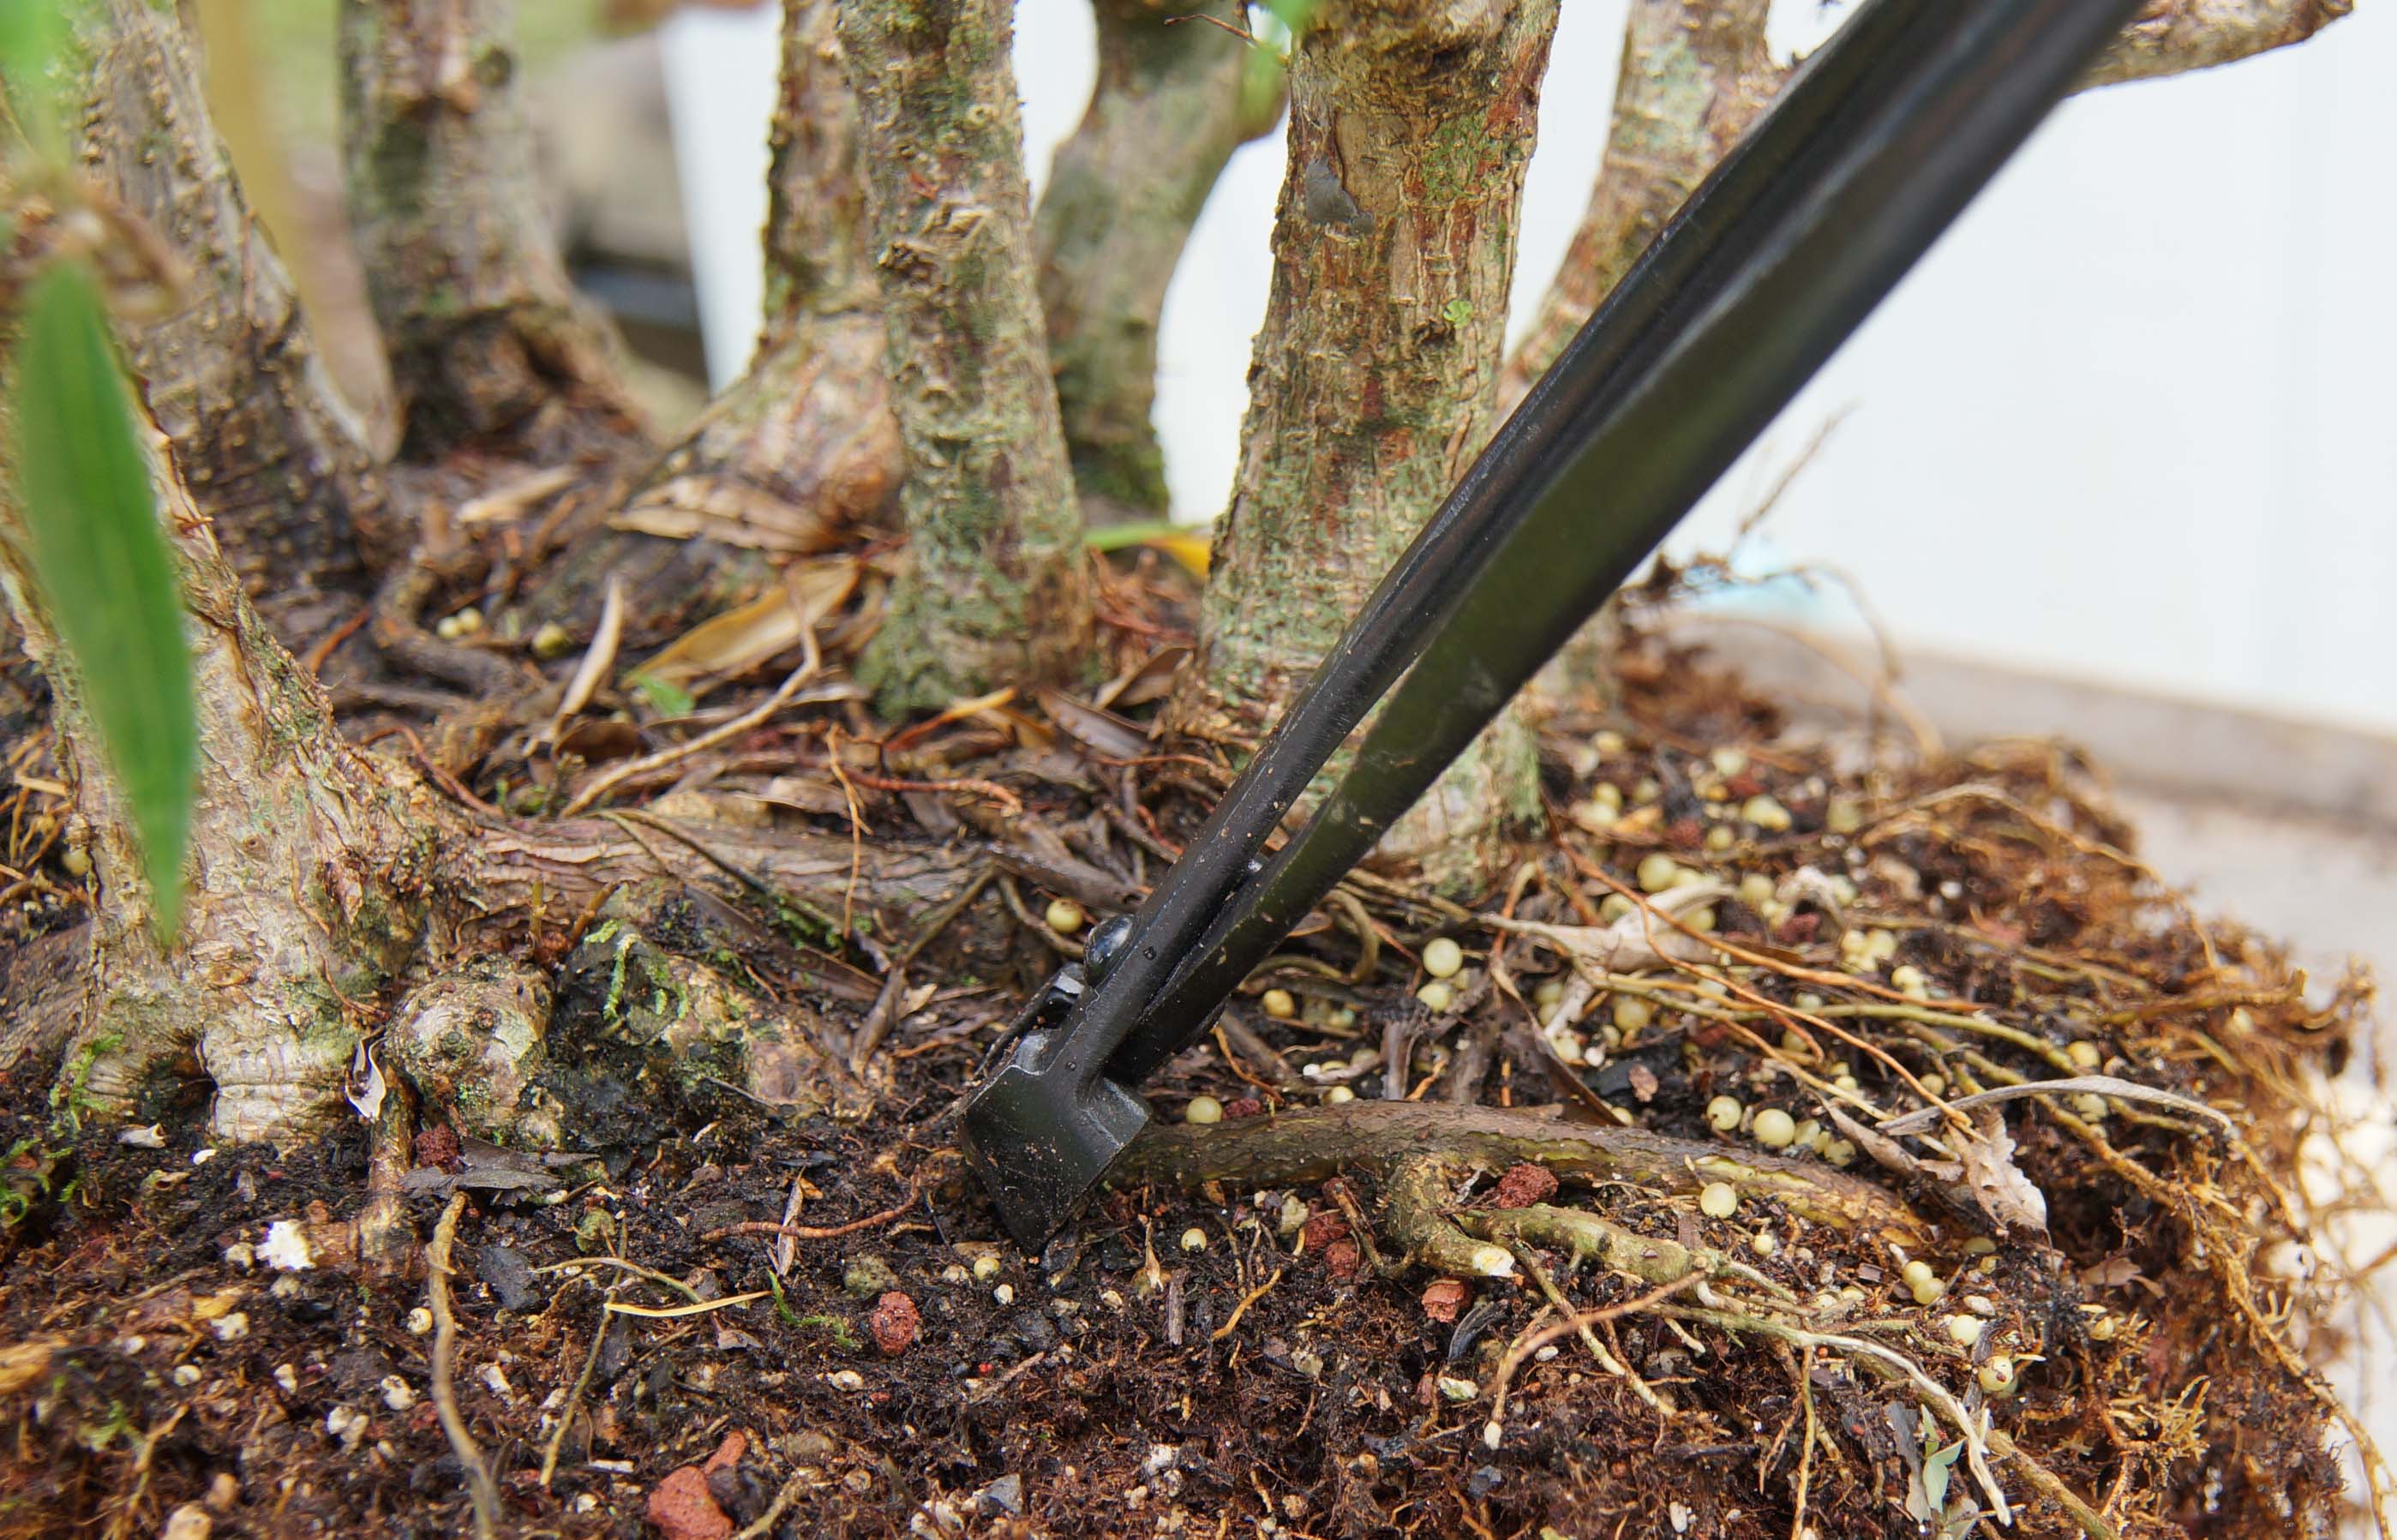
I started using the root rake, chopsticks, etc. to comb out the roots and remove as much of the old soil as possible. Oh, and yes, that is a dinner fork in one of the pictures, I find it to be very useful while raking out the roots. Just don’t tell “favorite minion” because it could mean trouble for me.
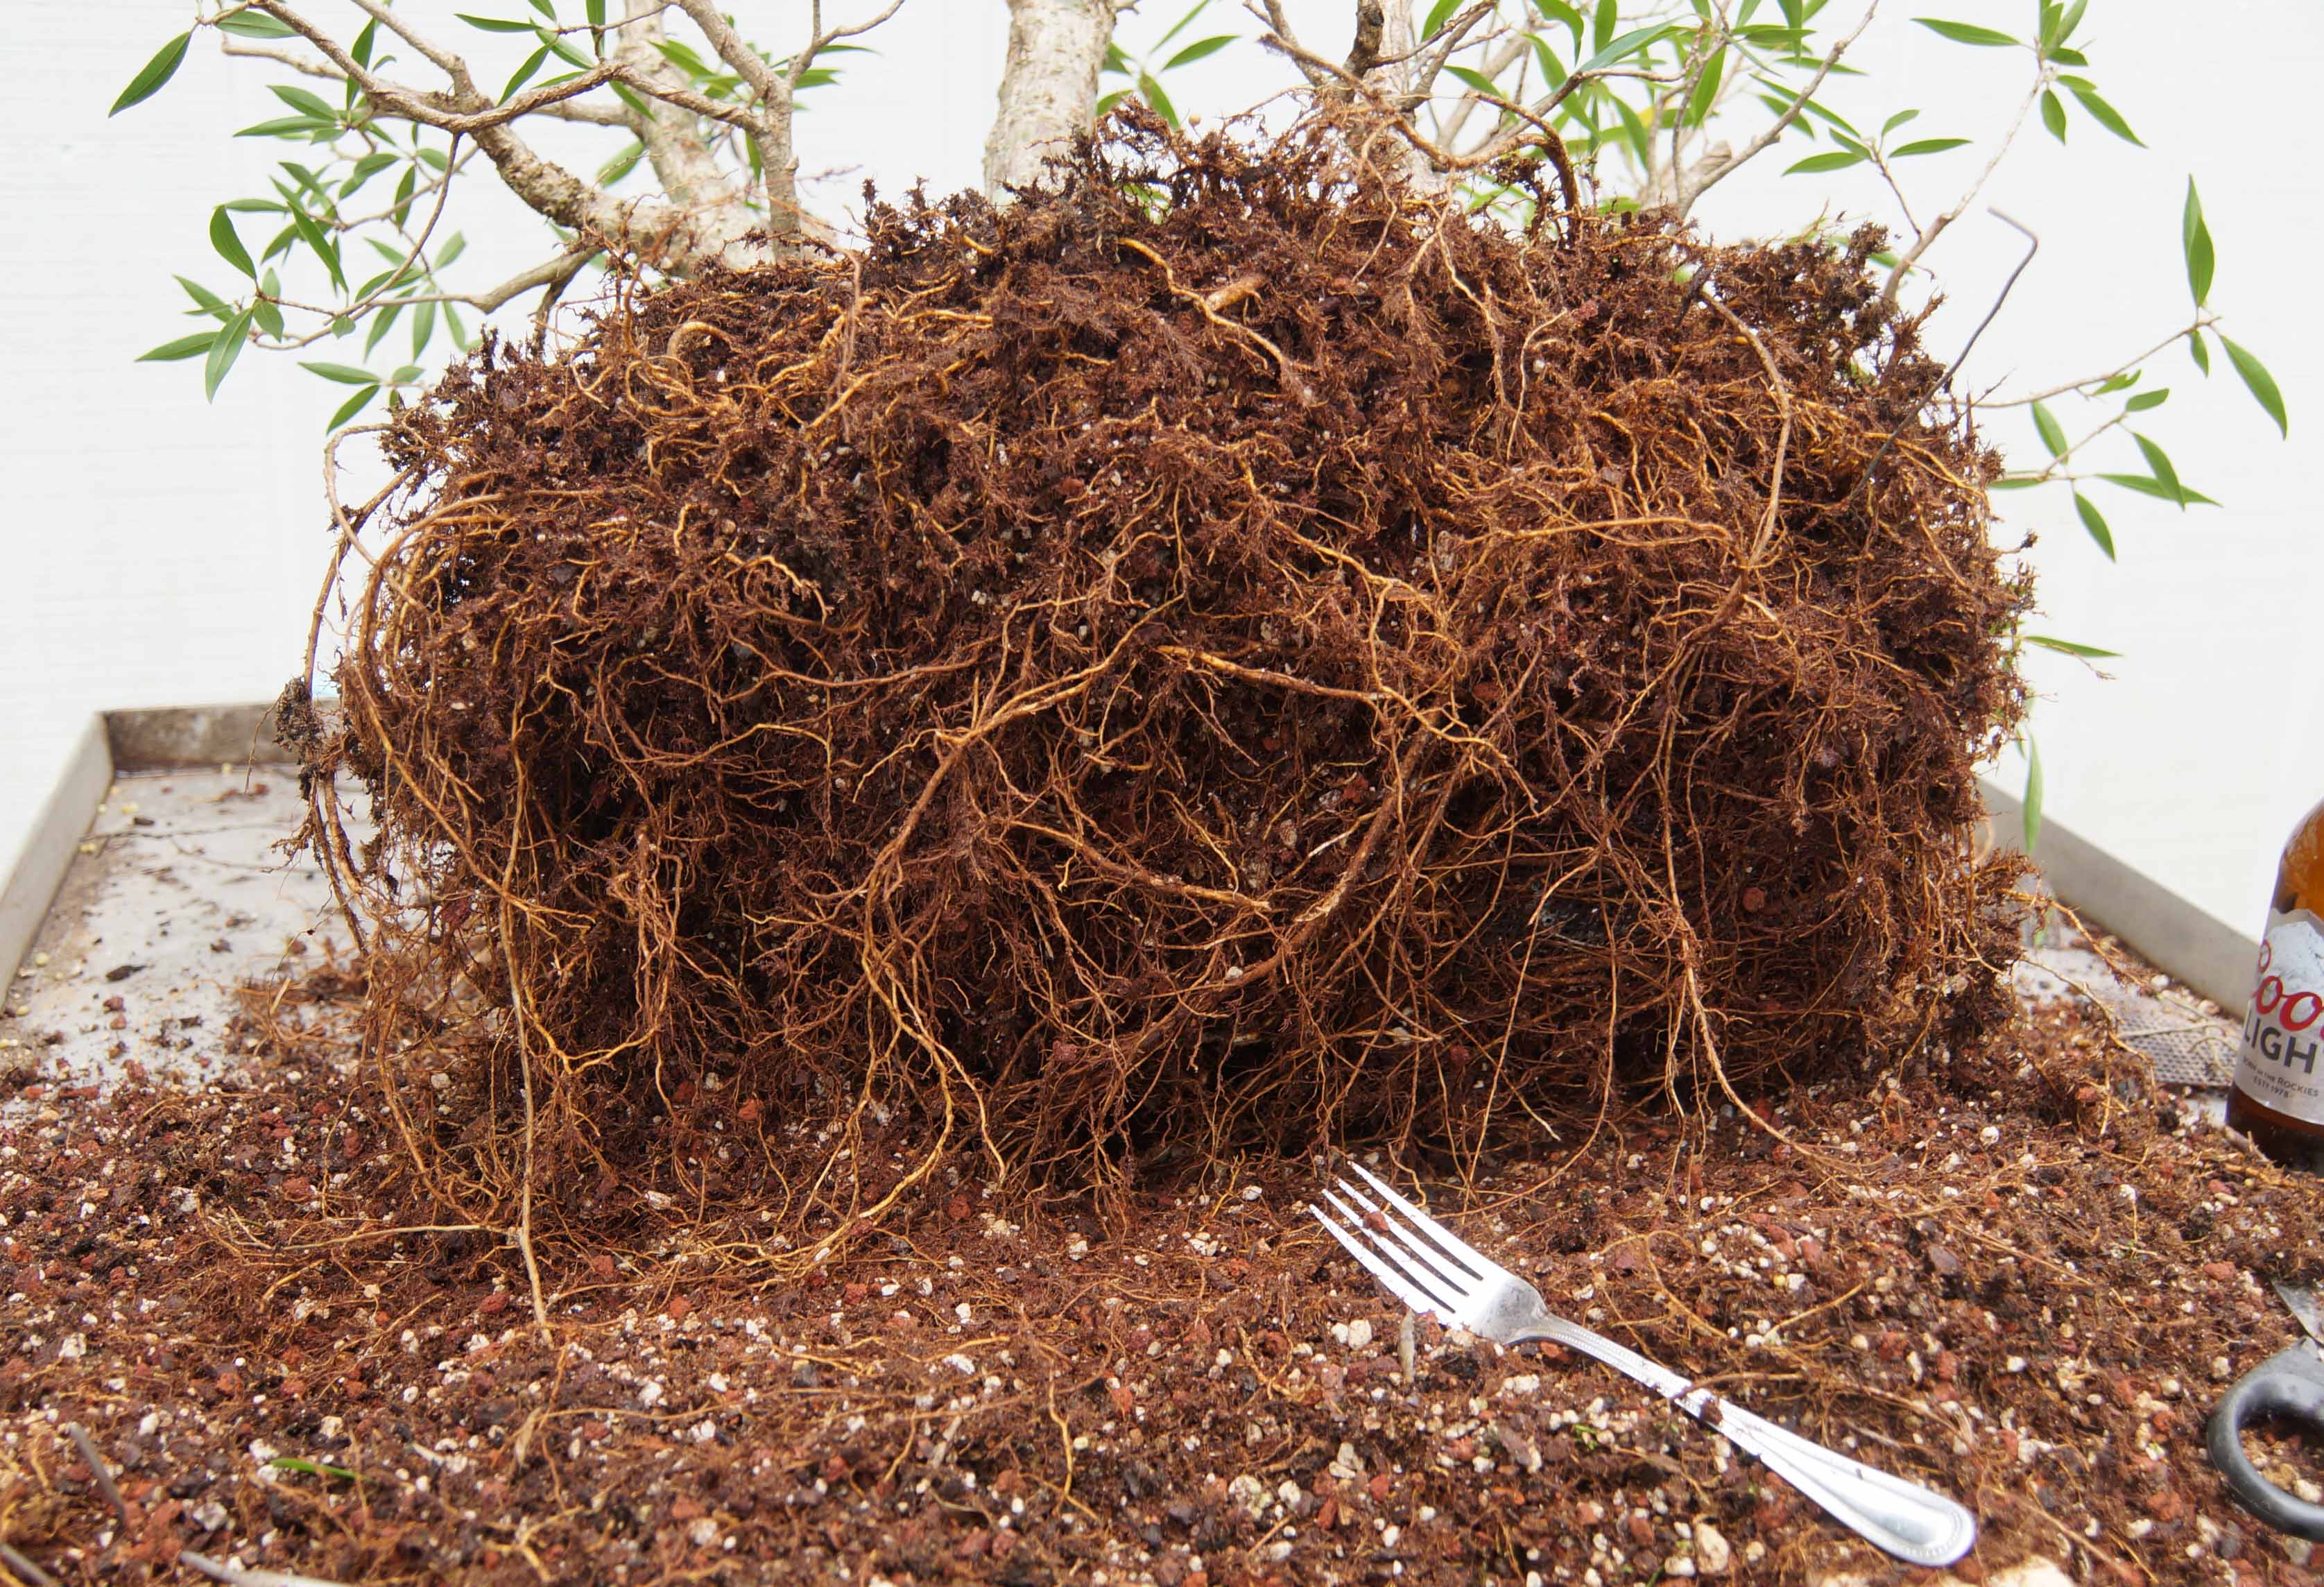

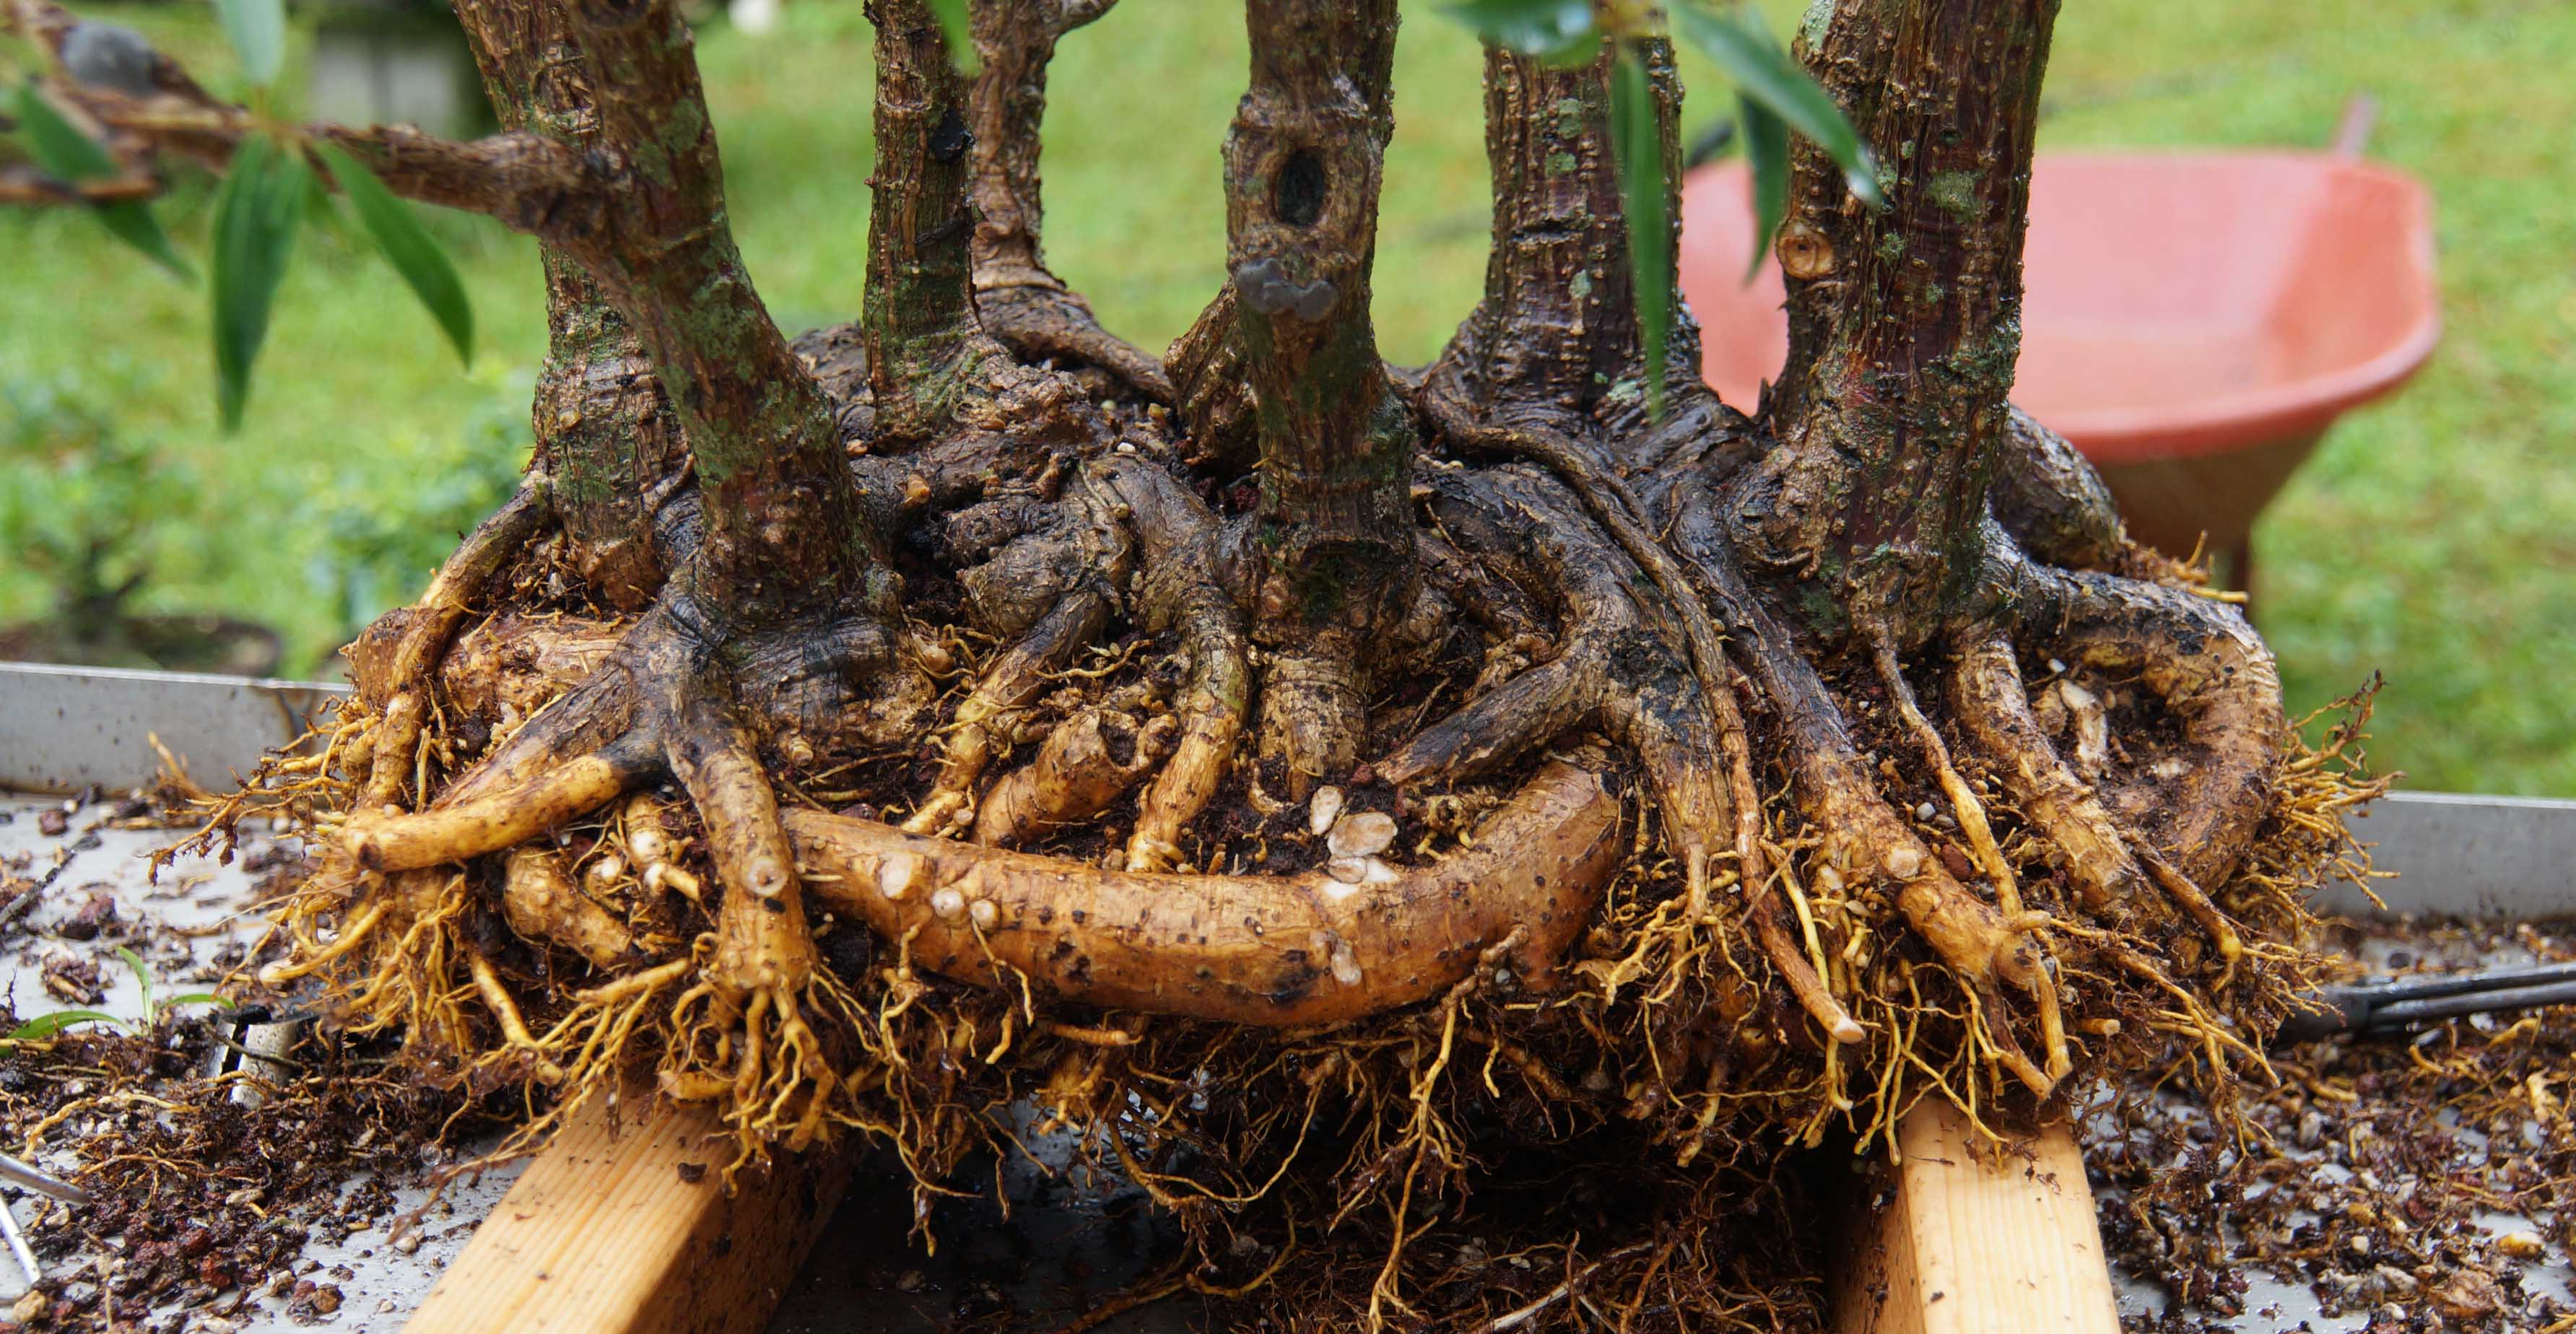
All of the soil has been removed (as much as possible, you never can really get it all) and the roots combed out.
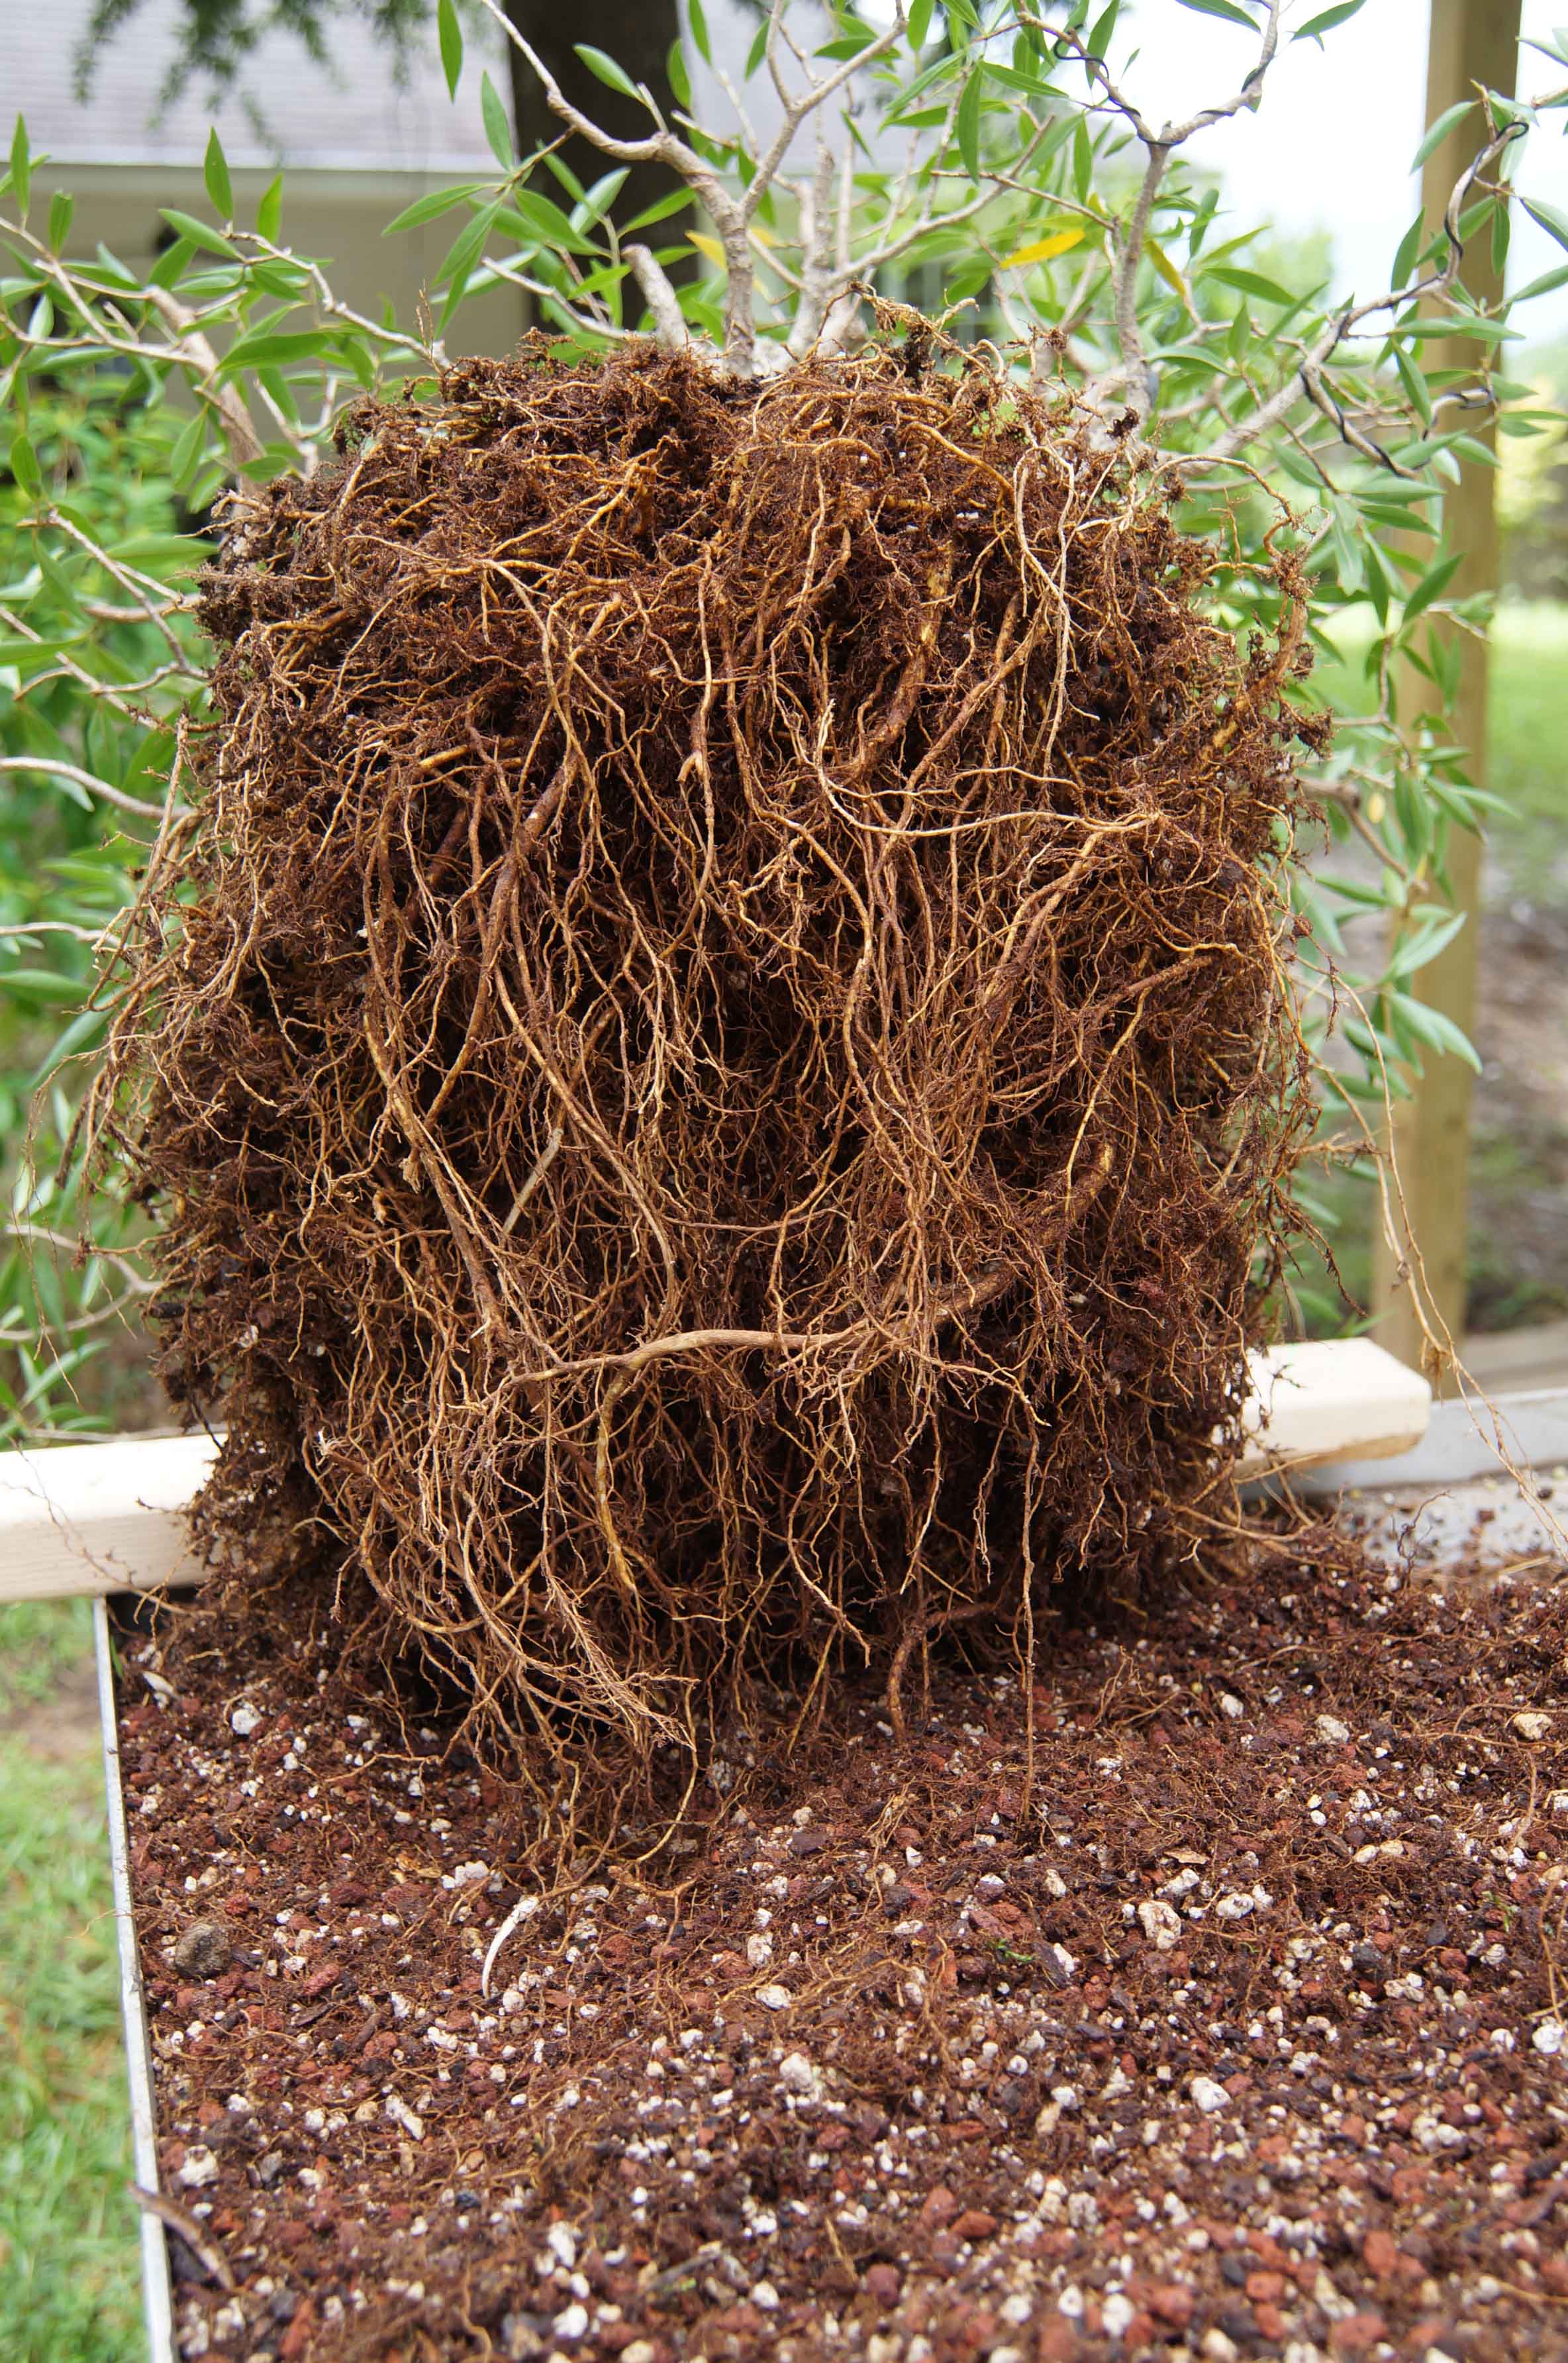
A little rinse with the hose to further clean and also to keep them damp. Don't ever let the roots completely dry out when exposed. Ficus are, however, more forgiving than others.
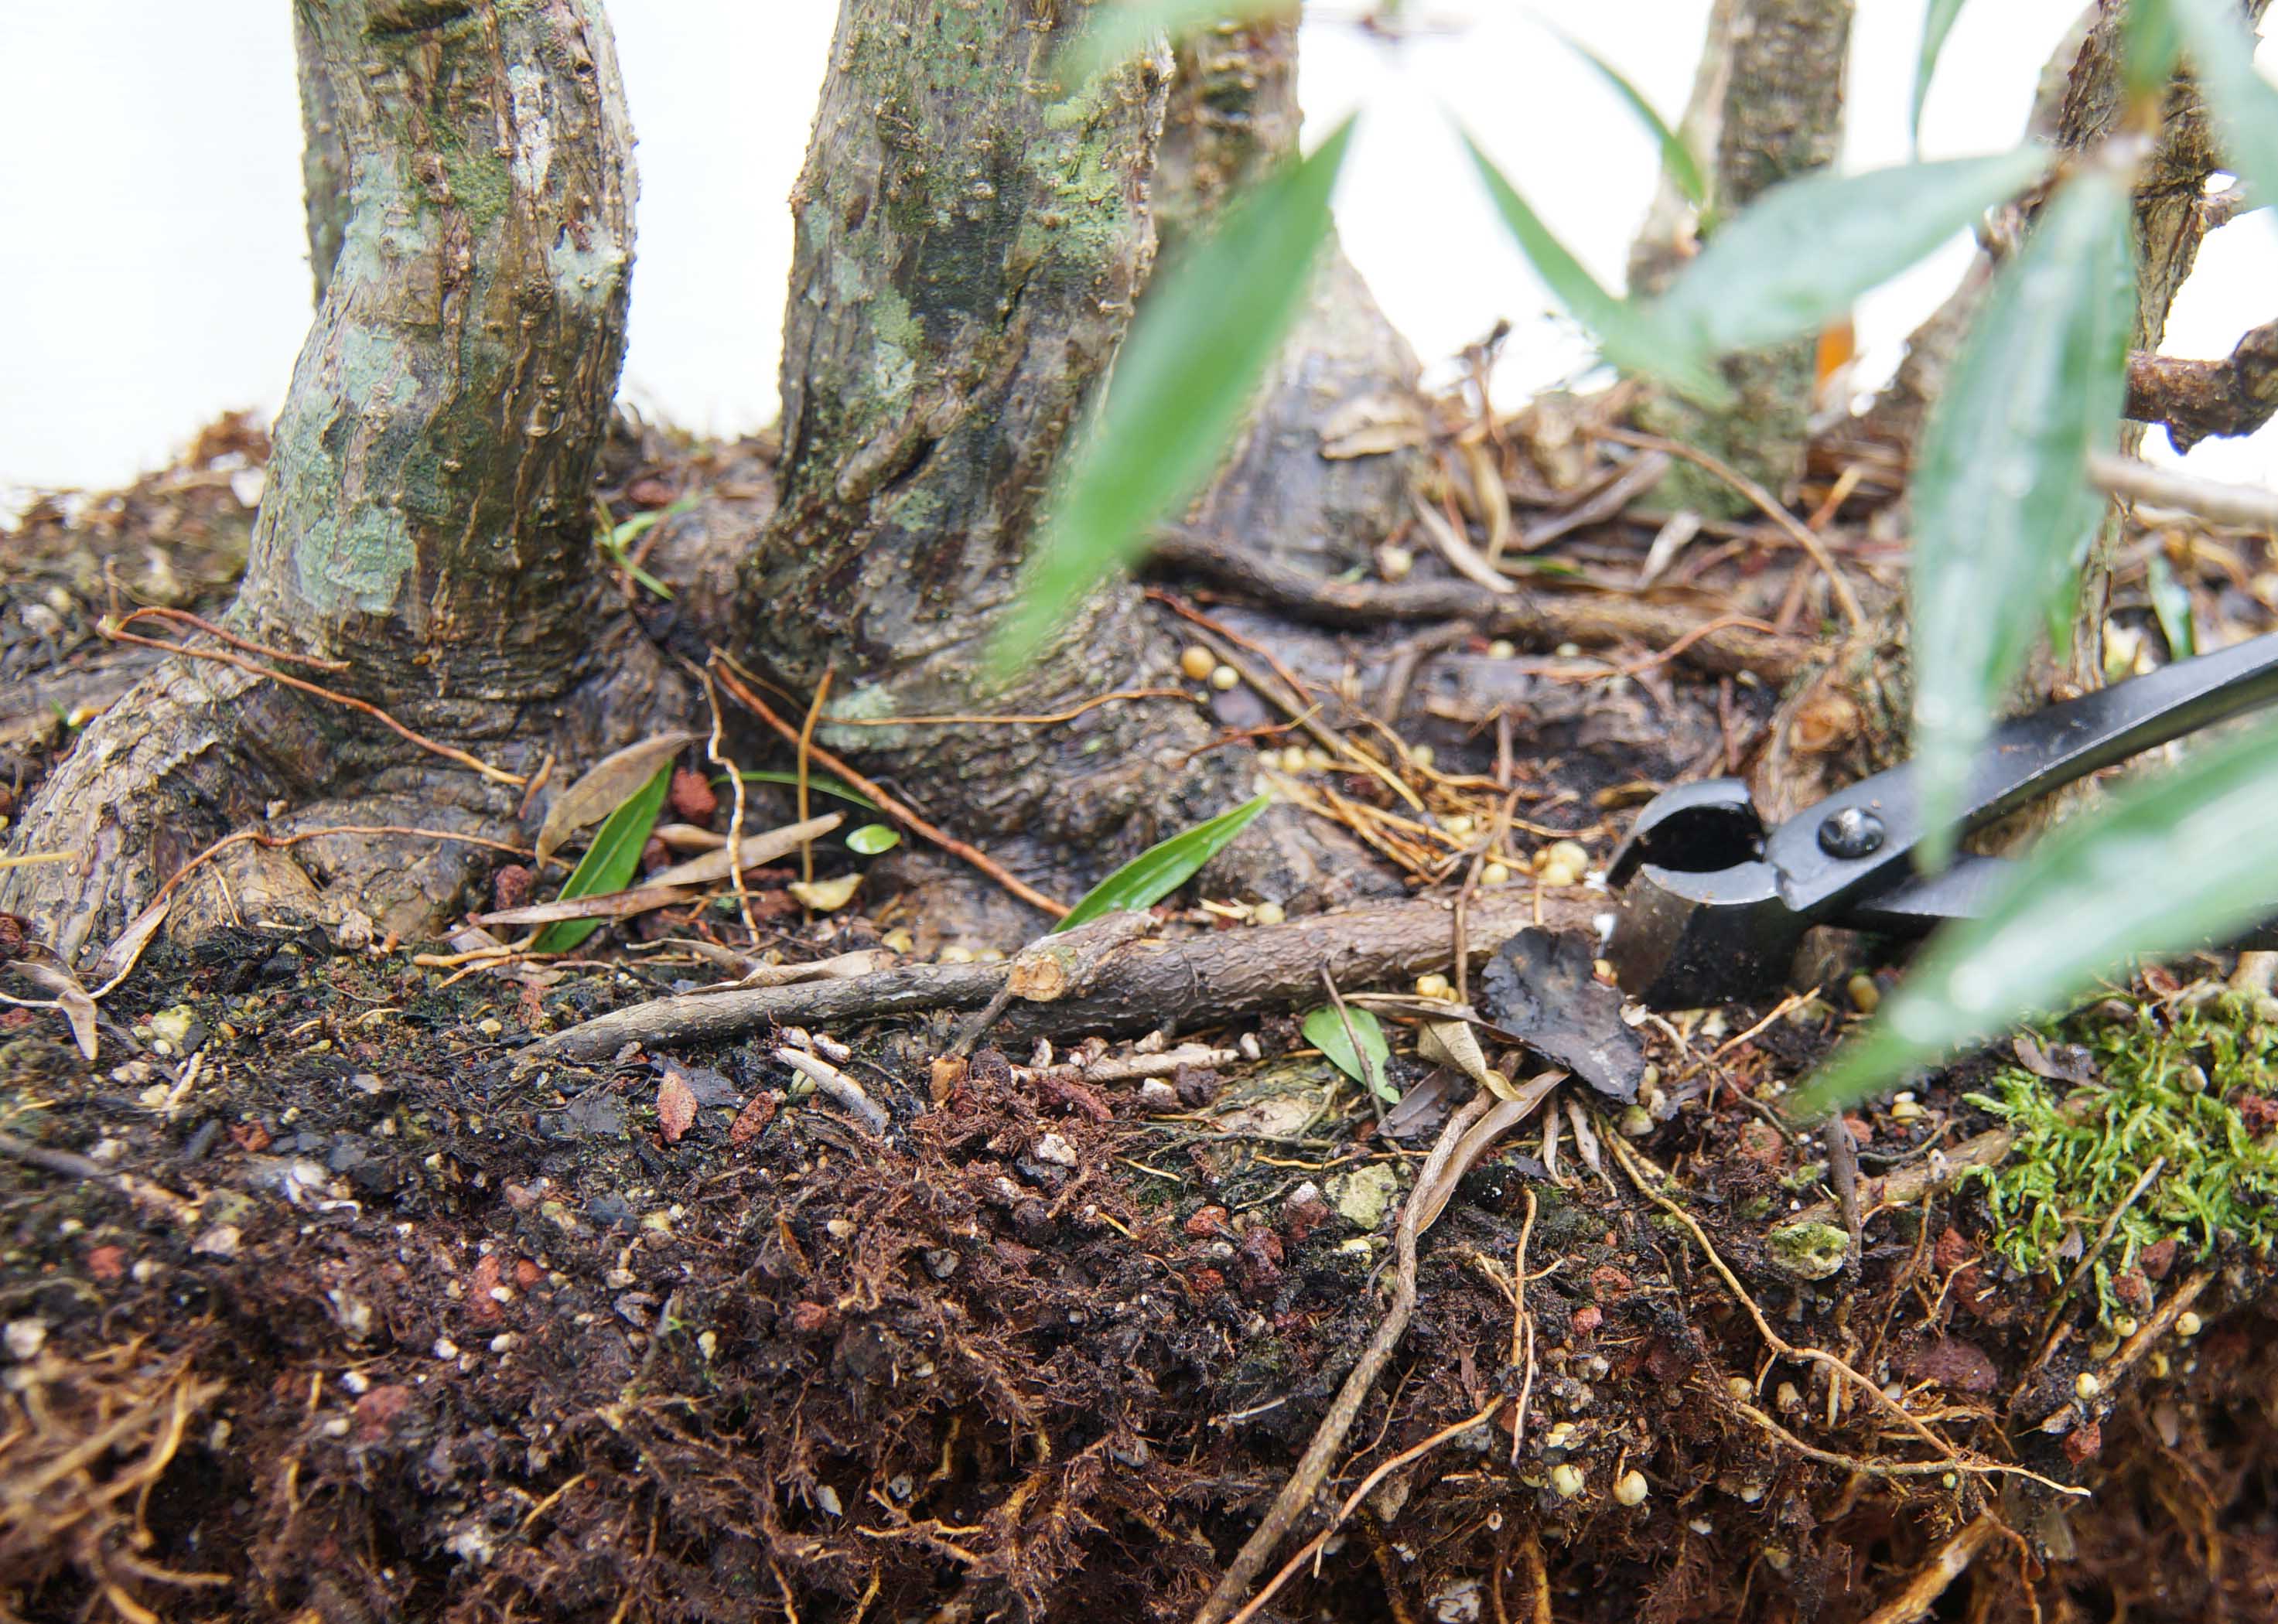
Now we just cut off what we don't need. I am hitting this one pretty hard, partly because I want to get it in the new pot and mostly because, well, it is a ficus. Other trees like maples and such you would not want to hit so hard.
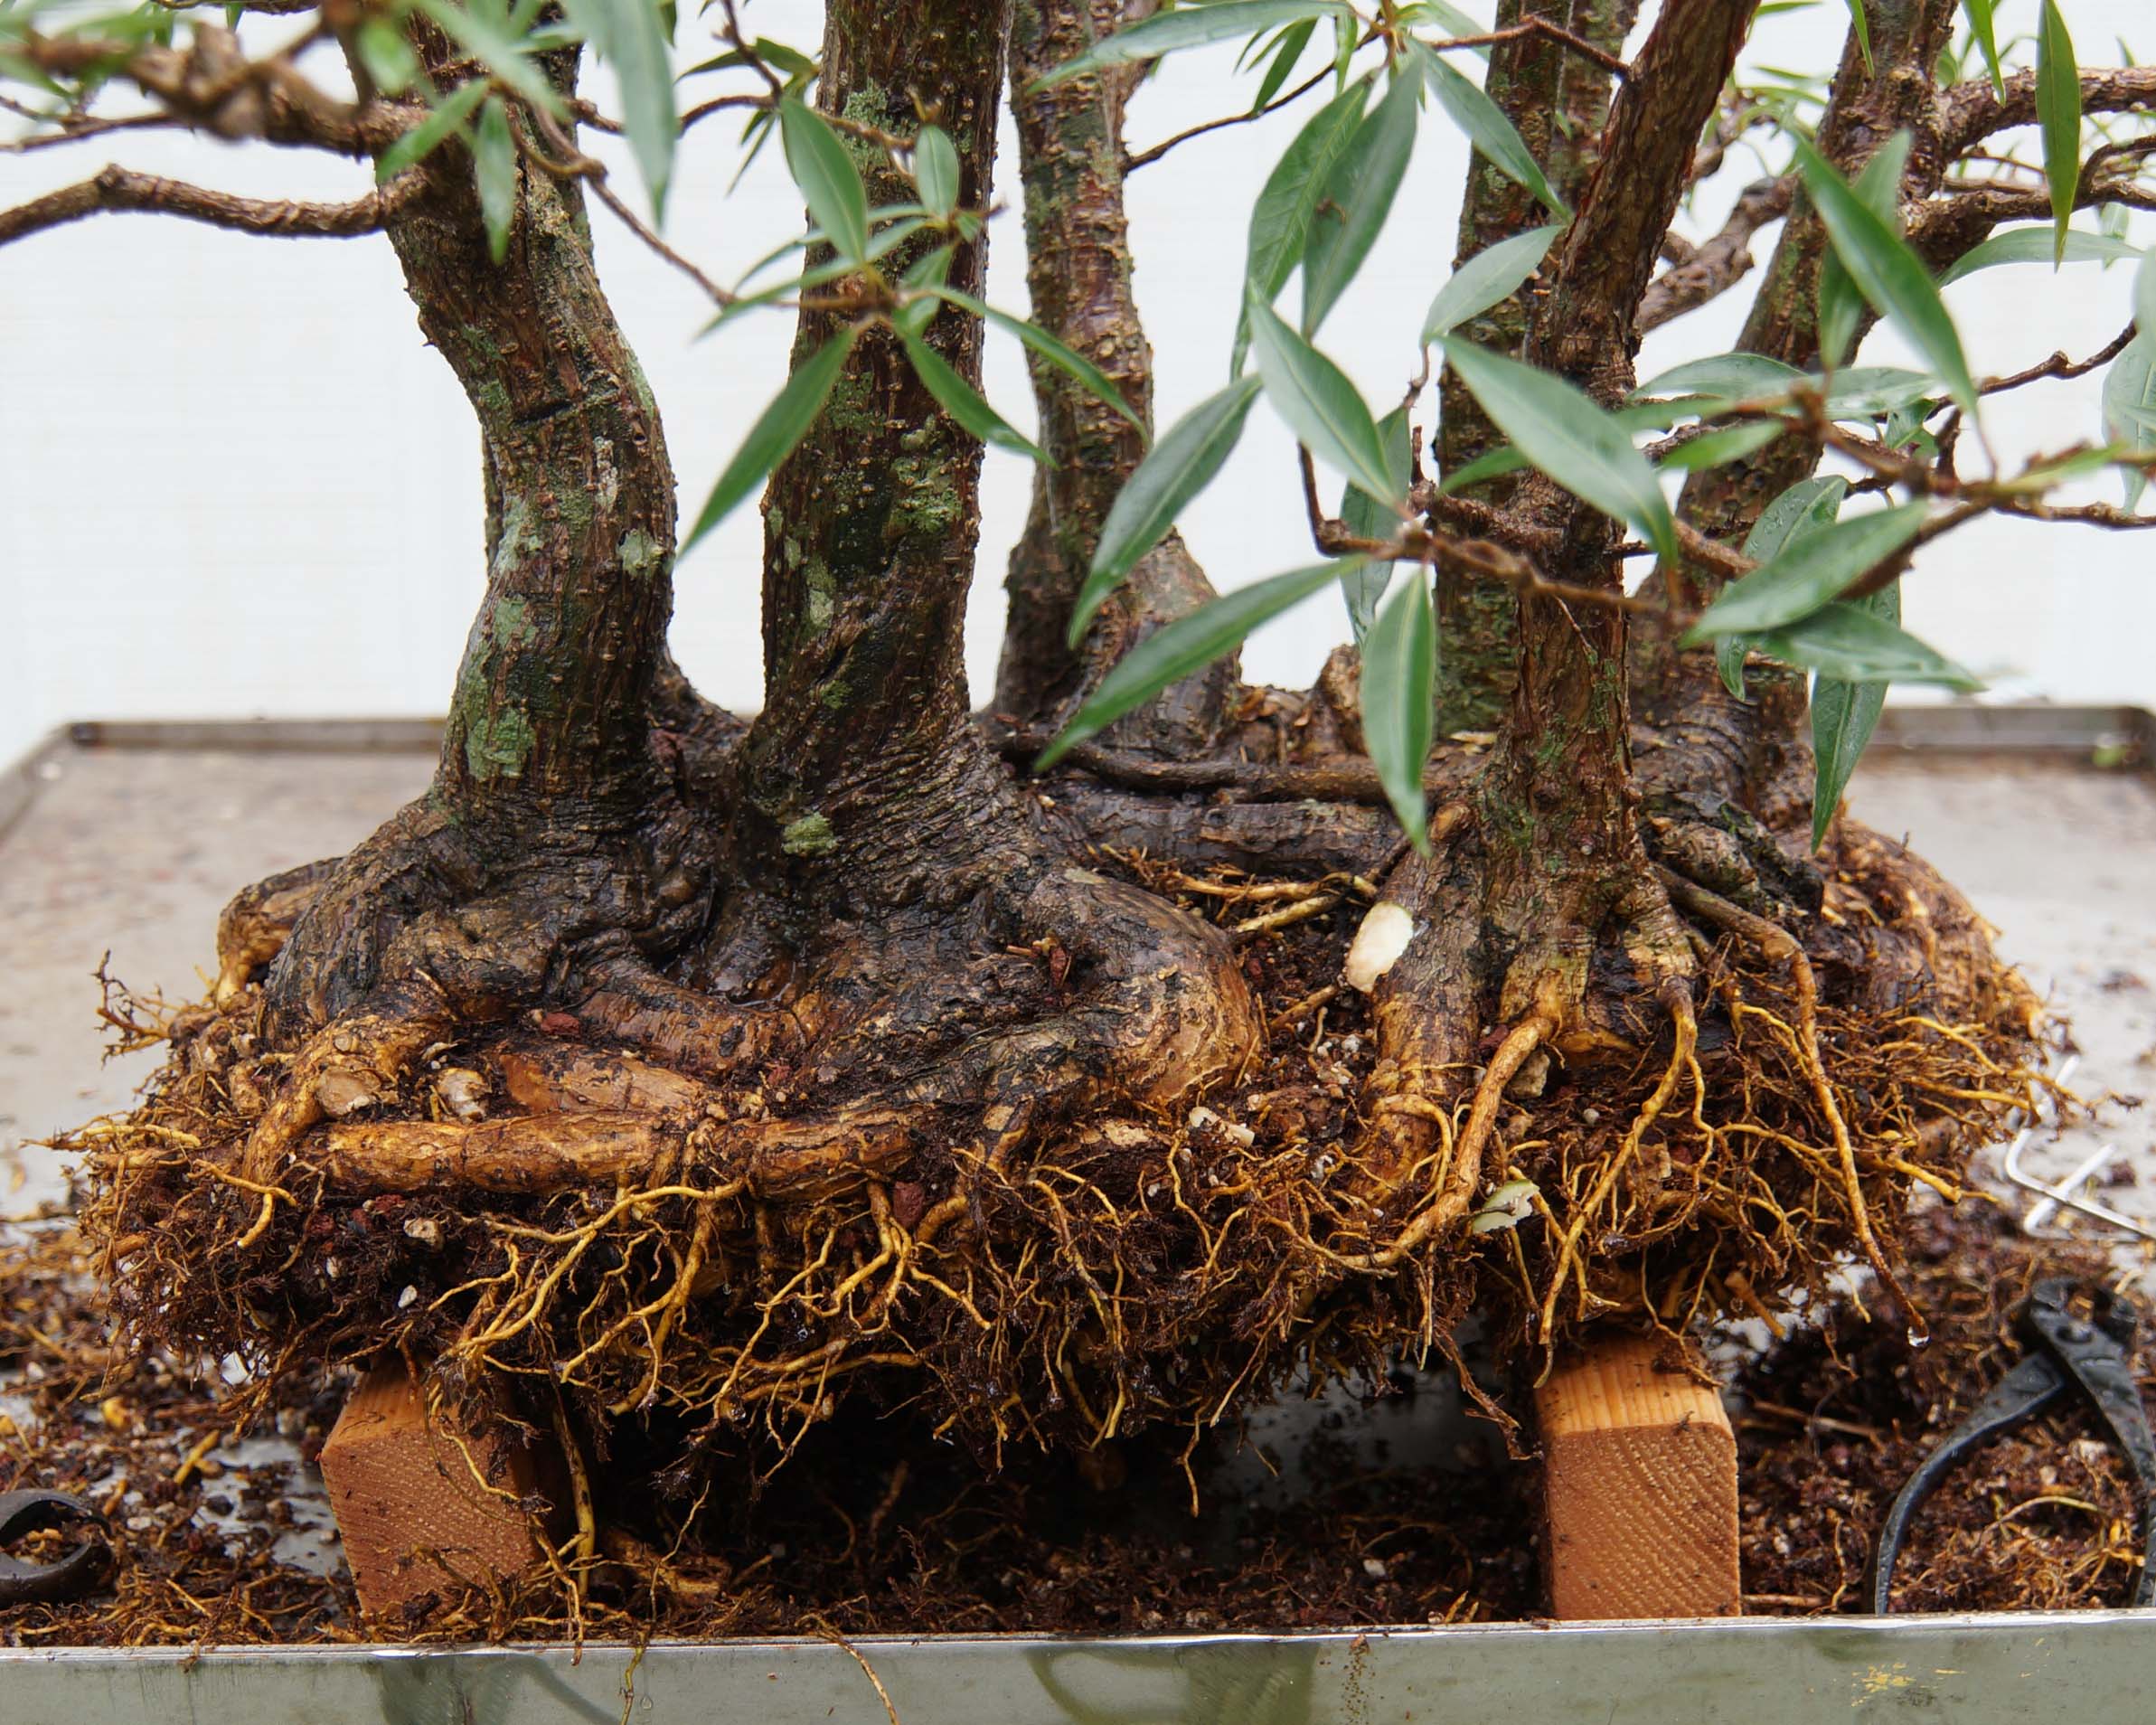

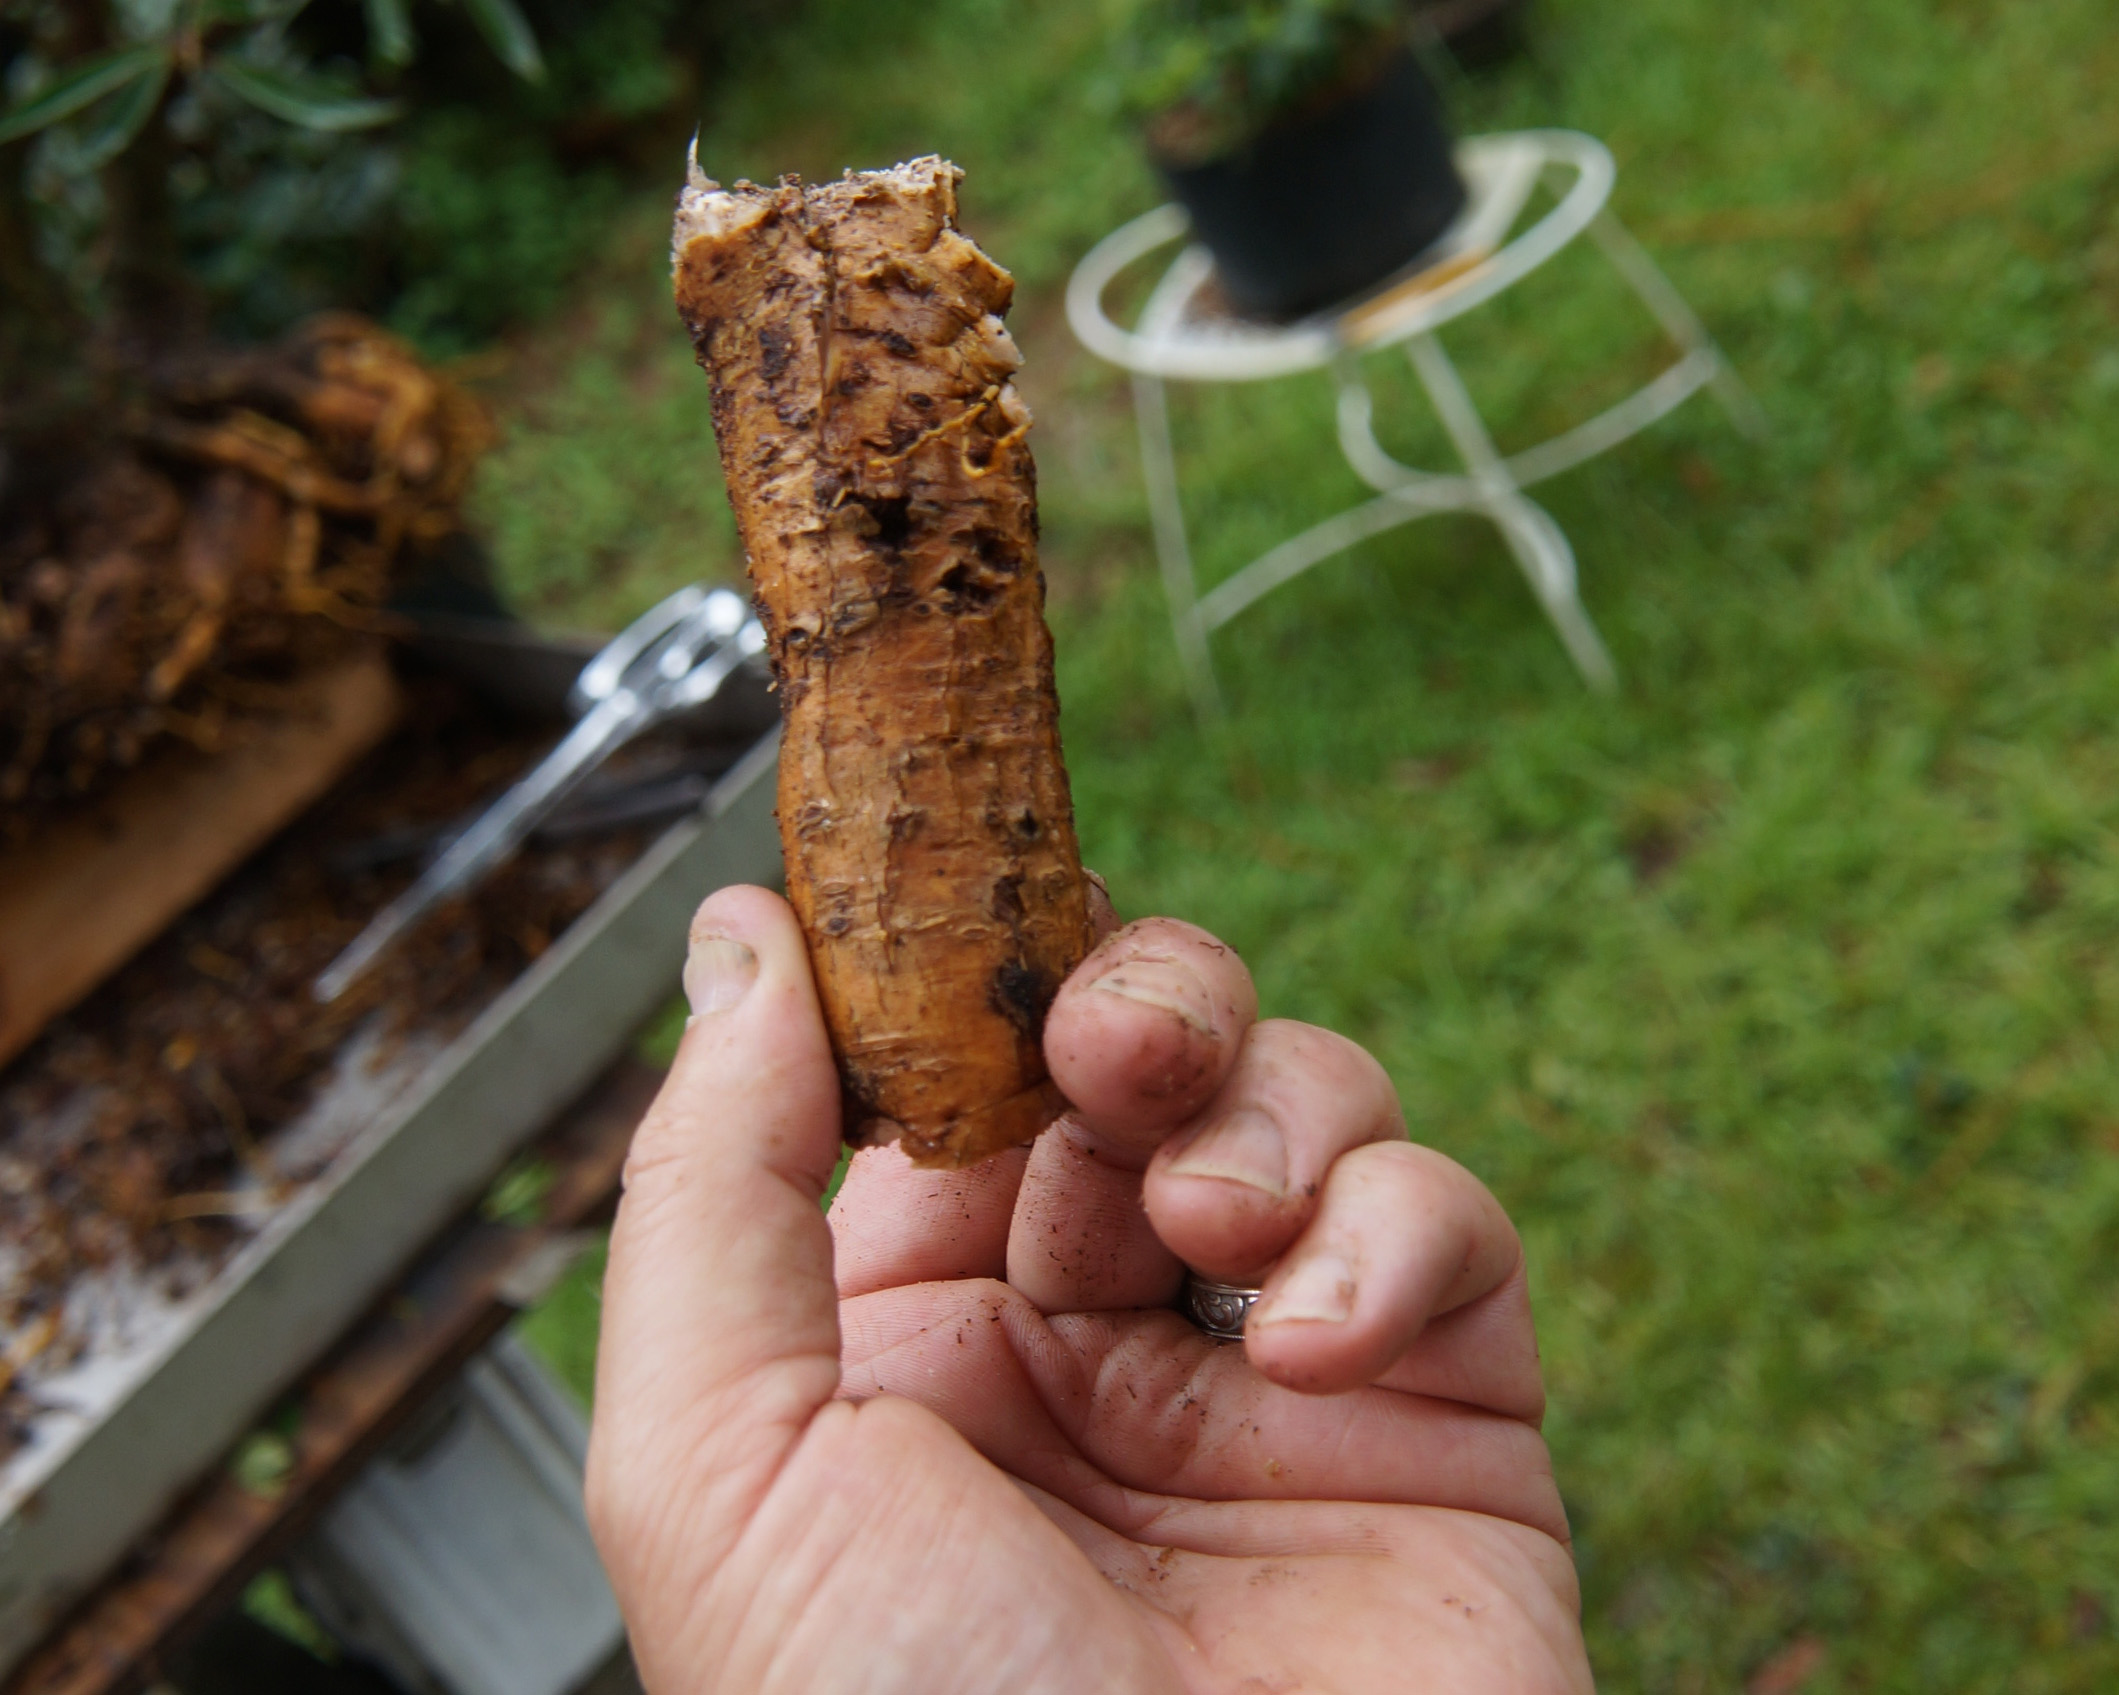
One thing that bothers me though, that giant, tuber-like root, it spoils the nebari, just sticks out there like a sore thumb, it must go. So, let’s break out the saw.
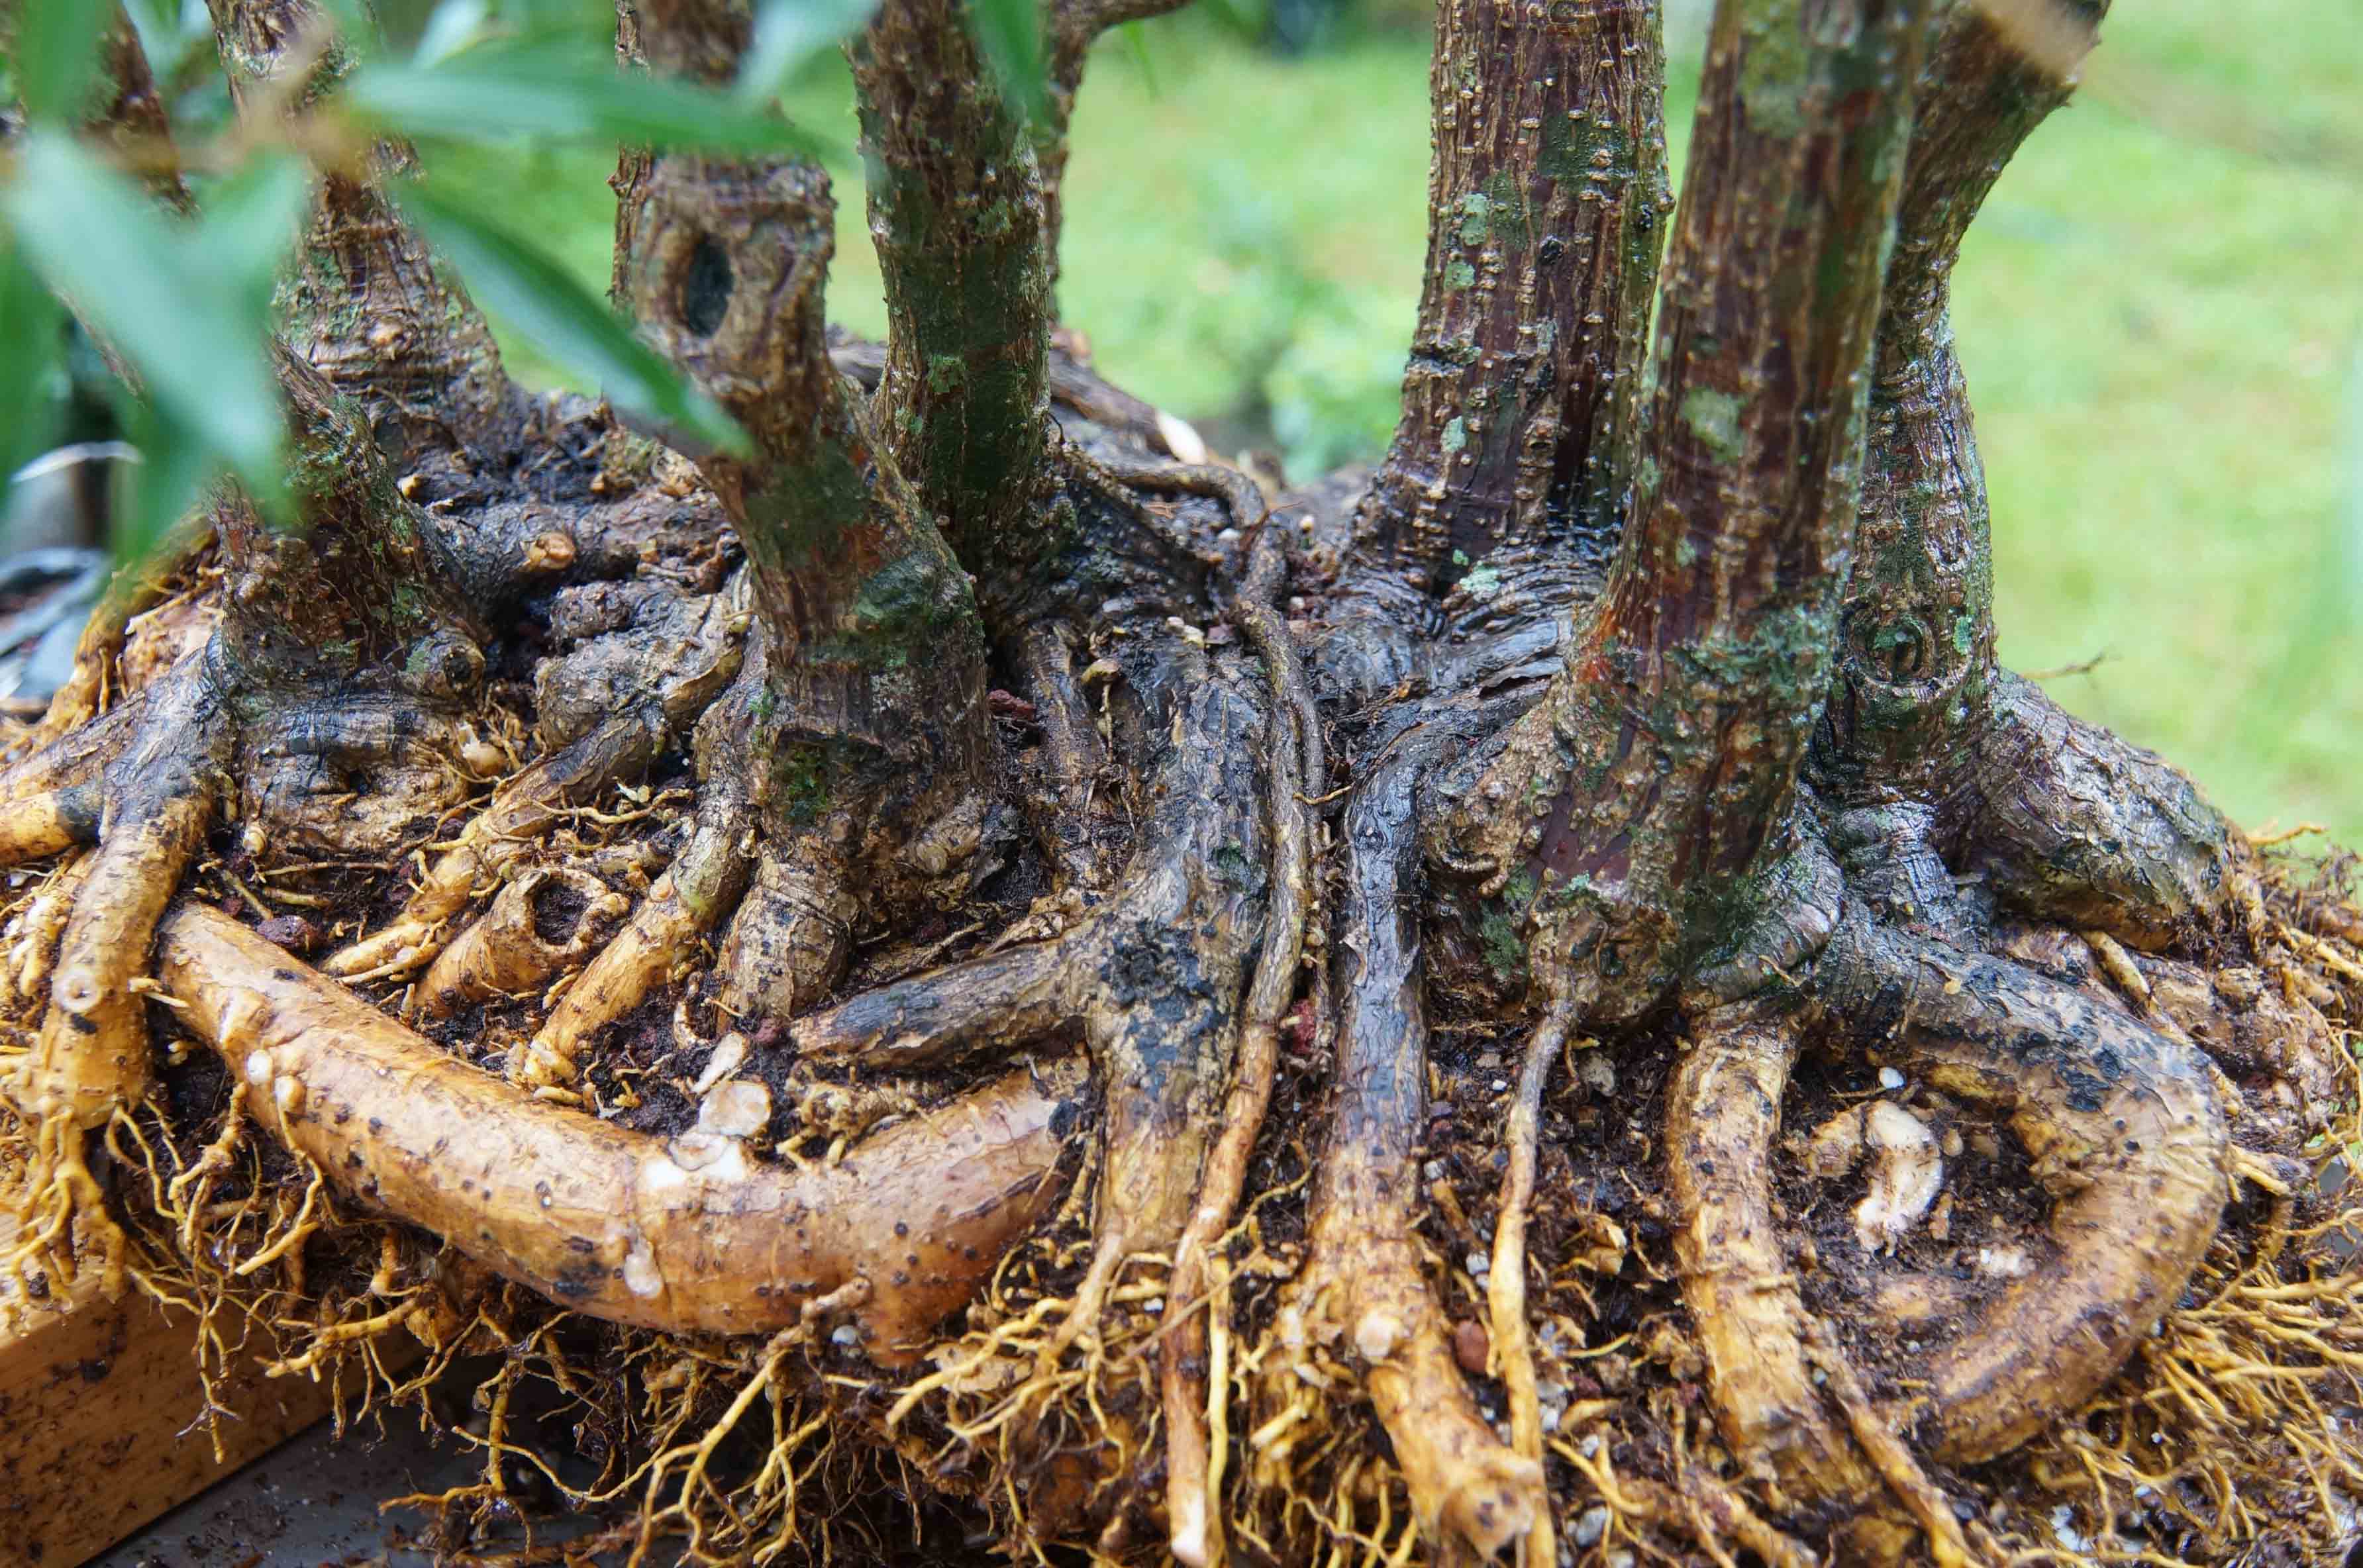


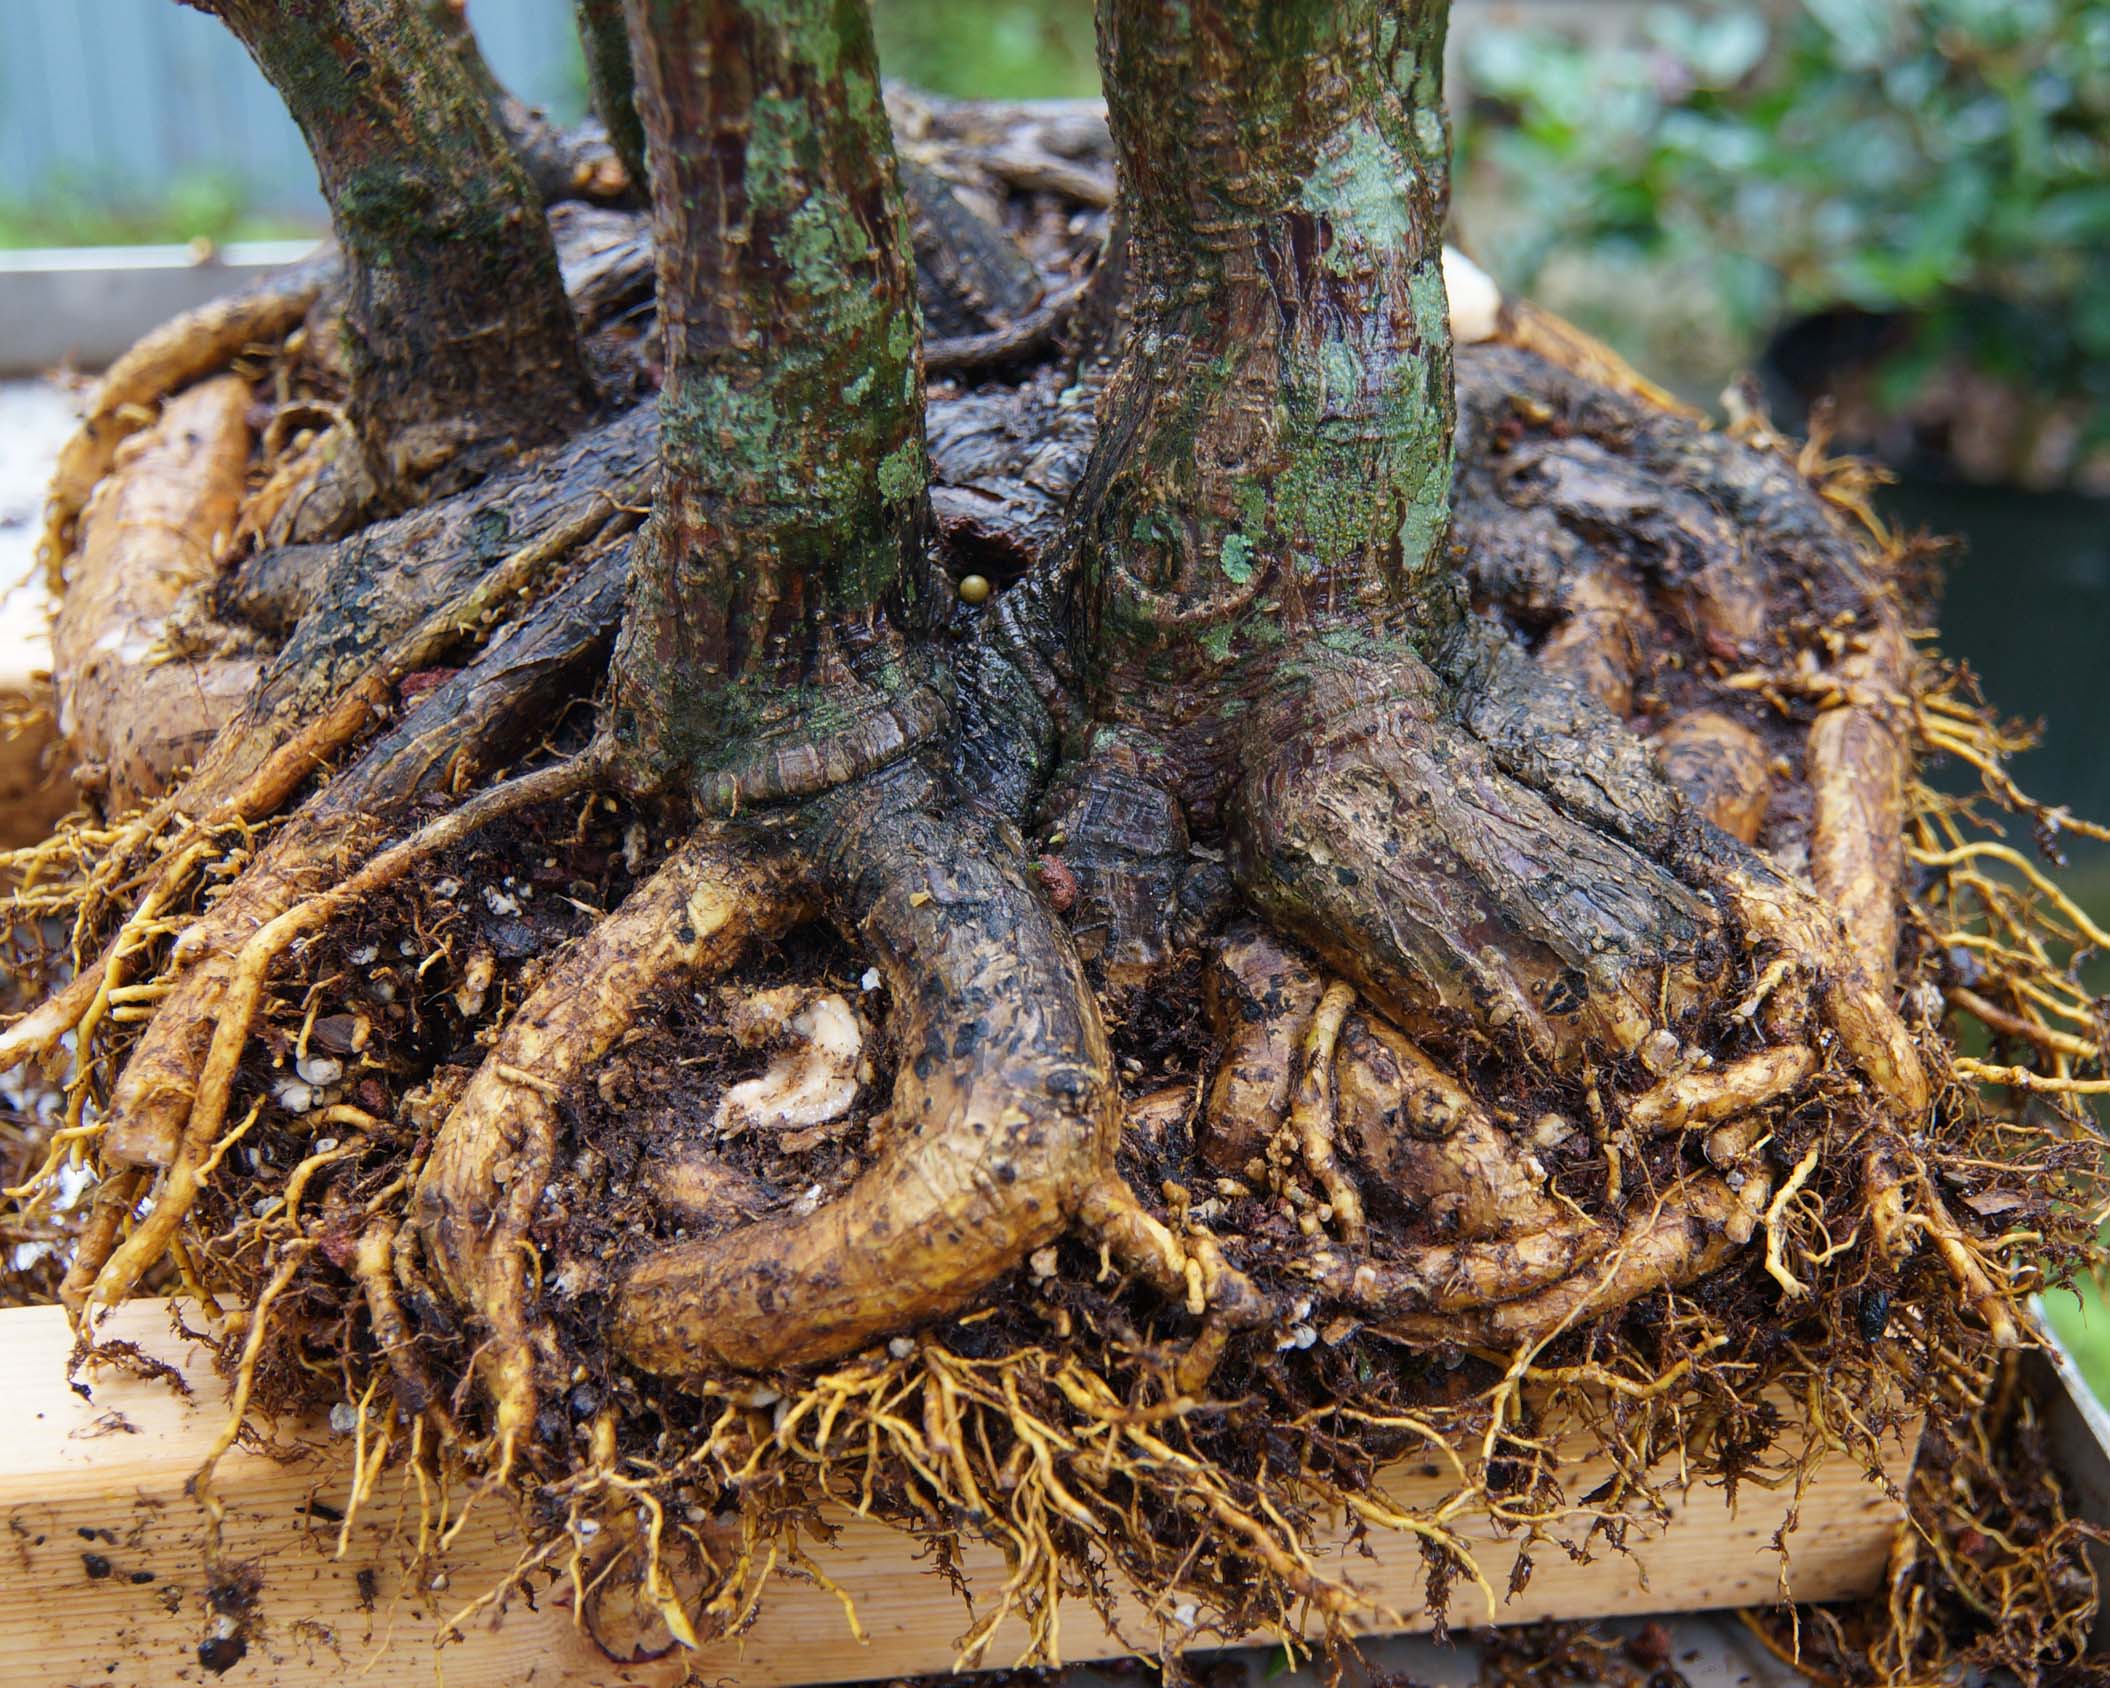
There were a lot of crossing roots on top of the nebari, I took some time to remove them to improve the appearance.
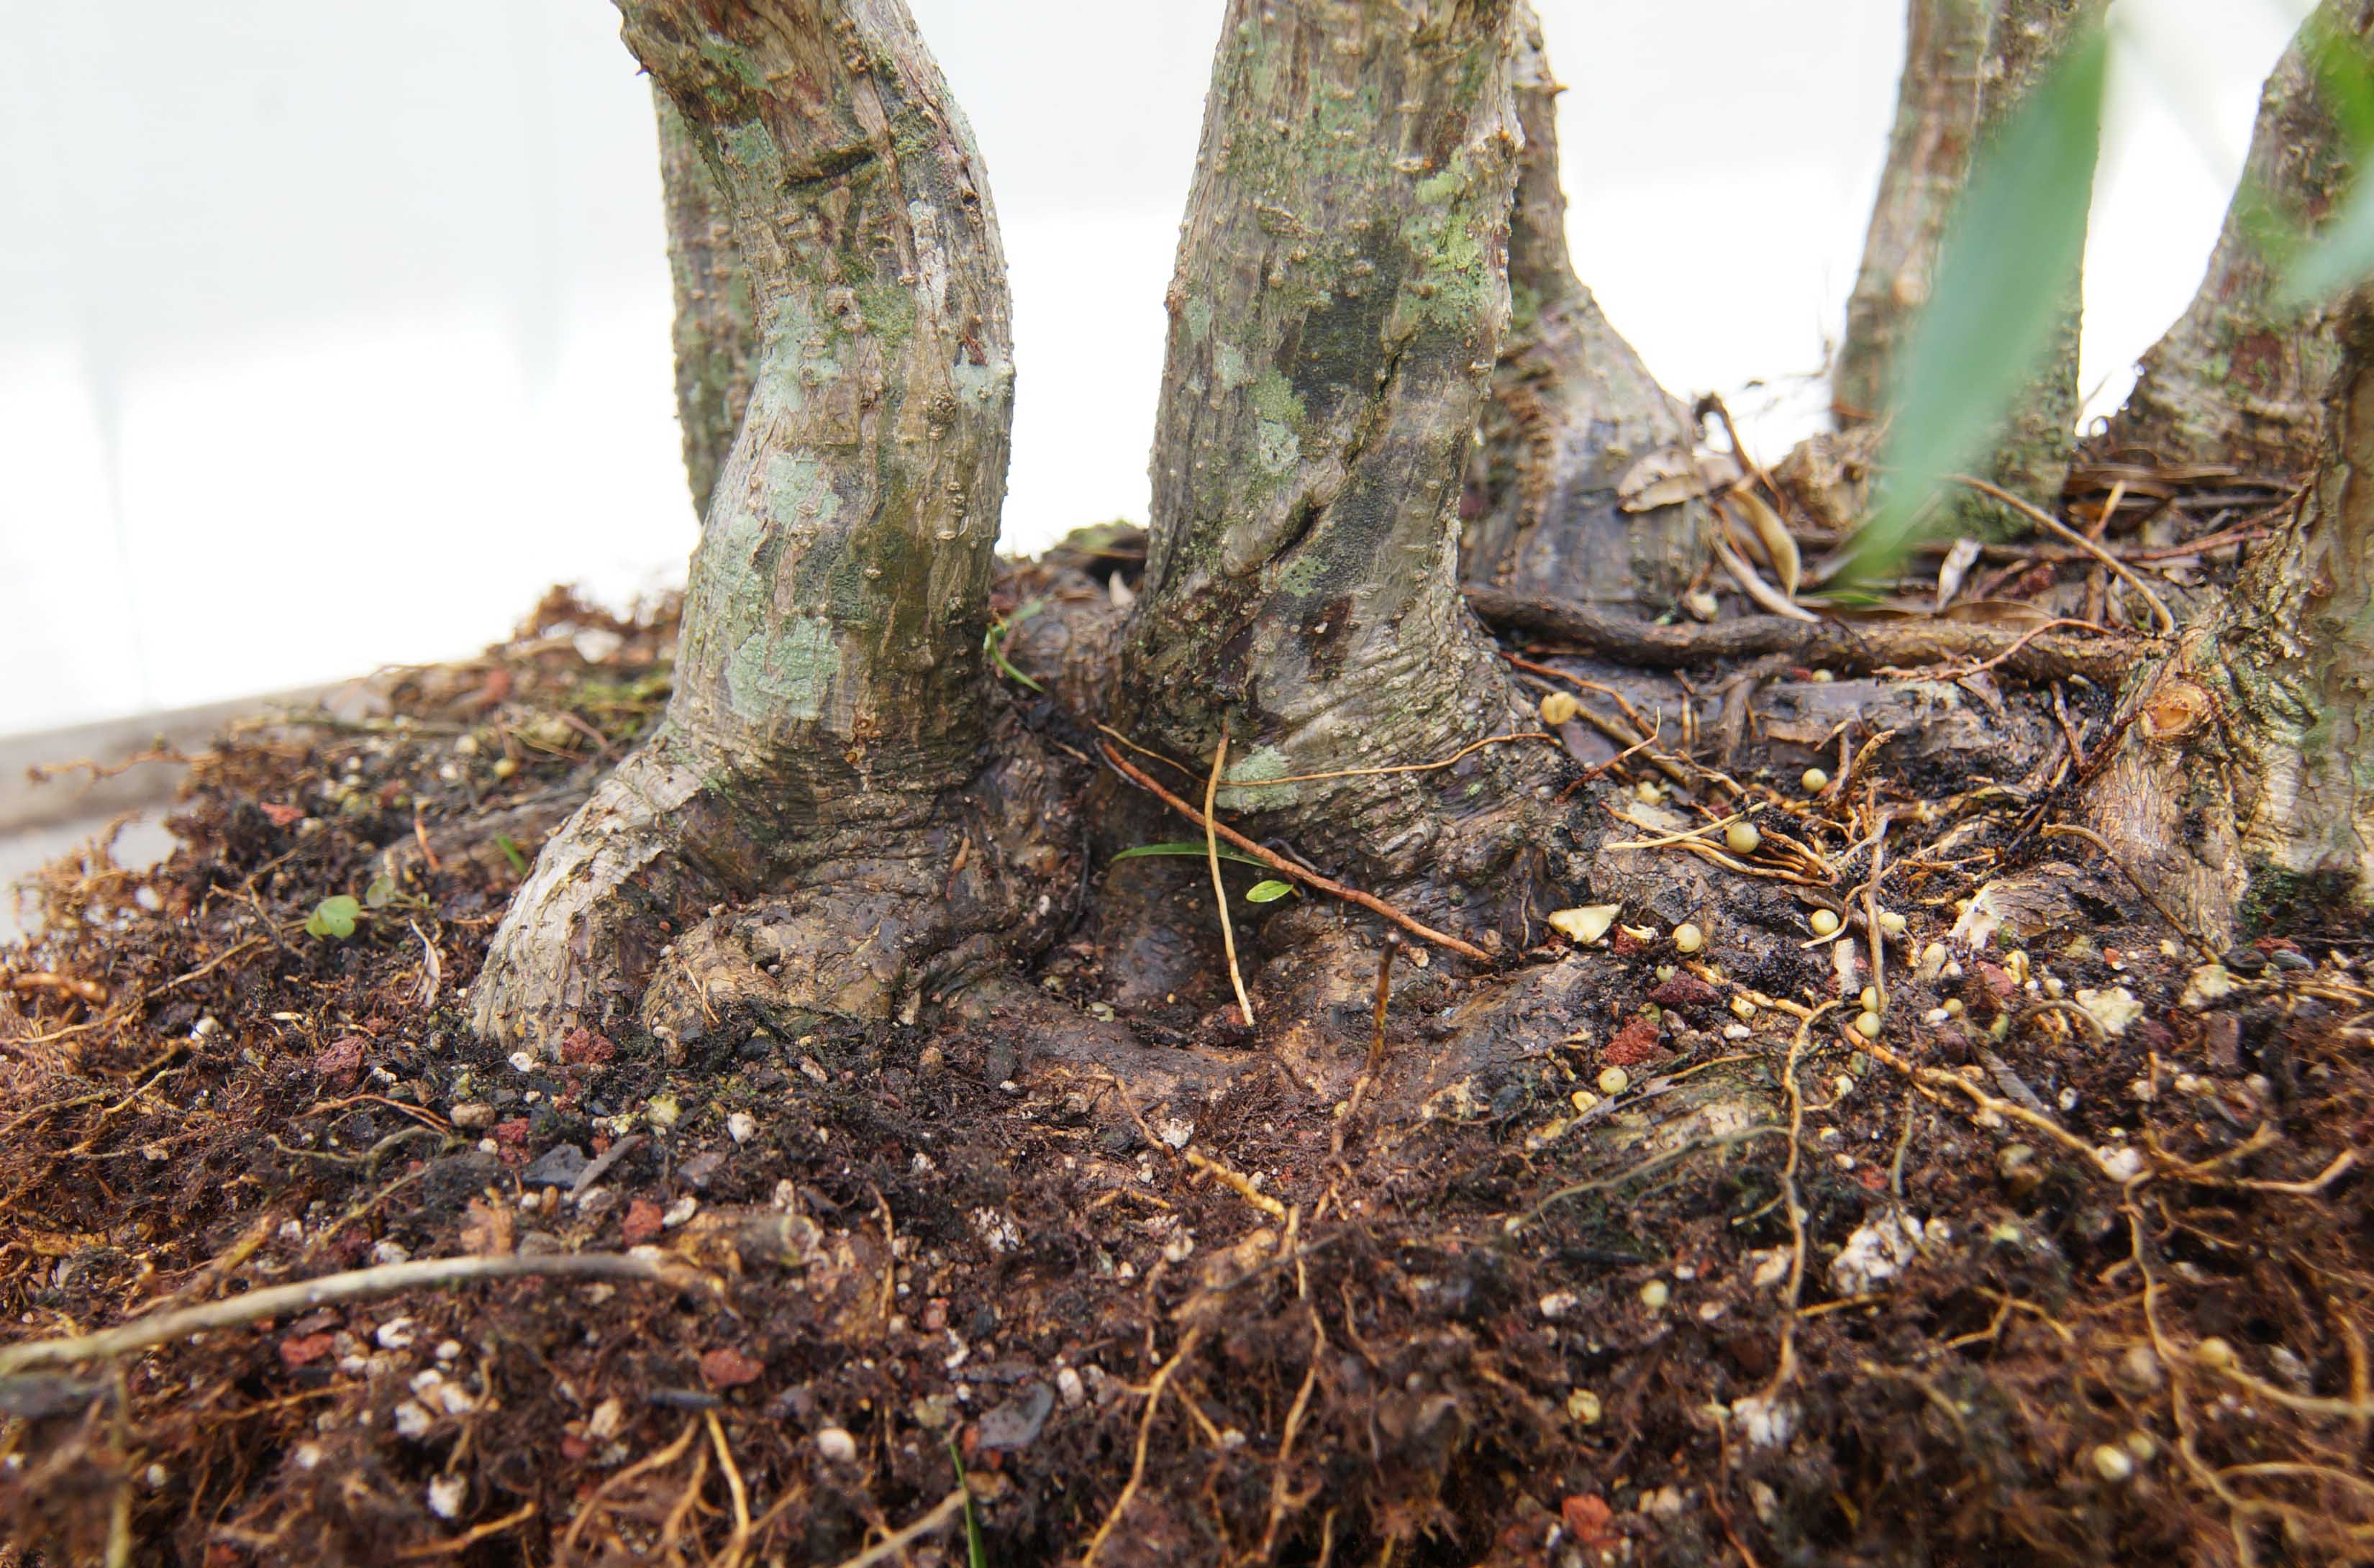
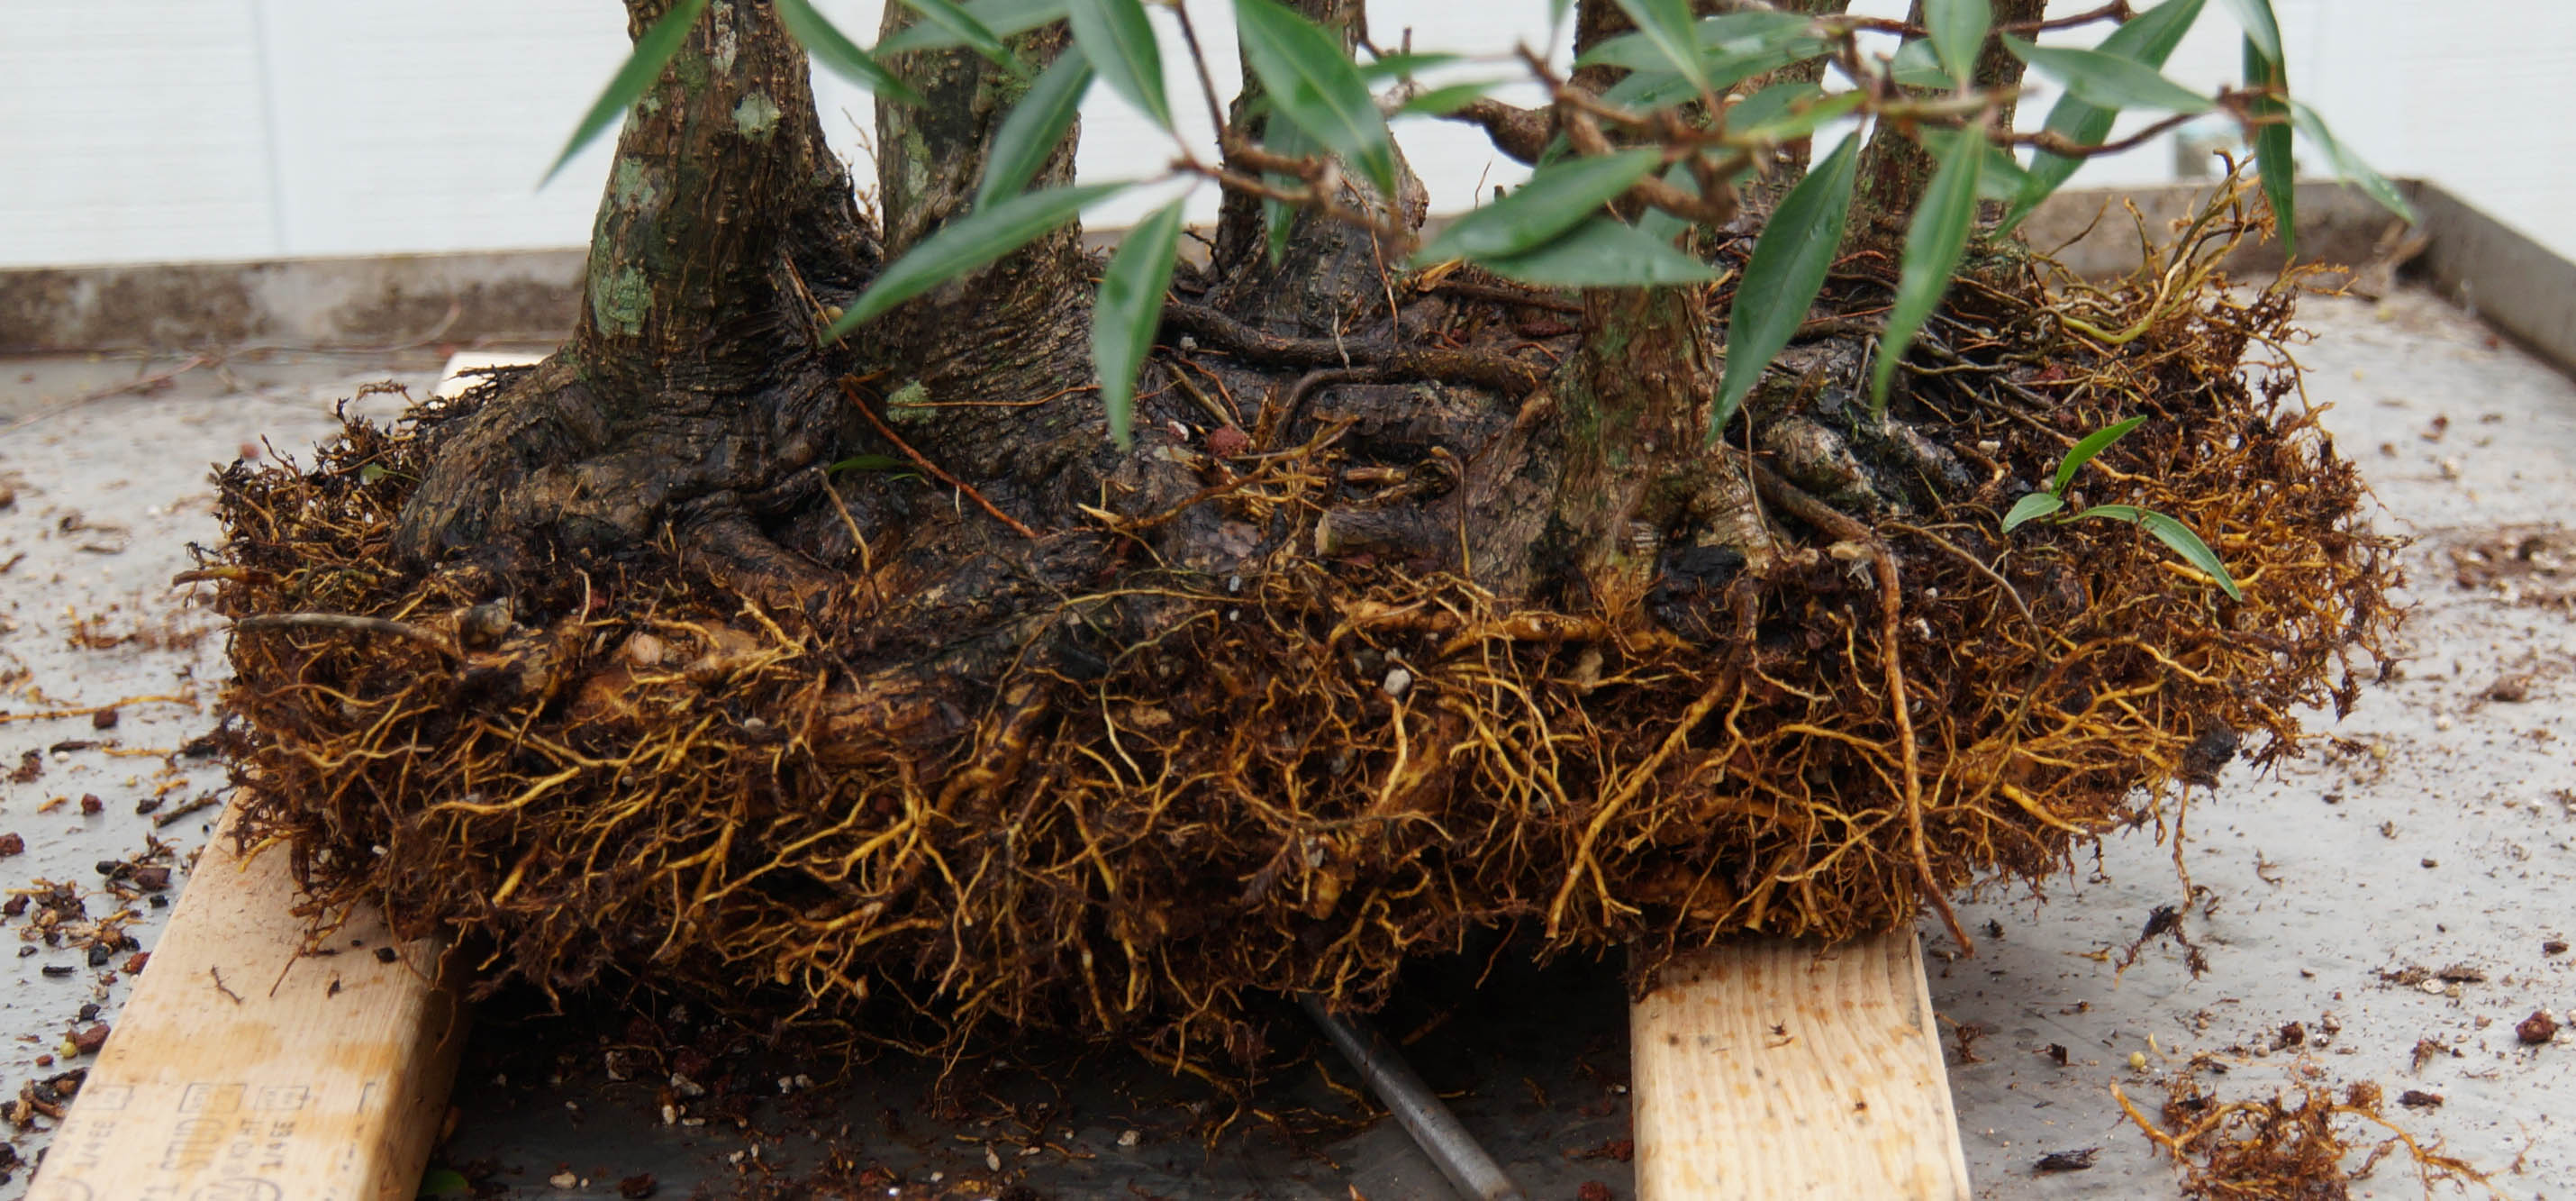
The work was not in vain, it appears that it will fit in the new pot and will be at the perfect height to show off the melted cheese nebari.
This is how much of the root system that I ended up cutting off. Don’t worry, ficus can take a pretty radical root chop. I have seen people actually take a reciprocating saw and cut right through a root mass that had gotten too thick. They are tough trees.
Now let's prepare the pot. I will be using copper for strength since this is a large planting. I have had ficus and bald cypress, both prolific root growers, actually push themselves up out of the pot and break aluminum wire. A word about tie down wires and the wires that you use to hold the screens in the pot. Make sure that they are the same metal, don’t mix copper and aluminum. If you use copper on one and aluminum on the other and they touch, like they usually do at the drain hole, the two dissimilar metals will corrode, the aluminum will get the brunt of it and corrode in to. I had a maple that I had to re-secure because of this. It is surprising how fast this will happen.

Wingadings made for the screen hold-downs. If you don’t know what a wingading is or how to make them, you can check out this article. Take your time and get it right, make sure the screens are tightly held in position.

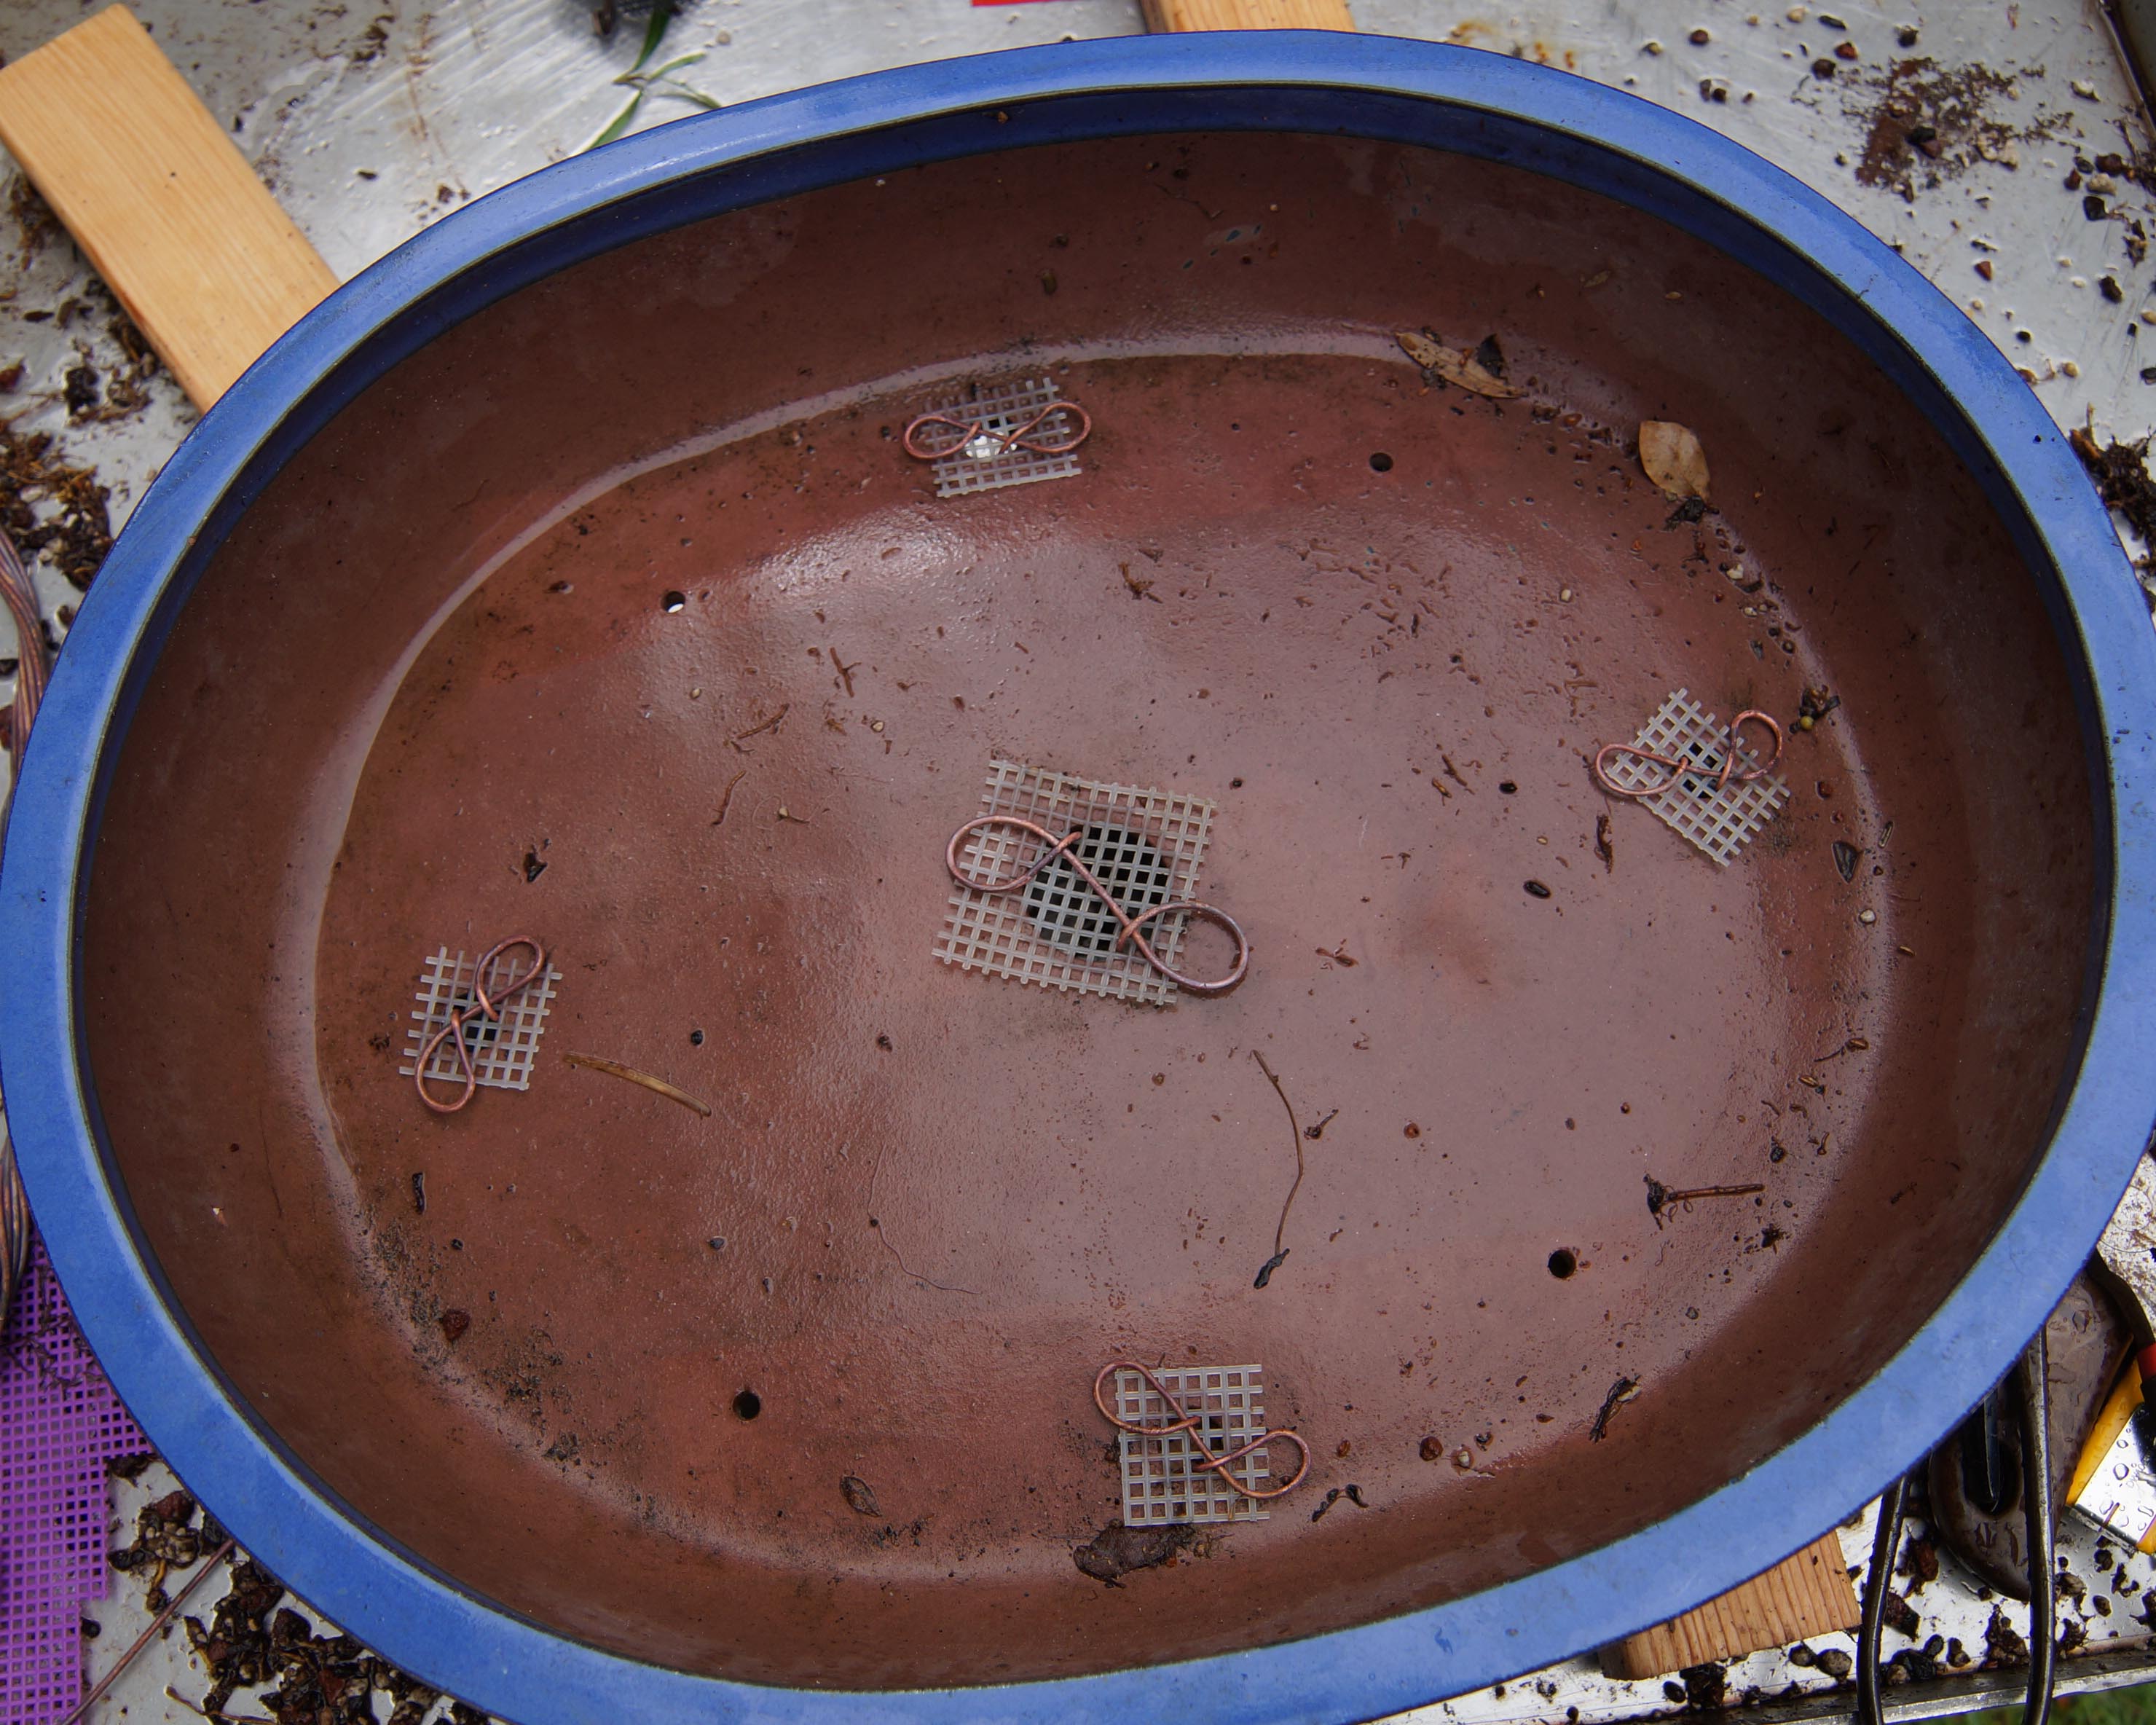
Securing wires in place and some of the larger lava for a drainage layer. A drainage layer is nice to have but is not completely necessary. If you are in a tight for room in the pot as far as height is concerned, just skip it, as long as your soil is free draining.
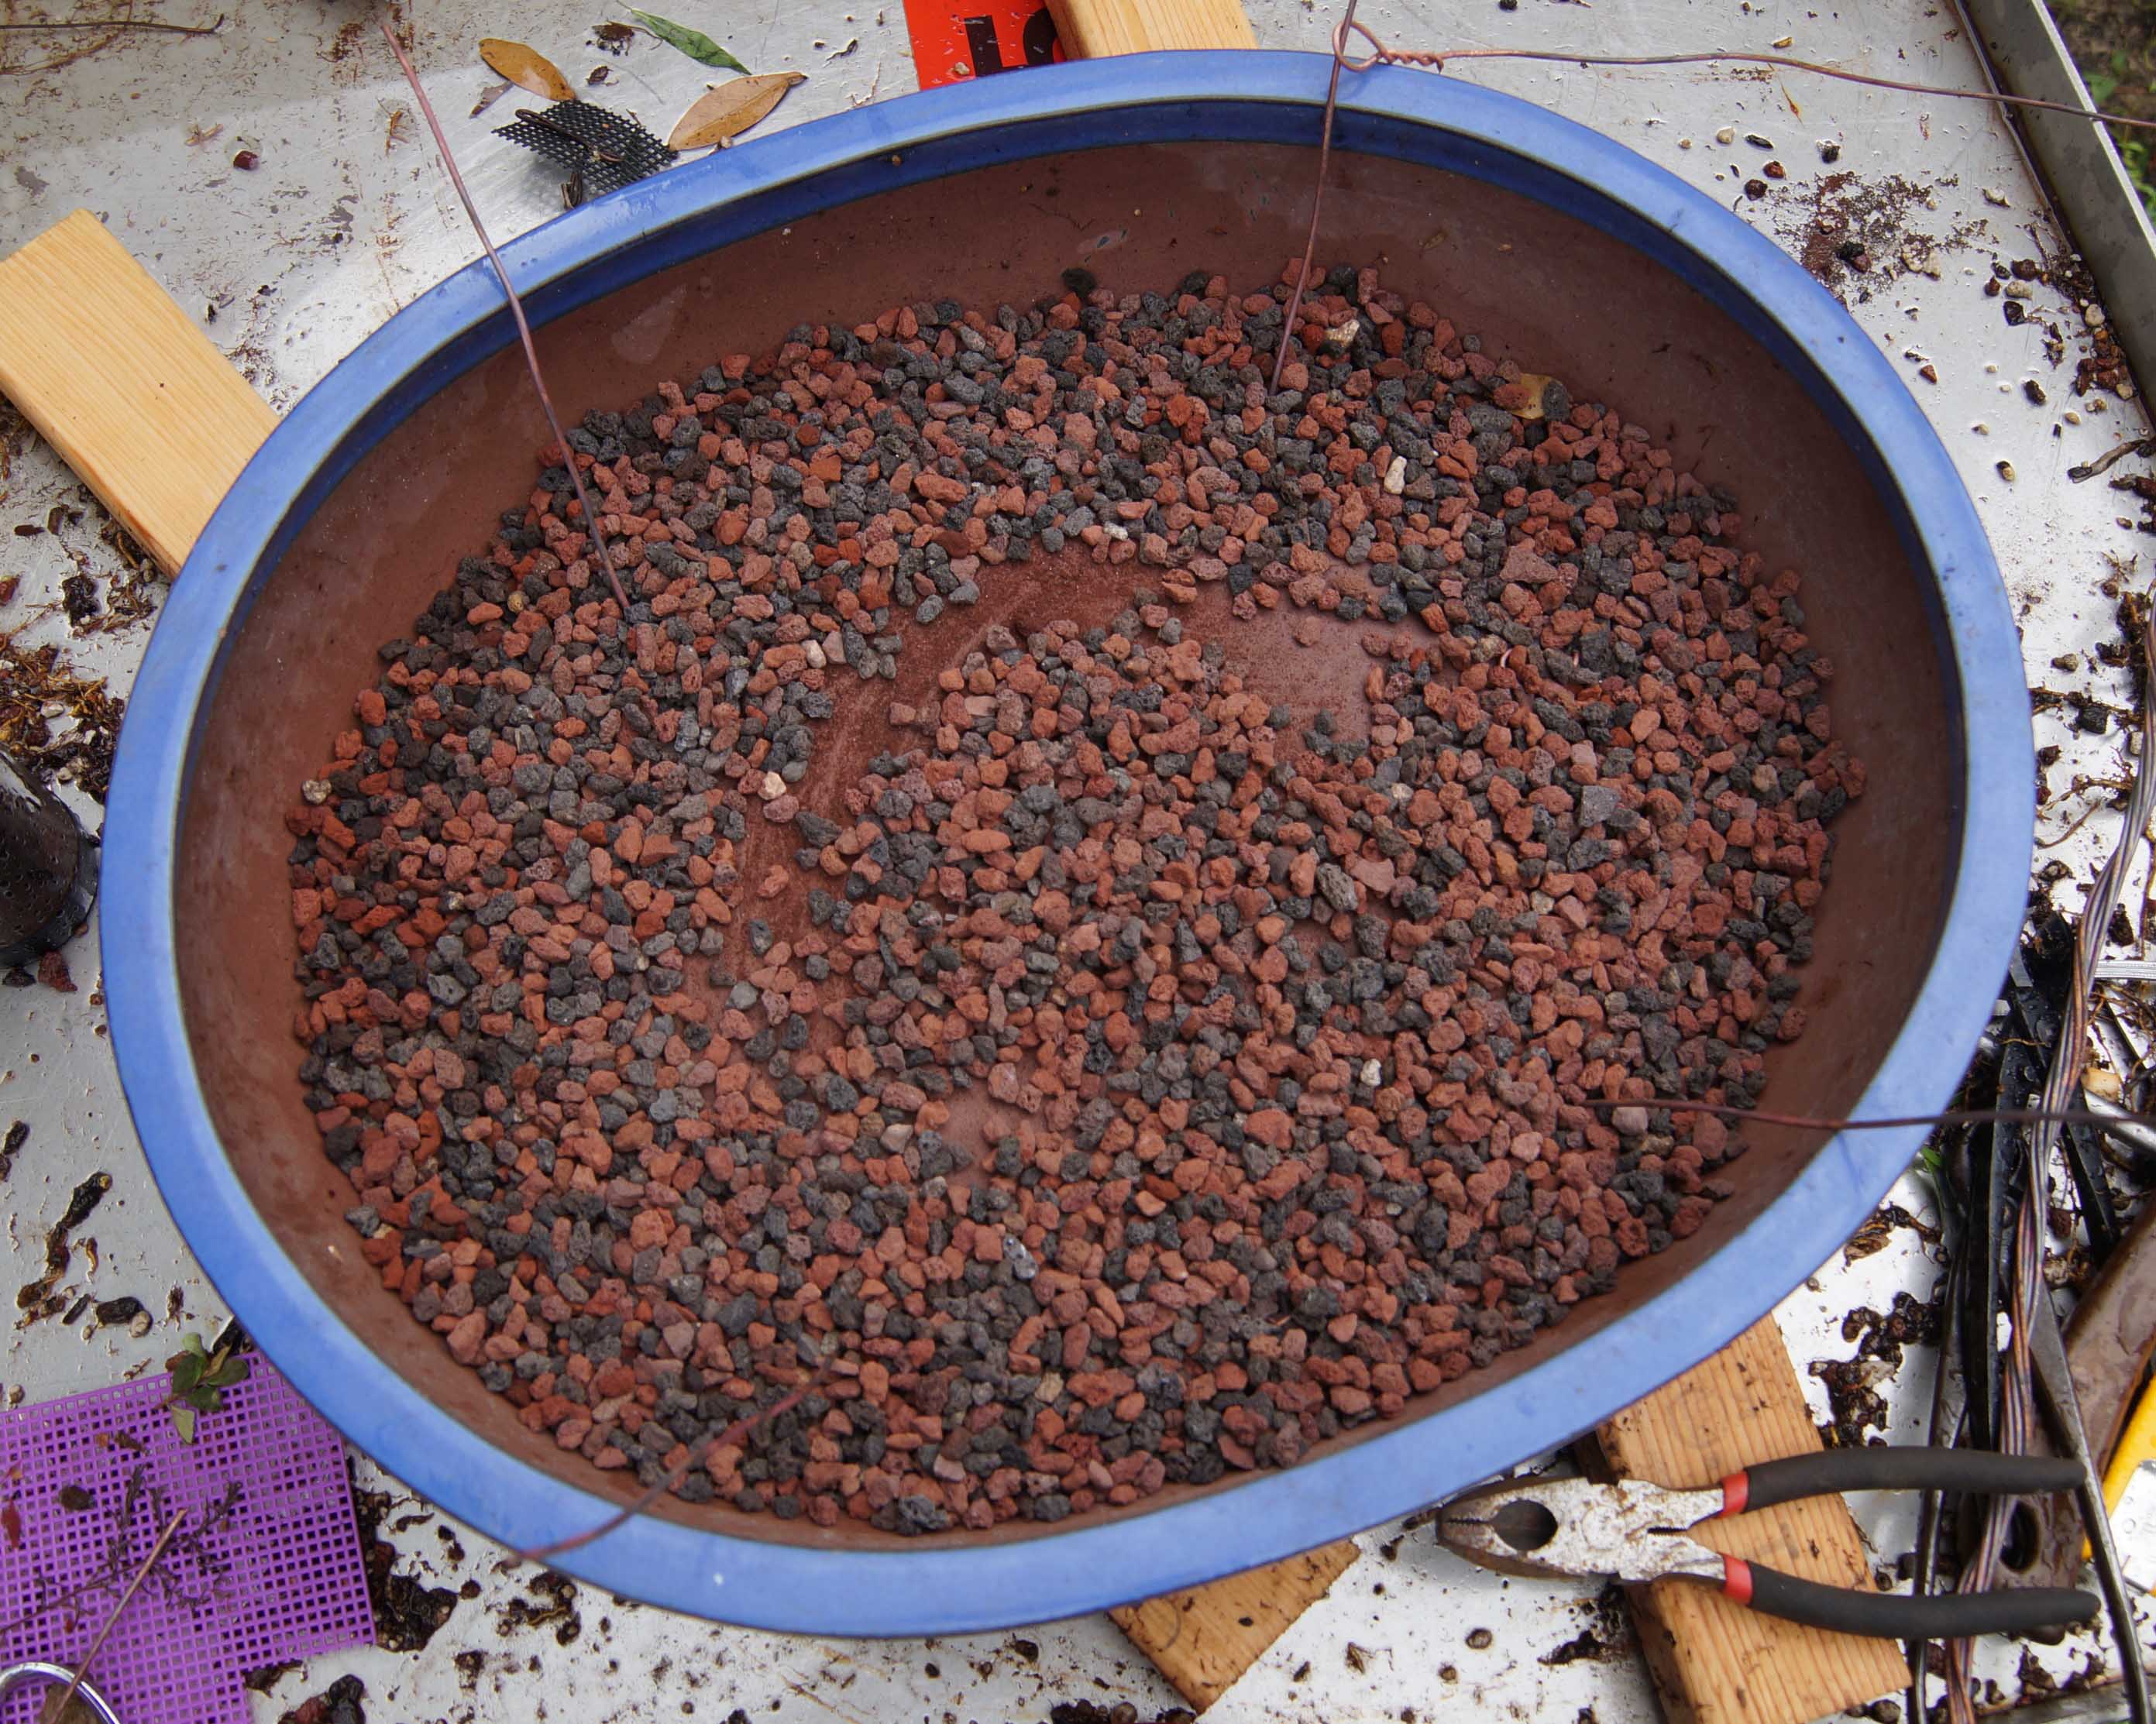
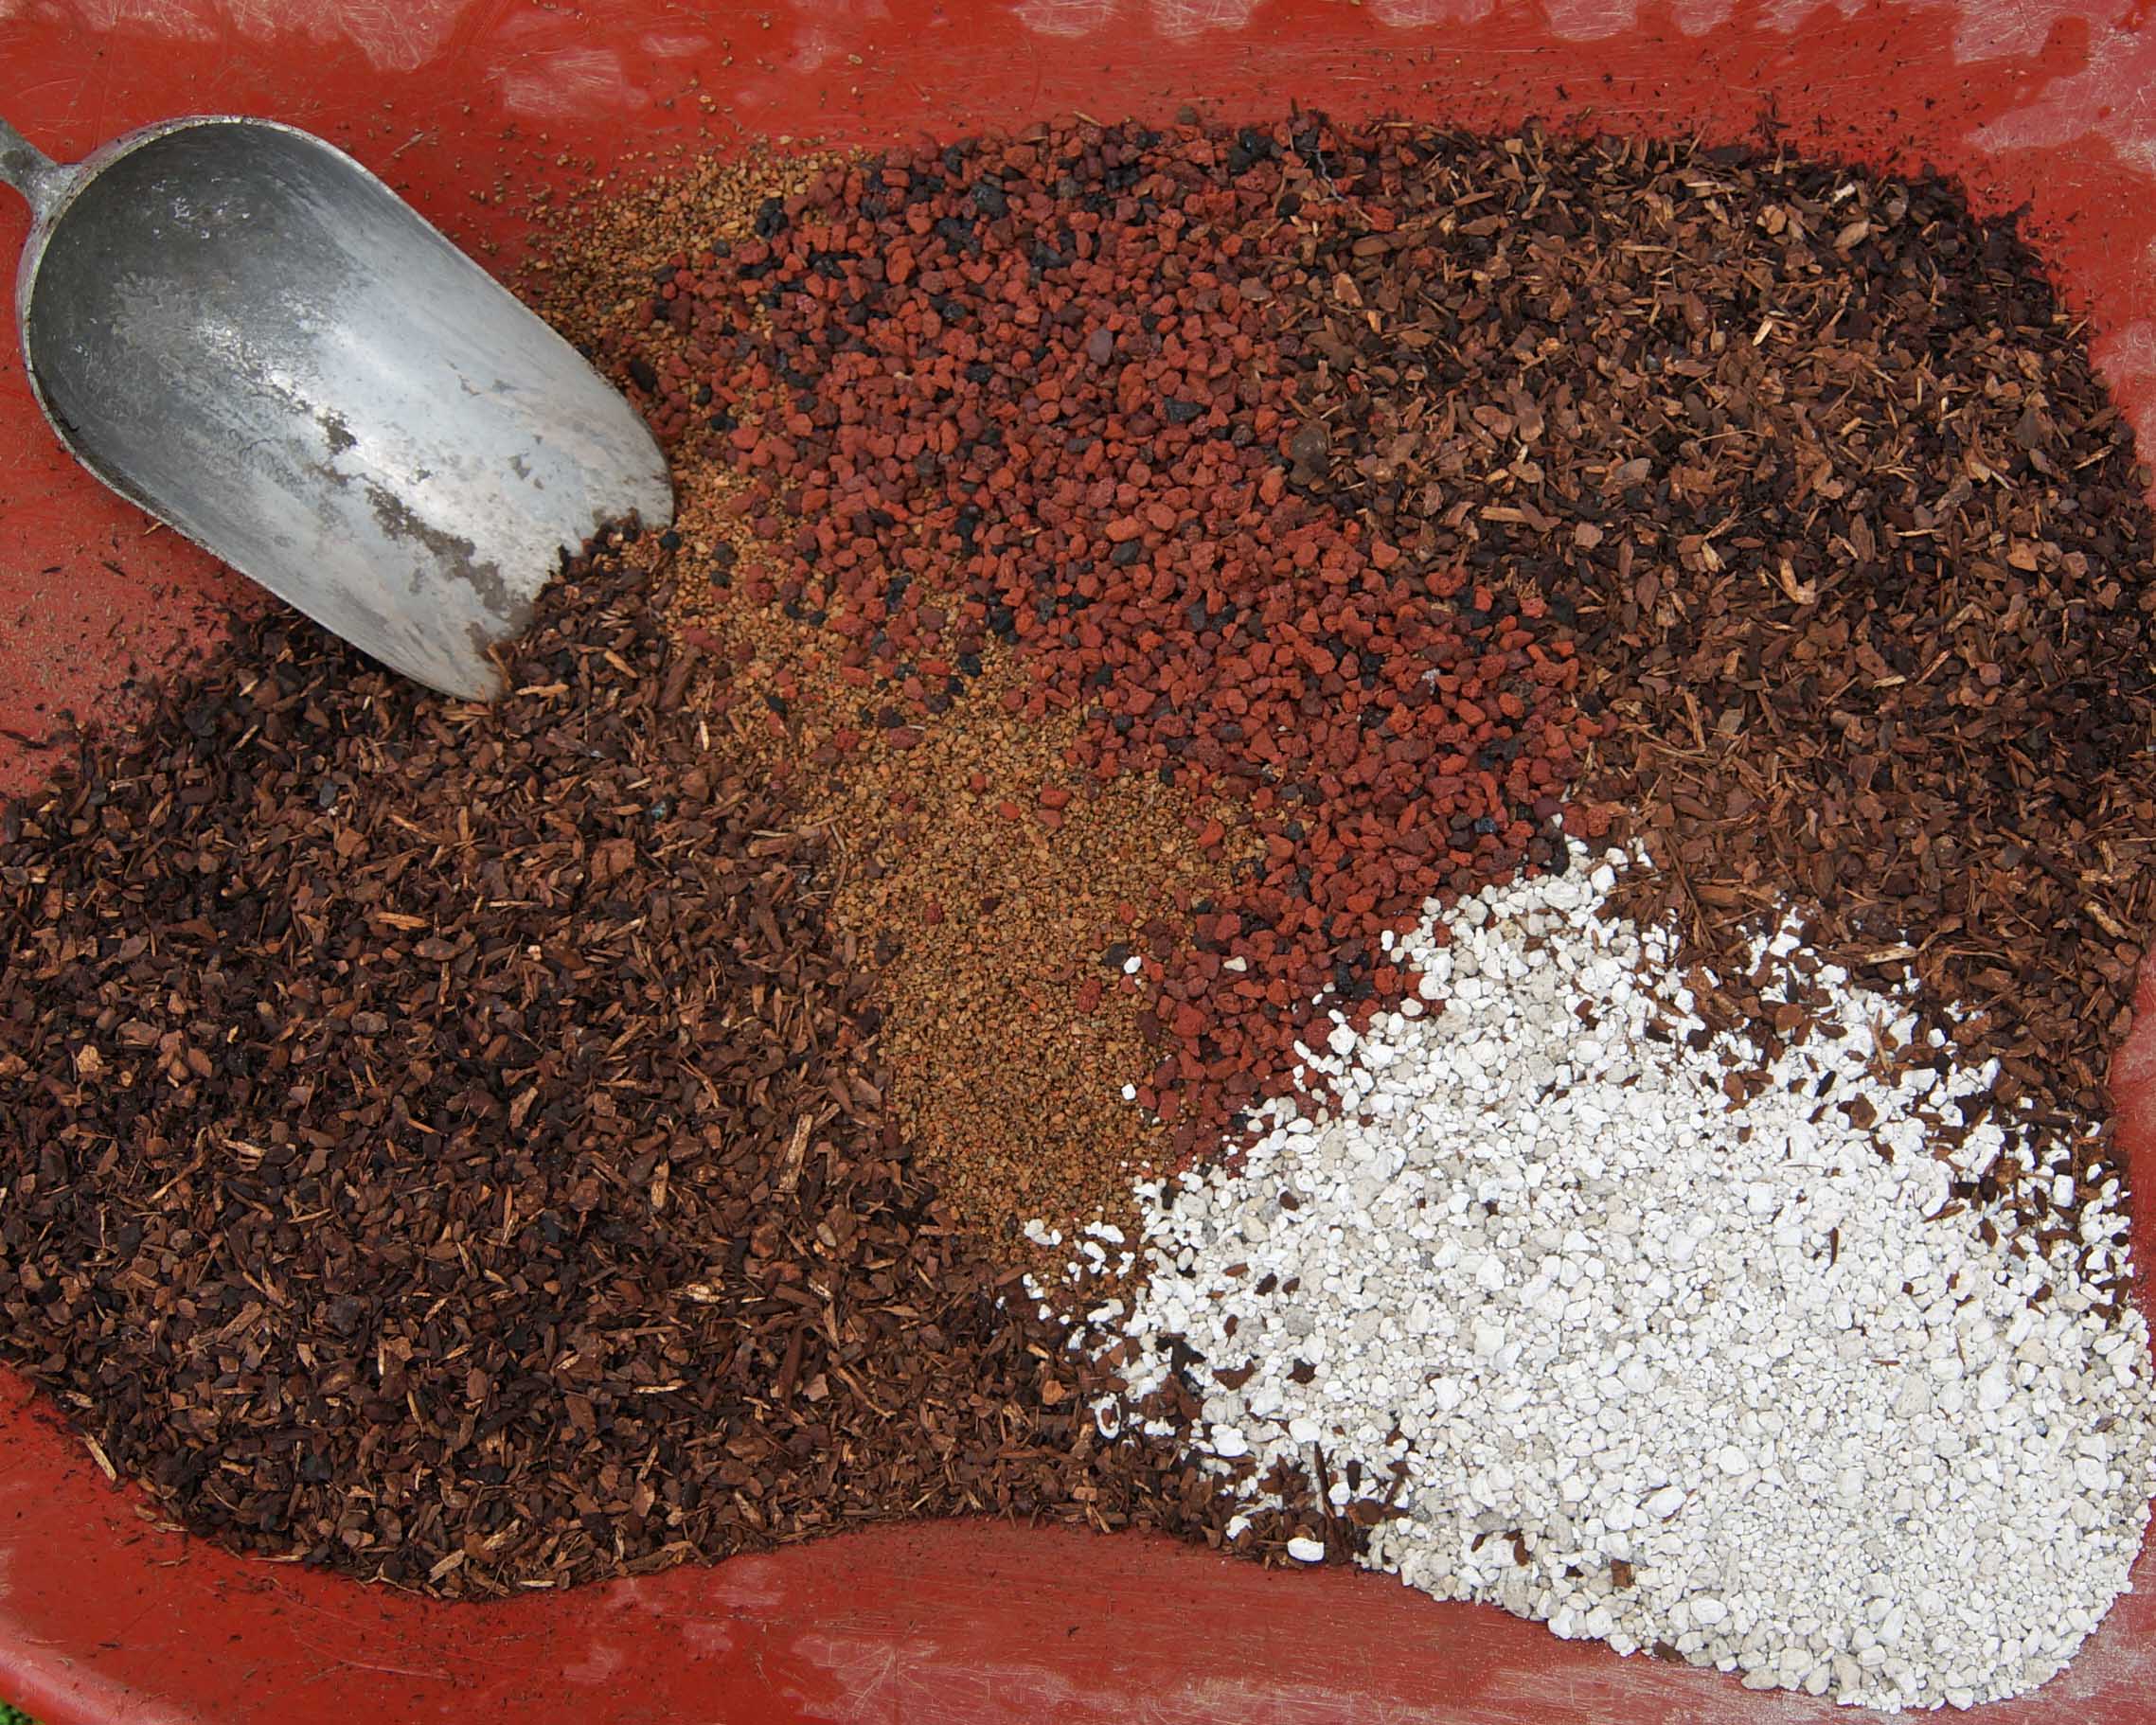
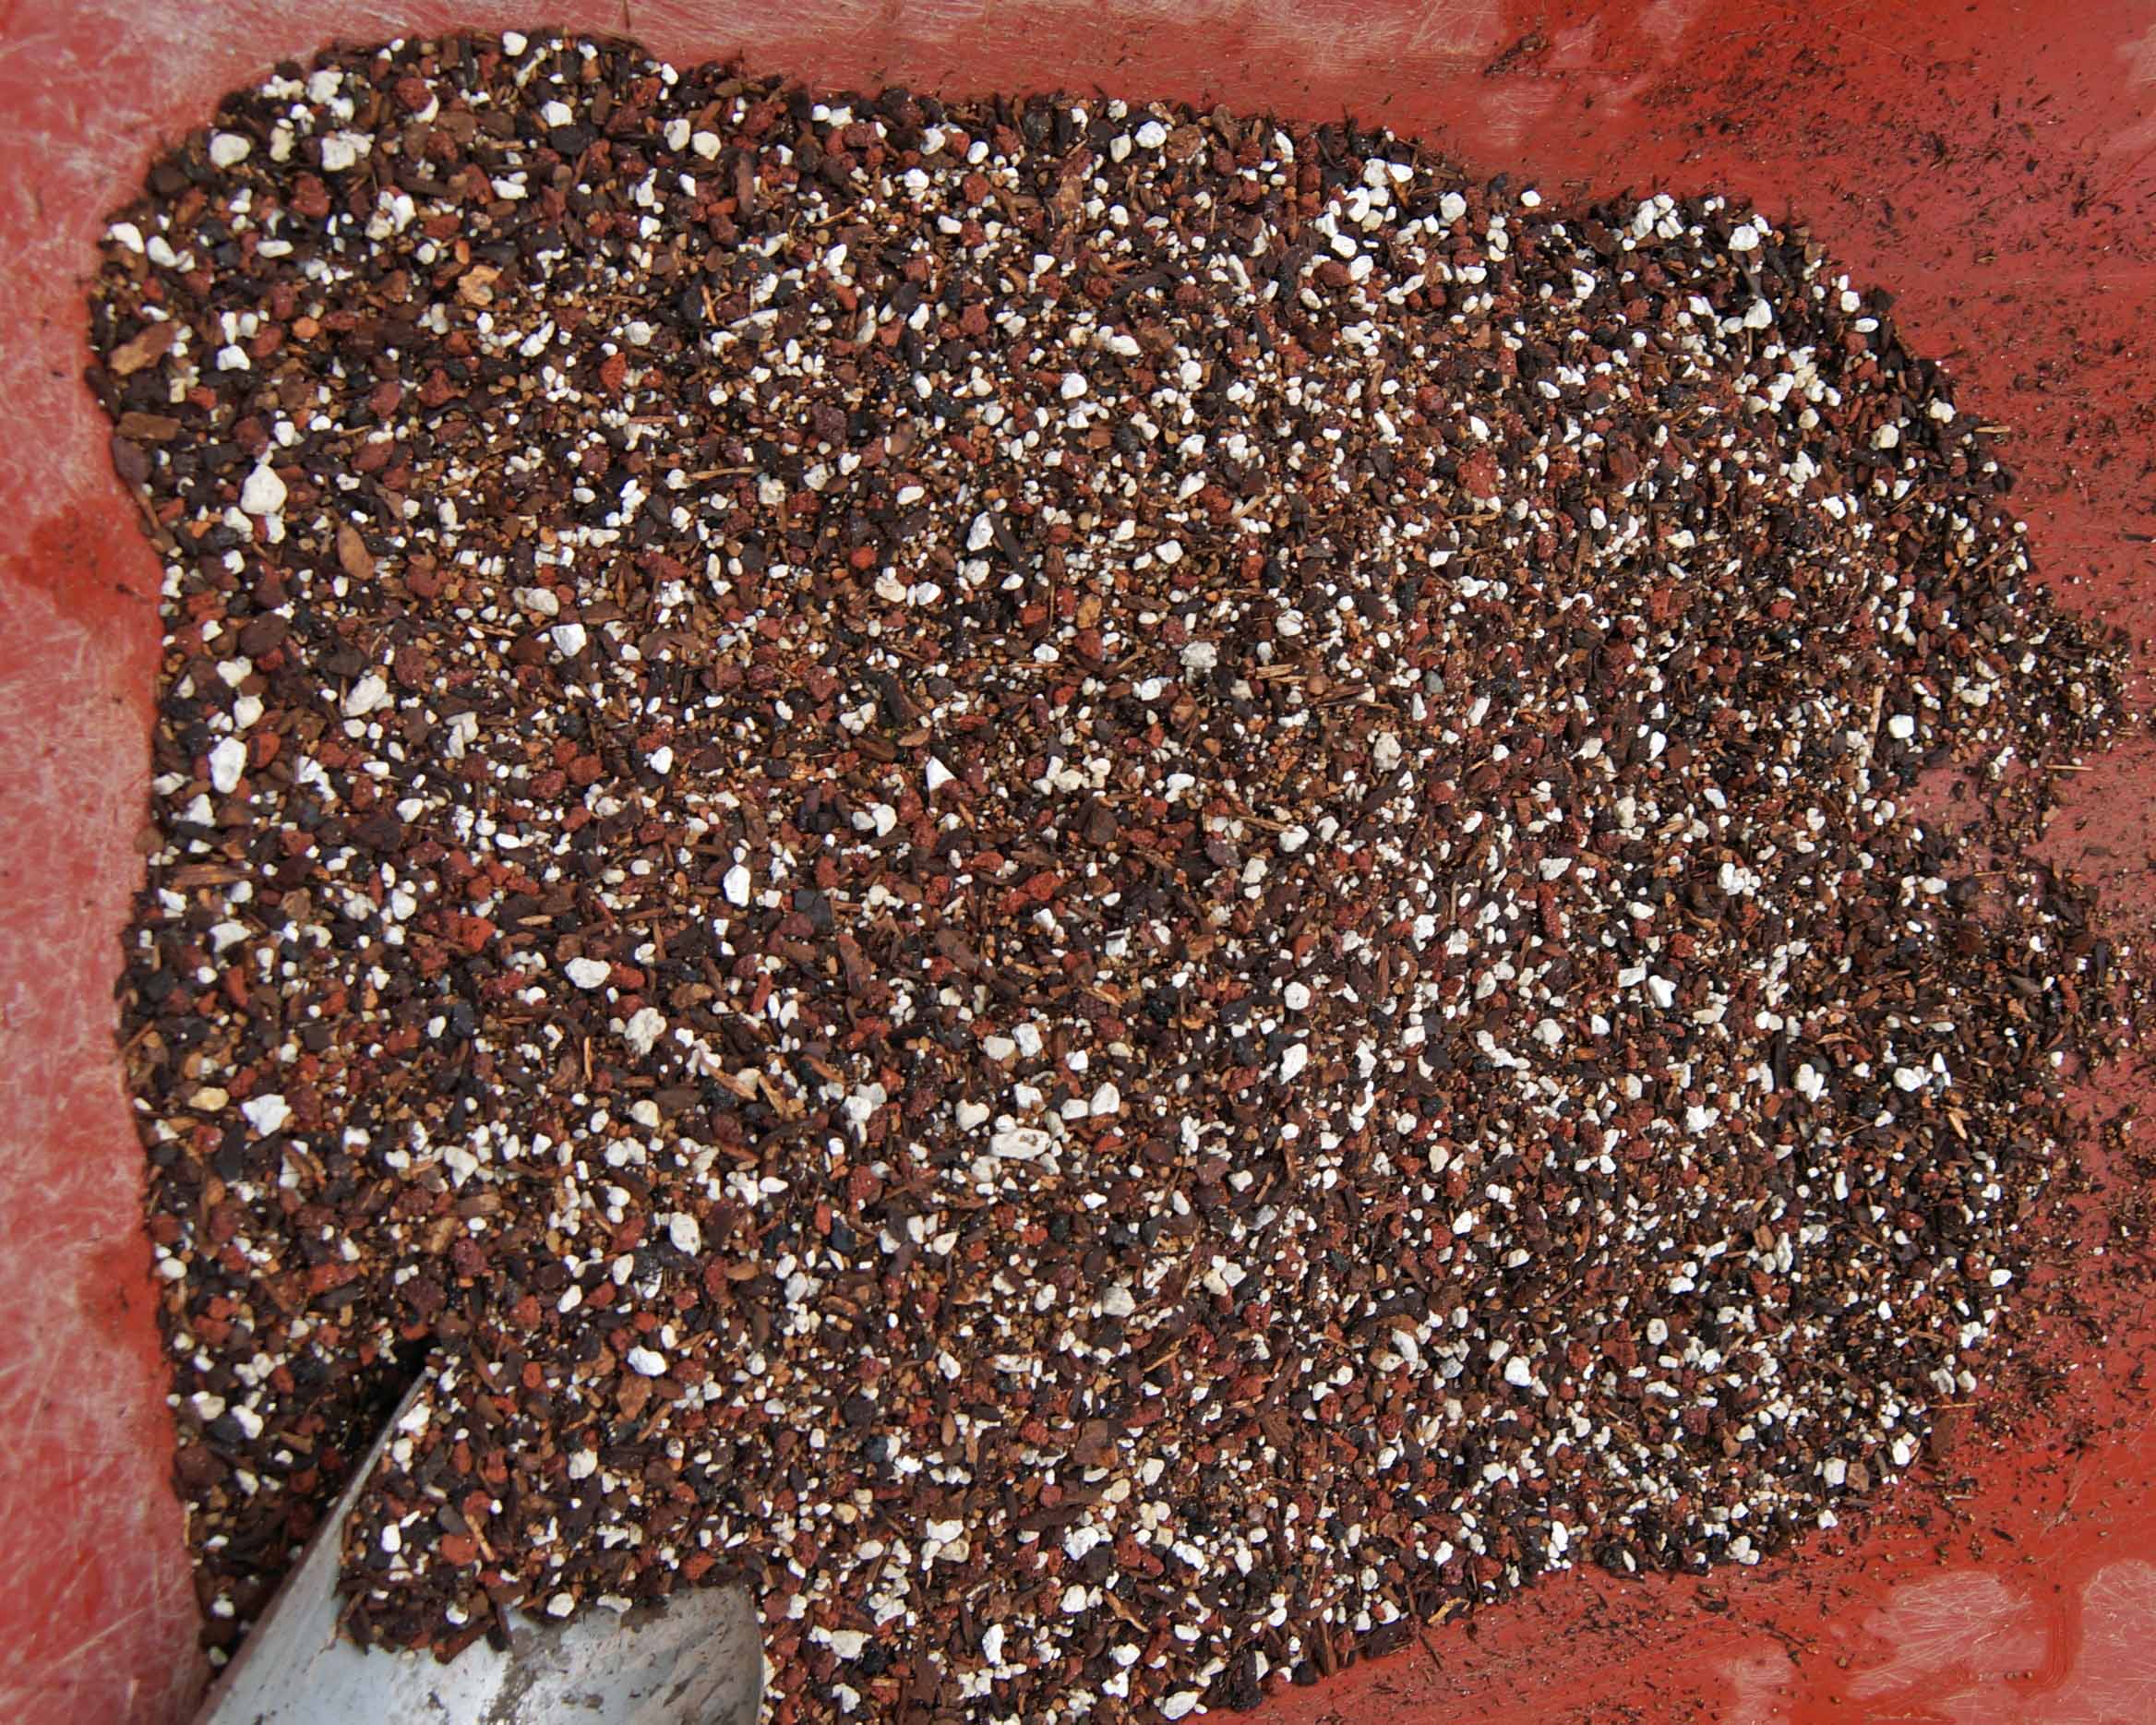
Time to mix some soil. I should have done this first, but I forgot. I hate getting old. It is a good idea to make the soil up ahead of time to minimize the time the roots are exposed. Plus, you will know ahead of time if you will have enough for the repot. I have an article on what I use for soil, check it out. For this tree, I will be using Turface, lava, pumice, and fir bark, my standard mix; at a 60 percent inorganic and 40 percent organic ratio. A little bit heavier on the organic that I usually go with since this composition spends the majority of its time in full sun and also uses a lot of water. I will be needing quite a bit for this project so I just mixed it in the wheel barrow.
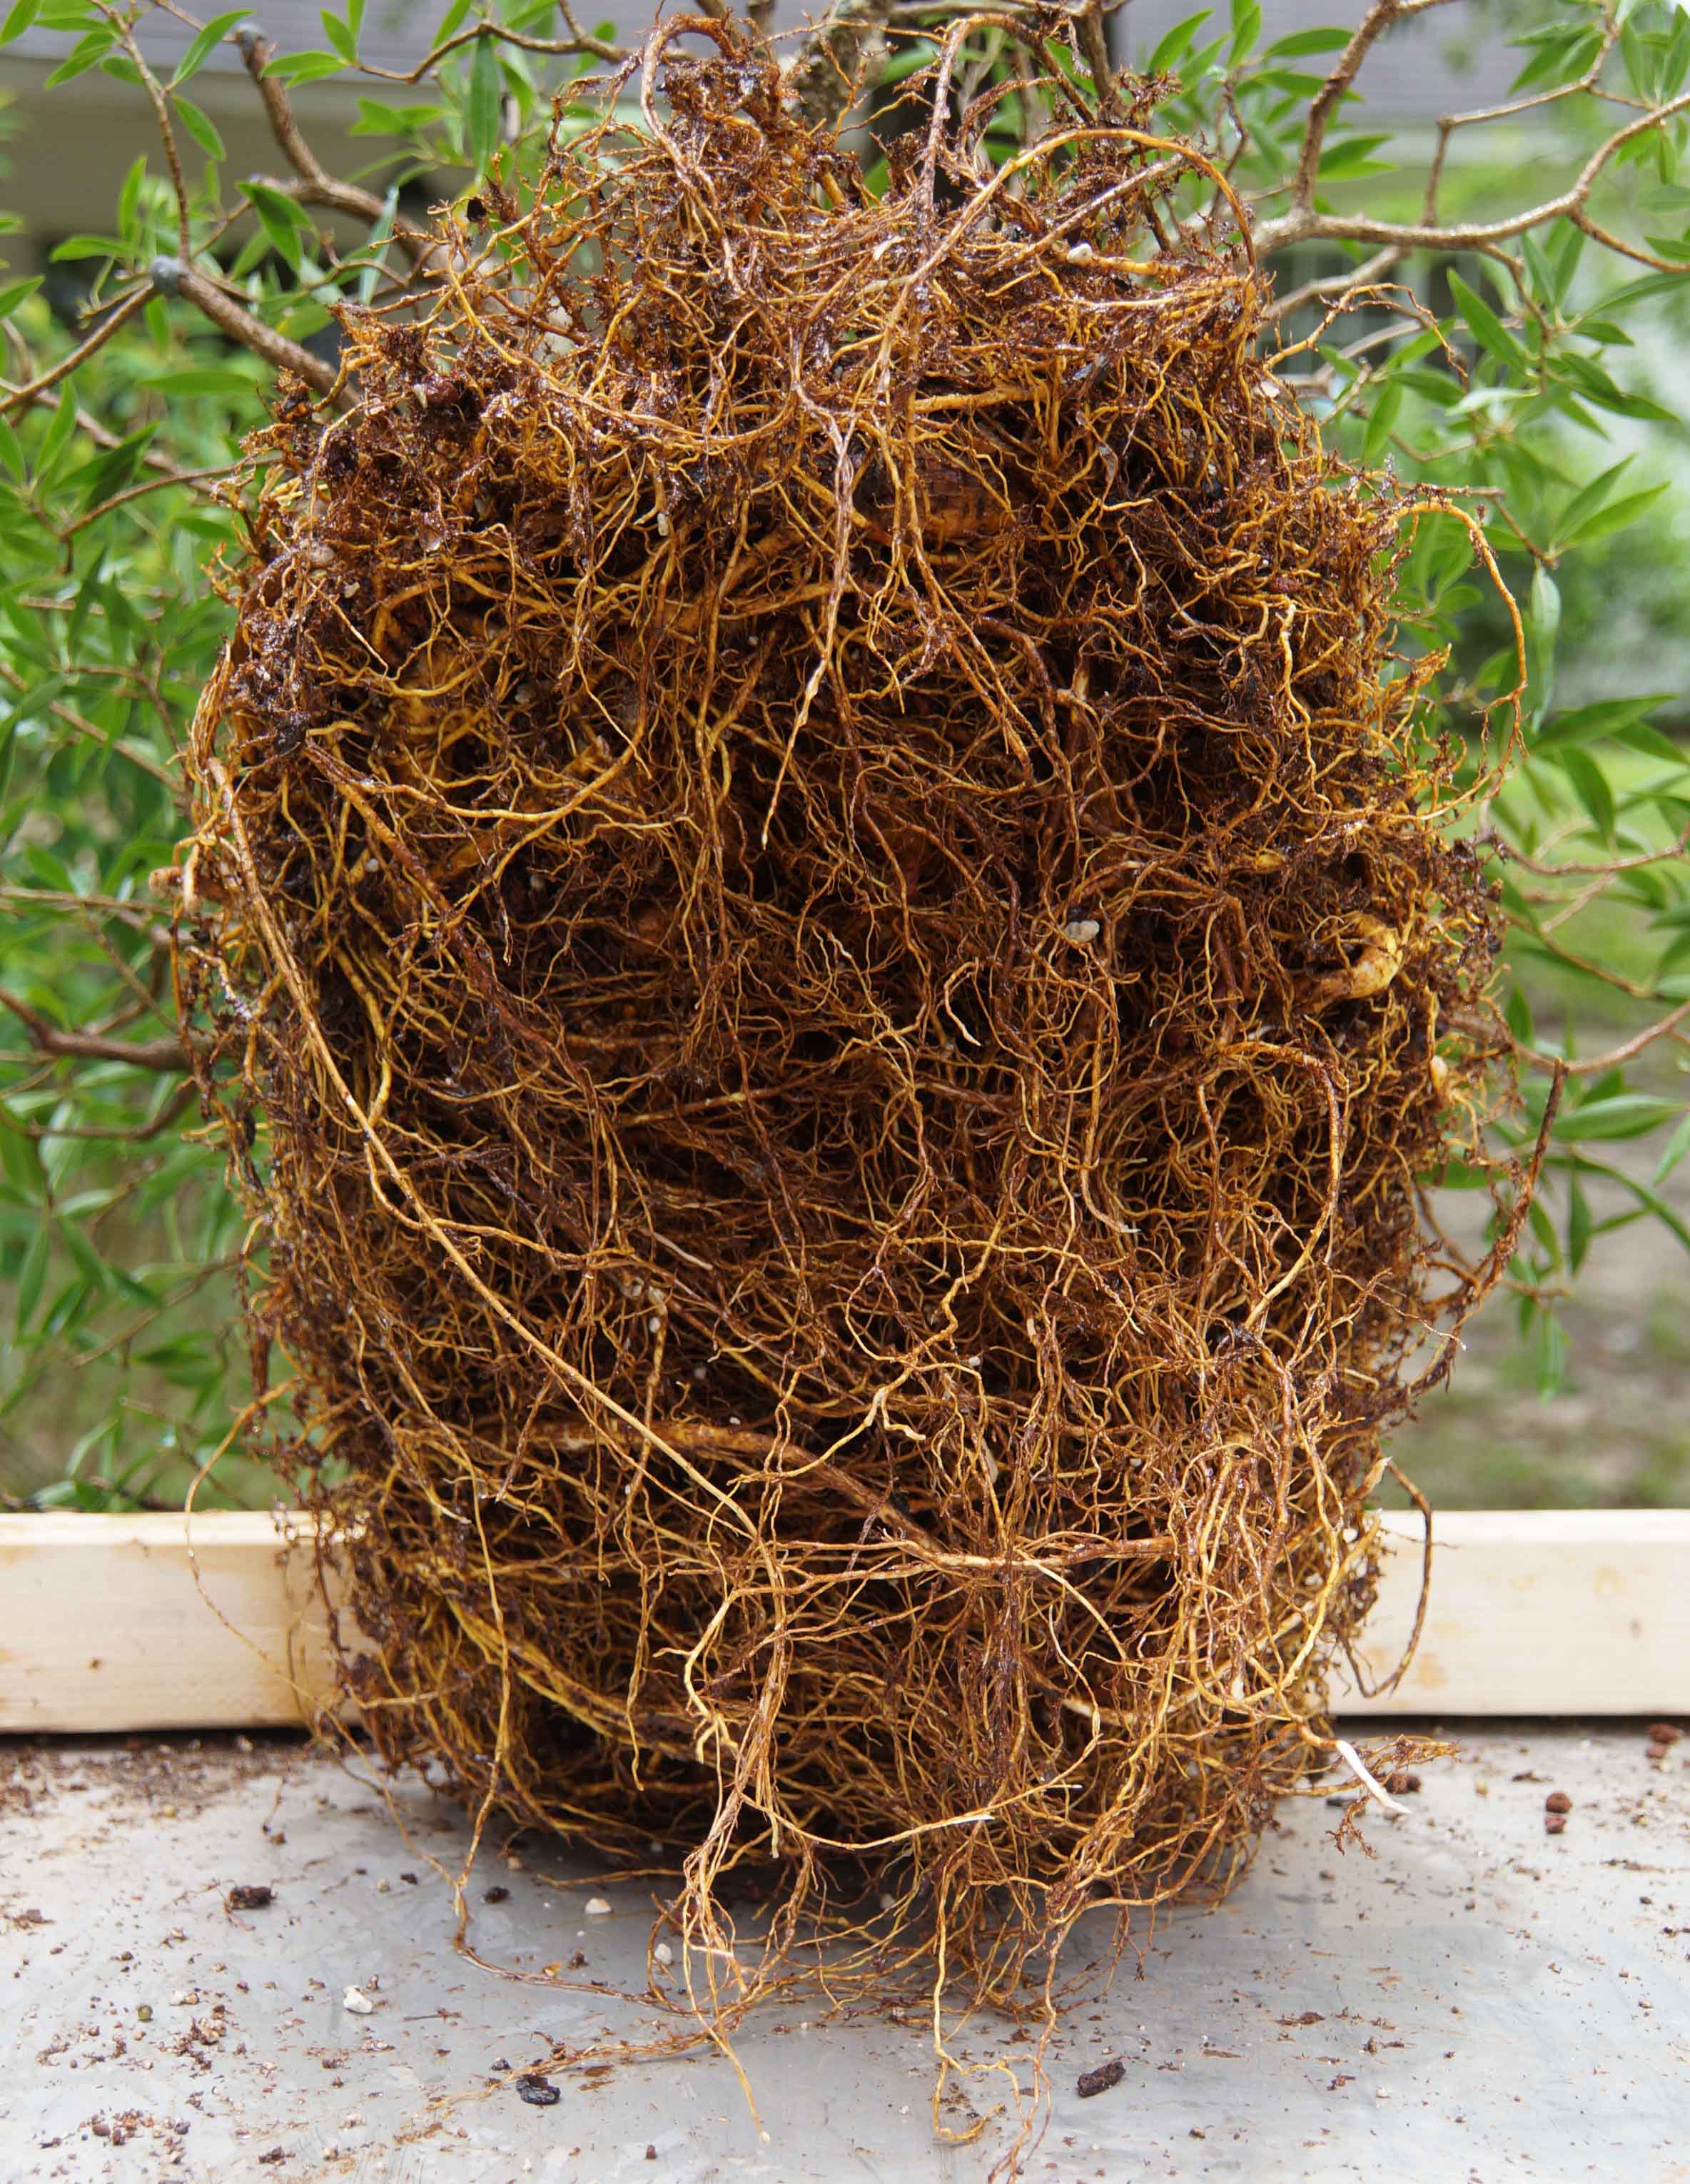
A view from above before I put it in the pot just because I think it is cool. It kinda reminds me of a bunch of snakes.

Secured in the pot (sorry, no pictures, it was raining while I was doing it), I started adding soil and used a chop stick to settle it and to make sure that I did not have any air pockets.

Now, here it is, happy (I hope) in its new home. All that is left to do is to water it. Since the soil was completely dry, you will want to water until the water coming out is clear. I usually let it drain for about five minutes after that and water again. The middle shot has a beer bottle for scale. I splurged and got Coors instead of PBR. Actually, “favorite minion” got me a whole case, and them told me it was not a challenge. I said that I thought I could do it (drink the whole case, today).


I hope you enjoyed the repot and that I did not get too long-winded. If you have any questions, comments, or critiques, use the contact form and drop me a line.